Installing CrafterCMS on WSL 2
This section describes in detail how to install/setup CrafterCMS on Windows via WSL 2.
First, we need to install Windows Subsystem for Linux (WSL) by following the instructions here which will enable the required optional components, download the latest Linux kernel, set WSL 2 as your default, and install Ubuntu Linux for you.
All the commands/scripts in this section should be executed in your Ubuntu (or Linux distribution of choice) terminal.
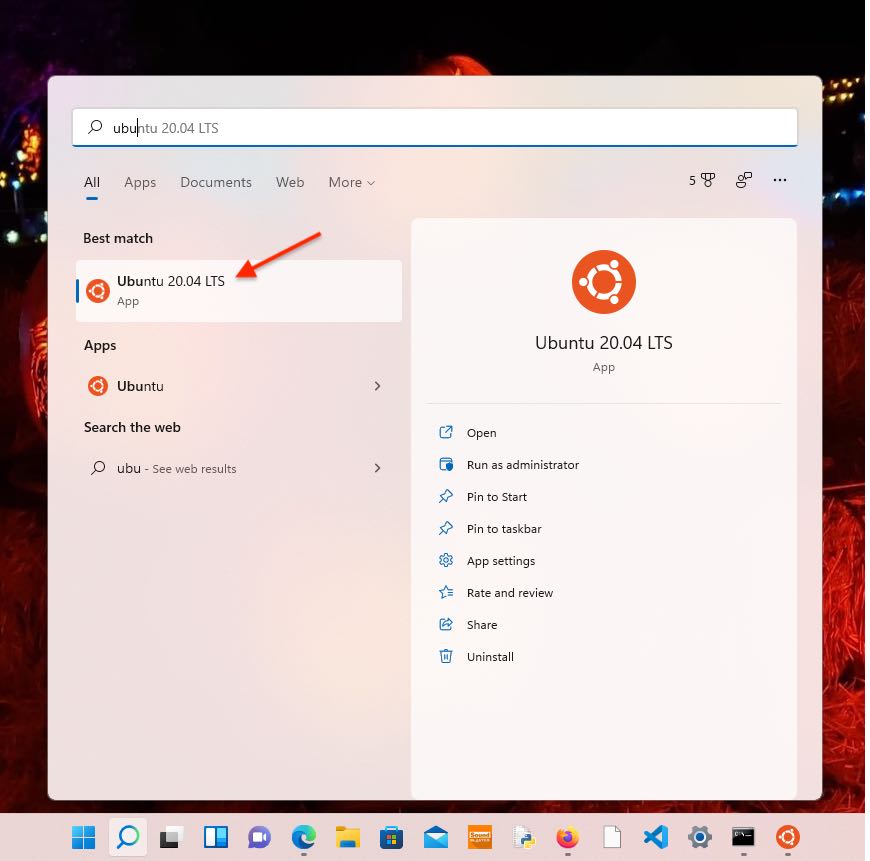
To open your Ubuntu terminal, click on the Ubuntu icon from the Start menu, or, from a
command prompt, type ubuntu or ubuntu1604 or ubuntu2004 depending on the version
you’ve downloaded.

It is recommended we store all files in the WSL file system for better performance speed.
See https://docs.microsoft.com/en-us/windows/wsl/ for more information on WSL.
Installing CrafterCMS from Prebuilt Binaries
Here are the steps to start using CrafterCMS for development or evaluation by installing CrafterCMS from the prebuilt binaries:
Download and install Java 8
Download and install Java JDK 1.8 (either Oracle or OpenJDK).
Make sure that you have a
JAVA_HOMEenvironment variable that points to the root of the JDK install directory. See here for more information on theJAVA_HOMEenvironment variableHere’s an example of installing Java JDK 1.8 using
aptthen setupJAVA_HOMEInstall Java JDK 1.8 and setup JAVA_HOMEsudo apt install openjdk-8-jdk export JAVA_HOME=/usr/lib/jvm/java-8-openjdk-amd64 export PATH=$PATH:$JAVA_HOME/bin
Download CrafterCMS binaries
Download the CrafterCMS install prebuilt binaries from https://craftercms.org/downloads
Select
crafter-cms-authoring-VERSION.tar.gz. The.tar.gzfile will install a fully functional authoring instance. Out of the box, the authoring instance uses a local directory as the repository and an embedded database, which allows a quick and easy set up for local development.You can download the CrafterCMS prebuilt binaries directly onto the WSL file system from the Ubuntu terminal using
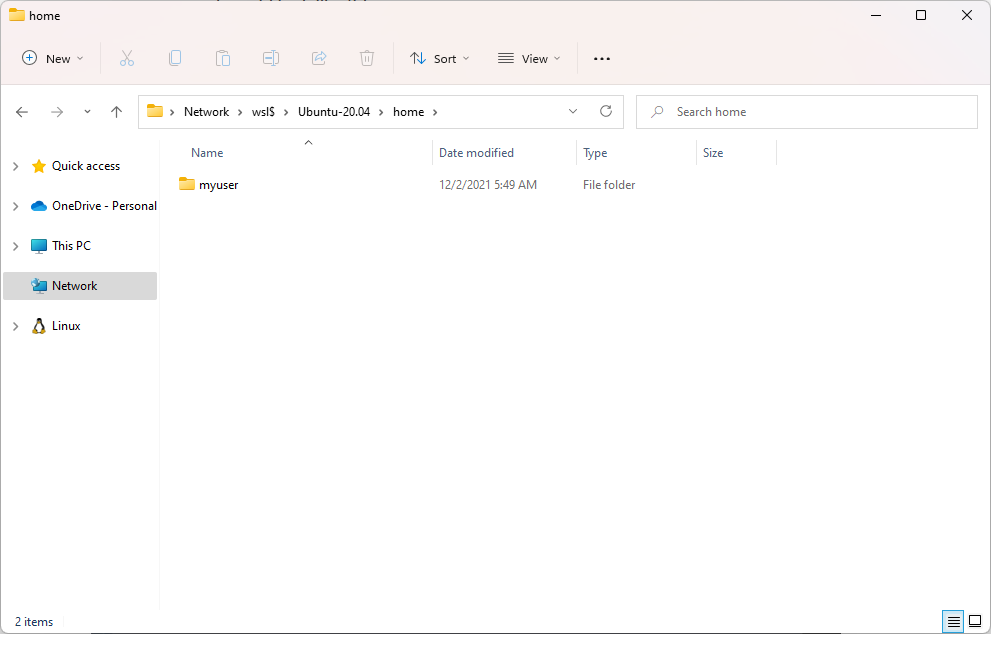
wgetorcurl, or, you can copy/move the prebuilt binaries in the Windows file system to the WSL file system via the Ubuntu terminal or the Windows File Explorer.The Linux (WSL) file system root directory is :
\\wsl$\Ubuntu-20.04\home\<user name>\path\to\projectThe Windows file system root directory is :
/mnt/c/Users/<user name>/path/to/project$orC:\Users\<user name>\path\to\project
Extract the CrafterCMS binaries
Extract the contents in any directory.
Extract the contents of the CrafterCMS binary archive file to a directorytar -zxvf crafter-cms-authoring-VERSION.tar.gz -C /tmp/extract_to_some_directory/
The extracted files should look like this:
CrafterCMS extracted files directory structure{Crafter-CMS-unzip-directory} |--crafter/ |--LICENSE |--README.txt |--bin/Start CrafterCMS
To start CrafterCMS:
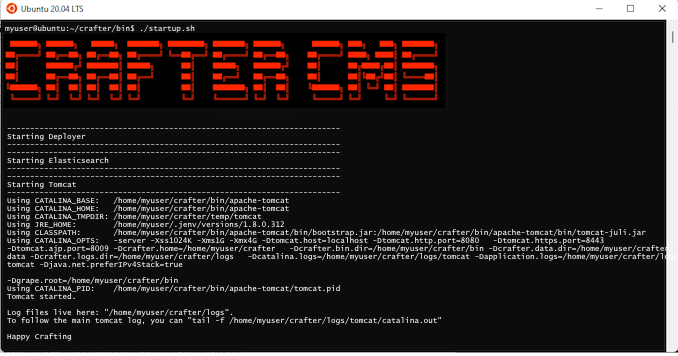
From the command line, navigate to the
{Crafter-CMS-unzip-directory}/crafter/bin/directory, and execute the startup script:Start CrafterCMS./startup.sh
Note
It takes a few seconds for CrafterCMS to startup and takes longer to startup the very first time you startup CrafterCMS.

To stop CrafterCMS:
From the command line, navigate to the
{Crafter-CMS-unzip-directory}/crafter/bin/directory, and execute the shutdown script:Stop CrafterCMS./shutdown.sh
Access Crafter Studio
In your browser, go to
http://localhost:8080/studio
Login with the following:
username: admin
password: admin
After logging in, you should be redirected to the
Sitesscreen, and you’re now ready to create your first experience!