Setup Project for a Delivery Environment
In this section, we will be working in the delivery environment of CrafterCMS and describing how to setup your project for a delivery environment.
Setup Crafter Deployer Target
CrafterCMS out of the box has a script to help you create your deployer target for the delivery environment.
In the bin folder in your CrafterCMS delivery environment, we will use the script init-site.sh to help us create the deployer target.
From your command line, navigate to your {Crafter-CMS-delivery-environment-directory}/bin/ , and execute the init-site script. The following output of init-site.sh -h
explains how to use the script:
usage: init-site [options] [site] [repo-path]
 -a,--notification-addresses <addresses>   A comma-separated list of email
                                           addresses that should receive
                                           deployment notifications
 -b,--branch <branch>                      The name of the branch to clone
                                           (live by default)
 -f,--passphrase <passphrase>              The passphrase of the private
                                           key (when the key is passphrase
                                           protected)
 -h,--help                                 Show usage information
 -k,--private-key <path>                   The path to the private key, when
                                           using private-key authentication
                                           through SSH to the remote Git repo
 -p,--password <password>                  The password for the remote Git
                                           repo, when using basic
                                           authentication
 -s,--crafter-search                       Use Crafter Search instead of
                                           Elasticsearch
 -u,--username <username>                  The username for the remote Git
                                           repo, when using basic
                                           authentication

EXAMPLES:
 Init a site from the default repo path (../../crafter-authoring/data/repos/sites/{sitename}/published)
     init-site mysite
 Init a site from a specific local repo path
     init-site mysite /opt/crafter/authoring/data/repos/sites/mysite/published
 Init a site from a specific local repo path, cloning a specific branch of the repo
     init-site -b master mysite /opt/crafter/authoring/data/repos/sites/mysite/published
 Init a site that is in a remote HTTPS repo with username/password authentication
     init-site -u jdoe -p jdoe1234 mysite https://github.com/jdoe/mysite.git
 Init a site that is in a remote SSH repo with public/private key authentication (specific private key path
 with no passphrase)
     init-site -k ~/.ssh/jdoe_key mysite ssh://myserver/opt/crater/sites/mysite
 Init a site that is in a remote SSH repo with public/private key authentication (specific private key path
 with passphrase)
     init-site -k ~/.ssh/jdoe_key -f jdoe123 mysite ssh://myserver/opt/crater/sites/mysite
Note
Remember that when using private key SSH authentication, the private key path must be set explicitly using
the -k option. Here’s an example:
init-site -k ~/.ssh/jdoe_key myeditorial ssh://myserver/opt/crater/sites/myeditorial
We recommend using Secure Shell (SSH) with your site’s published repo Git url and for authentication, to use either username/password authentication or public/private key
authentication. The SSH Git URL format is: ssh://[user@]host.xz[:port]/path/to/repo/ where sections between [] are optional.
Example #1: ssh://server1.example.com/path/to/repo
Example #2: ssh://jdoe@server2.example.com:63022/path/to/repo
Note
When using ssh keys for authentication, the keys can be generated using one of the following:
RSA,ECDSA,ED25519orDSAas the algorithm and withno passphrase(Crafter currently doesn’t support using a passphrase with SSH keys.)To generate your Secure Shell (SSH) keys for authentication, run the following command:
Generate an RSA SSH keypair with a 4096 bit private key
ssh-keygen -t rsa -b 4096
Generate an DSA SSH keypair with a 2048 bit private key
ssh-keygen -t dsa -b 1024
Generate an ECDSA SSH keypair with a 521 bit private key
ssh-keygen -t ecdsa -b 521
Generate an ed25519 SSH keypair- this is a new algorithm added in OpenSSH.
ssh-keygen -t ed25519
Your output should look something like this:
✗ ssh-keygen -m PEM -b 4096 -t rsa
Generating public/private rsa key pair.
Enter file in which to save the key (/Users/myuser/.ssh/id_rsa):
Enter passphrase (empty for no passphrase):
Enter same passphrase again:
Your identification has been saved in /Users/myuser/.ssh/id_rsa.
Your public key has been saved in /Users/myuser/.ssh/id_rsa.pub.
.
.
After generating your private and public keys, you will need to add your new public key to where your remote git repository is located. If you are using GitHub, you will need to add your public key (e.g.,
id_rsa.pub) into your GitHub account. If your remote Git repository is hosted on a server, you will need to copy your public key (e.g.,id_rsa.pub) to the host server.
If you are just working on another directory on disk for your delivery, you can just use the filesystem. When your repository is local, make sure to use the absolute path. Here is an example project’s published repo Git url when using a local repository:
/opt/crafter/authoring/data/repos/sites/my-project/published
Note
When using
ssh, you might see in the logsCaused by: org.apache.sshd.common.SshException: Server key did not validateerrors. These error is caused by the server not in the known_host file. Please follow the instructions in Debugging Deployer Issues underSSH Unknown Hostto resolve them.Gitneeds to be installed in authoring when using SSH to connect the delivery to the authoring.If you see the following error in the delivery Deployer: Caused by: java.io.IOException: bash: git-upload-pack: command not found you’ll need to add the location of git (usually /usr/bin) to your non-login shell startup file (e.g. ~/.bashrc).
To get the location of Git, run the following command:
which git-upload-pack
Viewing your Project for Testing
To test viewing your project, open a browser and type in the url of your project.
If you have multiple projects setup, to view a certain project, in your browser, enter the following:
<your url>?crafterSite=<project id>
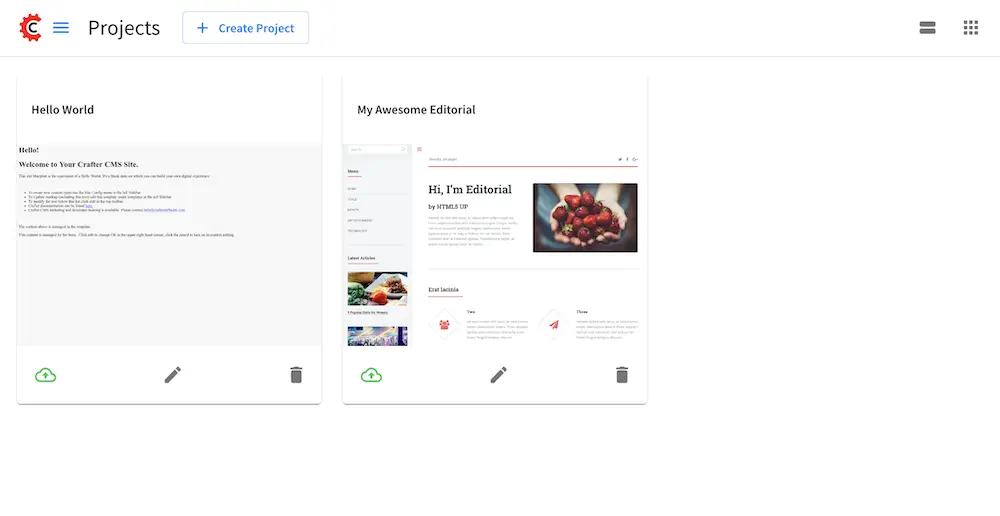
Here we have an example of a delivery setup in another directory on disk (local), where there are two projects,
my-awesome-editorial and hello-world

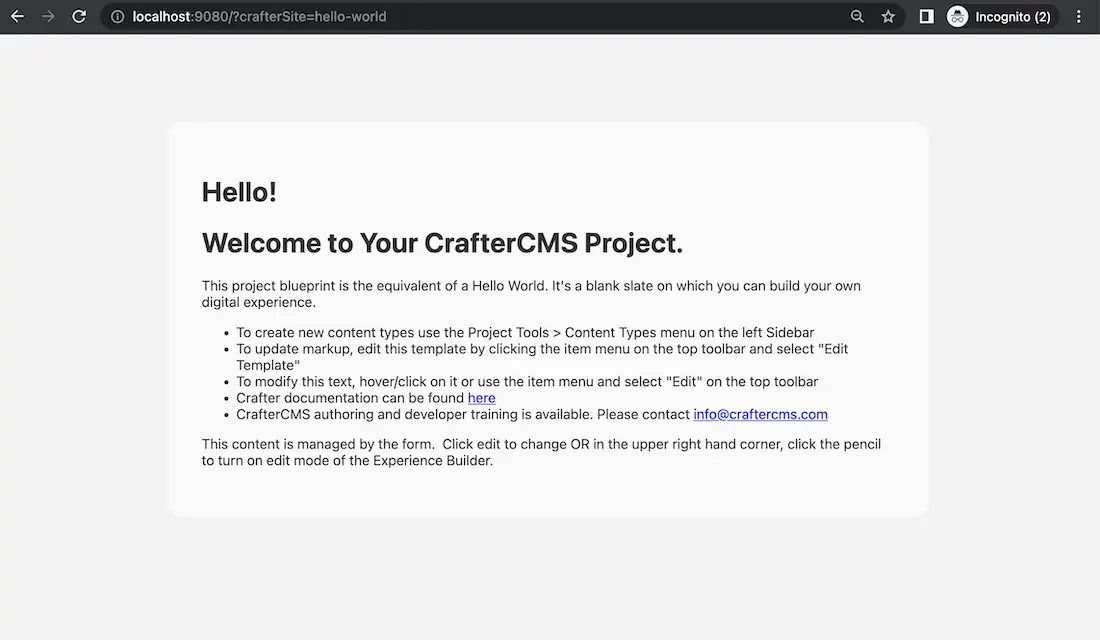
To set the crafterSite to the hello-world project, in your browser, type in
http://localhost:9080?crafterSite=hello-world

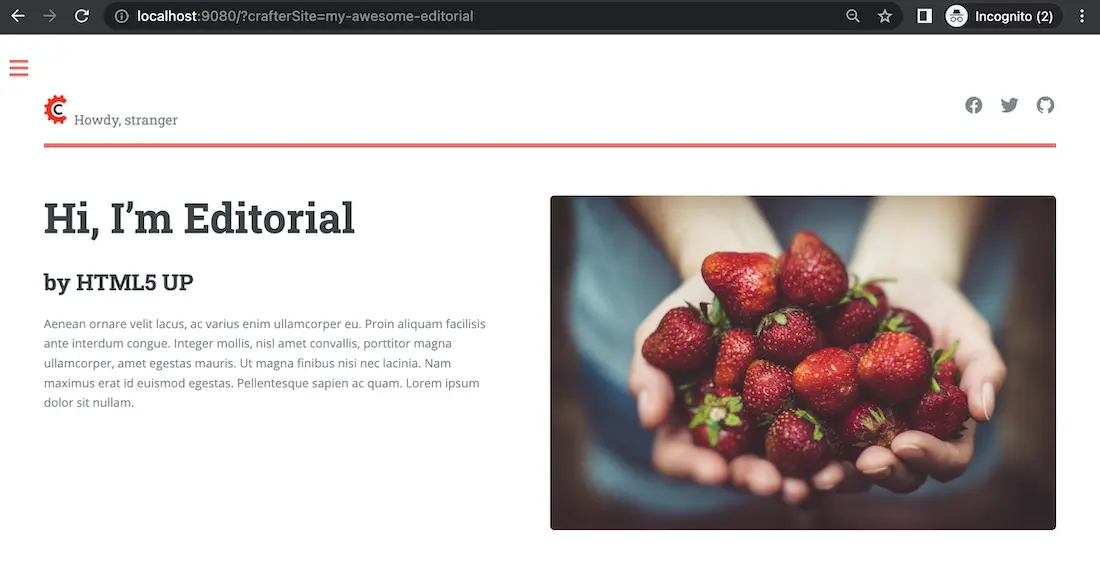
To set the site to the my-awesome-editorial, in your browser, type in
http://localhost:9080?crafterSite=my-awesome-editorial
