Setup Serverless Delivery
CrafterCMS can be configured to serve sites directly from AWS services, following this guide you will:
Create a AWS Elasticsearch domain (optional)
Configure a Crafter Studio in an authoring environment to call the Crafter Deployer to create an AWS CloudFormation with a CloudFront and S3 bucket for each site
Configure a Crafter Engine in a delivery environment to read files from the S3 bucket and query to AWS Elasticsearch (optional)
Prerequisites
An AWS account
A CrafterCMS authoring environment
A CrafterCMS delivery environment
Step 1: Create an Elasticsearch Domain for Delivery (optional)
Since serverless delivery requires a single Elasticsearch endpoint readable by all Engine instances, we recommend you create an AWS Elasticsearch domain for delivery. If you don’t want to use an AWS Elasticsearch domain then you should create and mantain your own Elasticsearch cluster.
Important
Authoring can also use an Elasticsearch domain, but be aware that in a clustered authoring environment each authoring instance requires a separate Elasticsearch instance. If you try to use the same ES domain then you will have multiple preview deployers writing to the same index.
To create an AWS Elasticsearch domain please do the following:
In the top navigation bar of your AWS console, click the
Servicesdropdown menu, and search forElasticsearch Service.Click on
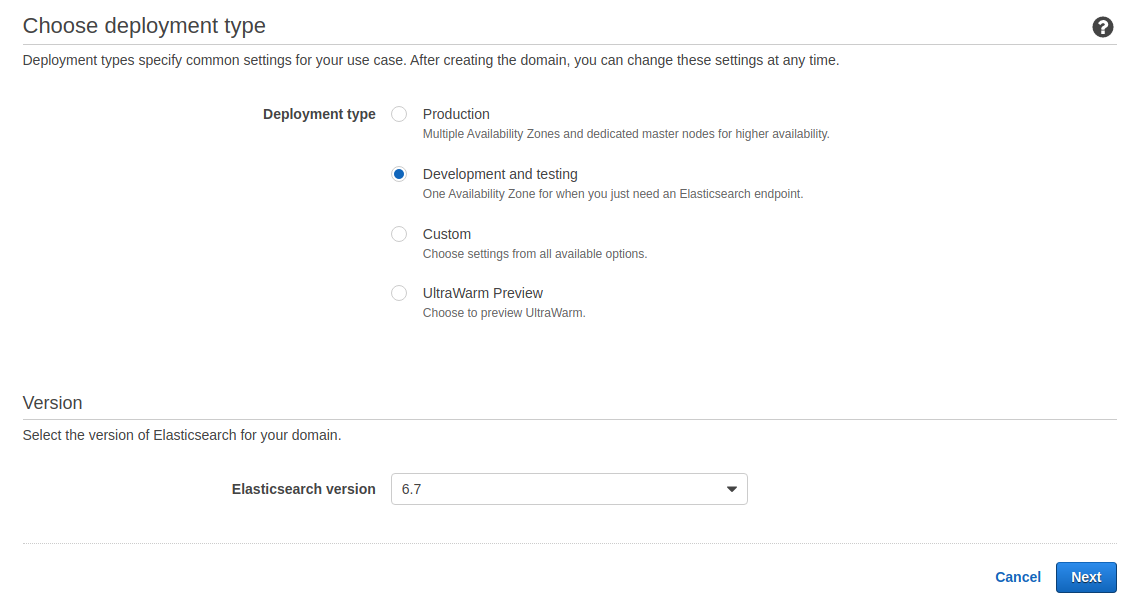
Create a new domain.Select
Deployment Typeand on the Elasticsearch version, pick6.8.
On the next screen, enter the domain name. Leave the defaults on the rest of the settings or change as needed per your environment requirements, then click on
Next.On
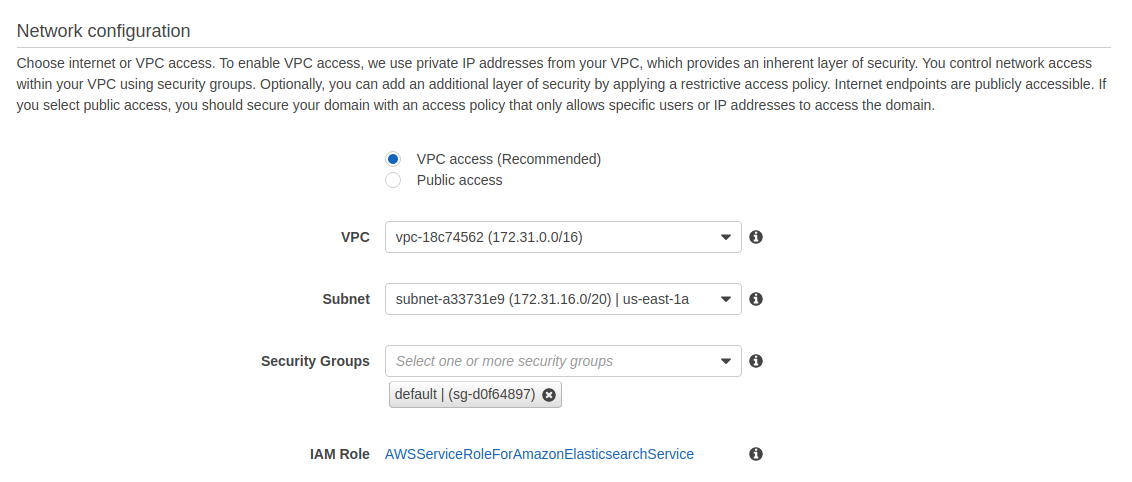
Network Configuration, we recommend you pick the VPC where your delivery nodes reside. If they’re not running on an Amazon VPC, then pickPublic Access.
Select the
Access Policythat fits your Crafter environment, and click onNext(if on the same VPC as delivery, we recommendDo not require signing request with IAM credential).
Review the settings and click on
Confirm.Wait for a few minutes until the domain is ready. Copy the
Endpoint. You’ll need this URL later to configure the Deployer and Delivery Engine which will need access to the Elasticsearch.
Step 2: Configure the Delivery for Serverless Mode
Edit the services override file to enable the Serverless S3 mode (
DELIVERY_INSTALL_DIR/bin/apache-tomcat/shared/classes/crafter/engine/extension/services-context.xml):<?xml version="1.0" encoding="UTF-8"?> <beans xmlns="http://www.springframework.org/schema/beans" xmlns:xsi="http://www.w3.org/2001/XMLSchema-instance" xsi:schemaLocation="http://www.springframework.org/schema/beans http://www.springframework.org/schema/beans/spring-beans.xsd"> <import resource="classpath*:crafter/engine/mode/multi-tenant/simple/services-context.xml" /> <!-- S3 Serverless Mode --> <import resource="classpath*:crafter/engine/mode/serverless/s3/services-context.xml" /> </beans>
Edit the properties override file to point Engine to consume the site content from S3 (
DELIVERY_INSTALL_DIR/bin/apache-tomcat/shared/classes/crafter/engine/extension/server-config.properties). The properties you need to update are the following:crafter.engine.site.default.rootFolder.pathcrafter.engine.s3.regioncrafter.engine.s3.accessKeycrafter.engine.s3.secretKey
An example of how the server-config.properties would look with configuration to read from an S3 bucket per site (which is the most common use case), is the following (values in
Xare not displayed since they’re sensitive):DELIVERY_INSTALL_DIR/bin/apache-tomcat/shared/classes/crafter/engine/extension/server-config.properties# Content root folder when using S3 store. Format is s3://<BUCKET_NAME>/<SITES_ROOT>/{siteName} crafter.engine.site.default.rootFolder.path=s3://serverless-test-site-{siteName}/{siteName} ... # S3 Serverless properties # S3 region crafter.engine.s3.region=us-east-1 # AWS access key crafter.engine.s3.accessKey=XXXXXXXXXX # AWS secret key crafter.engine.s3.secretKey=XXXXXXXXXXXXXXXXXXXX
As you can see, the bucket name portion of the root folder S3 URL contains a prefix and then the site name. This prefix is mentioned also as a “namespace” later on in the Studio serverless configuration.
Important
You can also provide the AWS region, access key and secret key without having to edit the config file properties. Please see Set up AWS Credentials and Region for Development.
We recommend that the AWS credentials configured belong to a user with just the following permission policy (all strings like
$VARare placeholders and need to be replaced):aws-serverless-engine-policy.json1{ 2 "Version": "2012-10-17", 3 "Statement": [ 4 { 5 "Effect": "Allow", 6 "Action": "s3:ListAllMyBuckets", 7 "Resource": "*" 8 }, 9 { 10 "Effect": "Allow", 11 "Action": [ 12 "s3:ListBucket", 13 "s3:GetBucketLocation", 14 "s3:GetObject" 15 ], 16 "Resource": "arn:aws:s3:::$BUCKET_NAME_PREFIX-*" 17 } 18 ] 19}
Edit the
ES_URLinDELIVERY_INSTALL_DIR/bin/crafter-setenv.shto point to the Elasticsearch endpoint you created in the previous step:export ES_URL=https://vpc-serverless-test-jpwyav2k43bb4xebdrzldjncbq.us-east-1.es.amazonaws.com
Make sure that the you have an application load balancer (ALB) fronting the Delivery Engine instances and that it’s accessible by AWS CloudFront.
Step 5: Test the Delivery Site
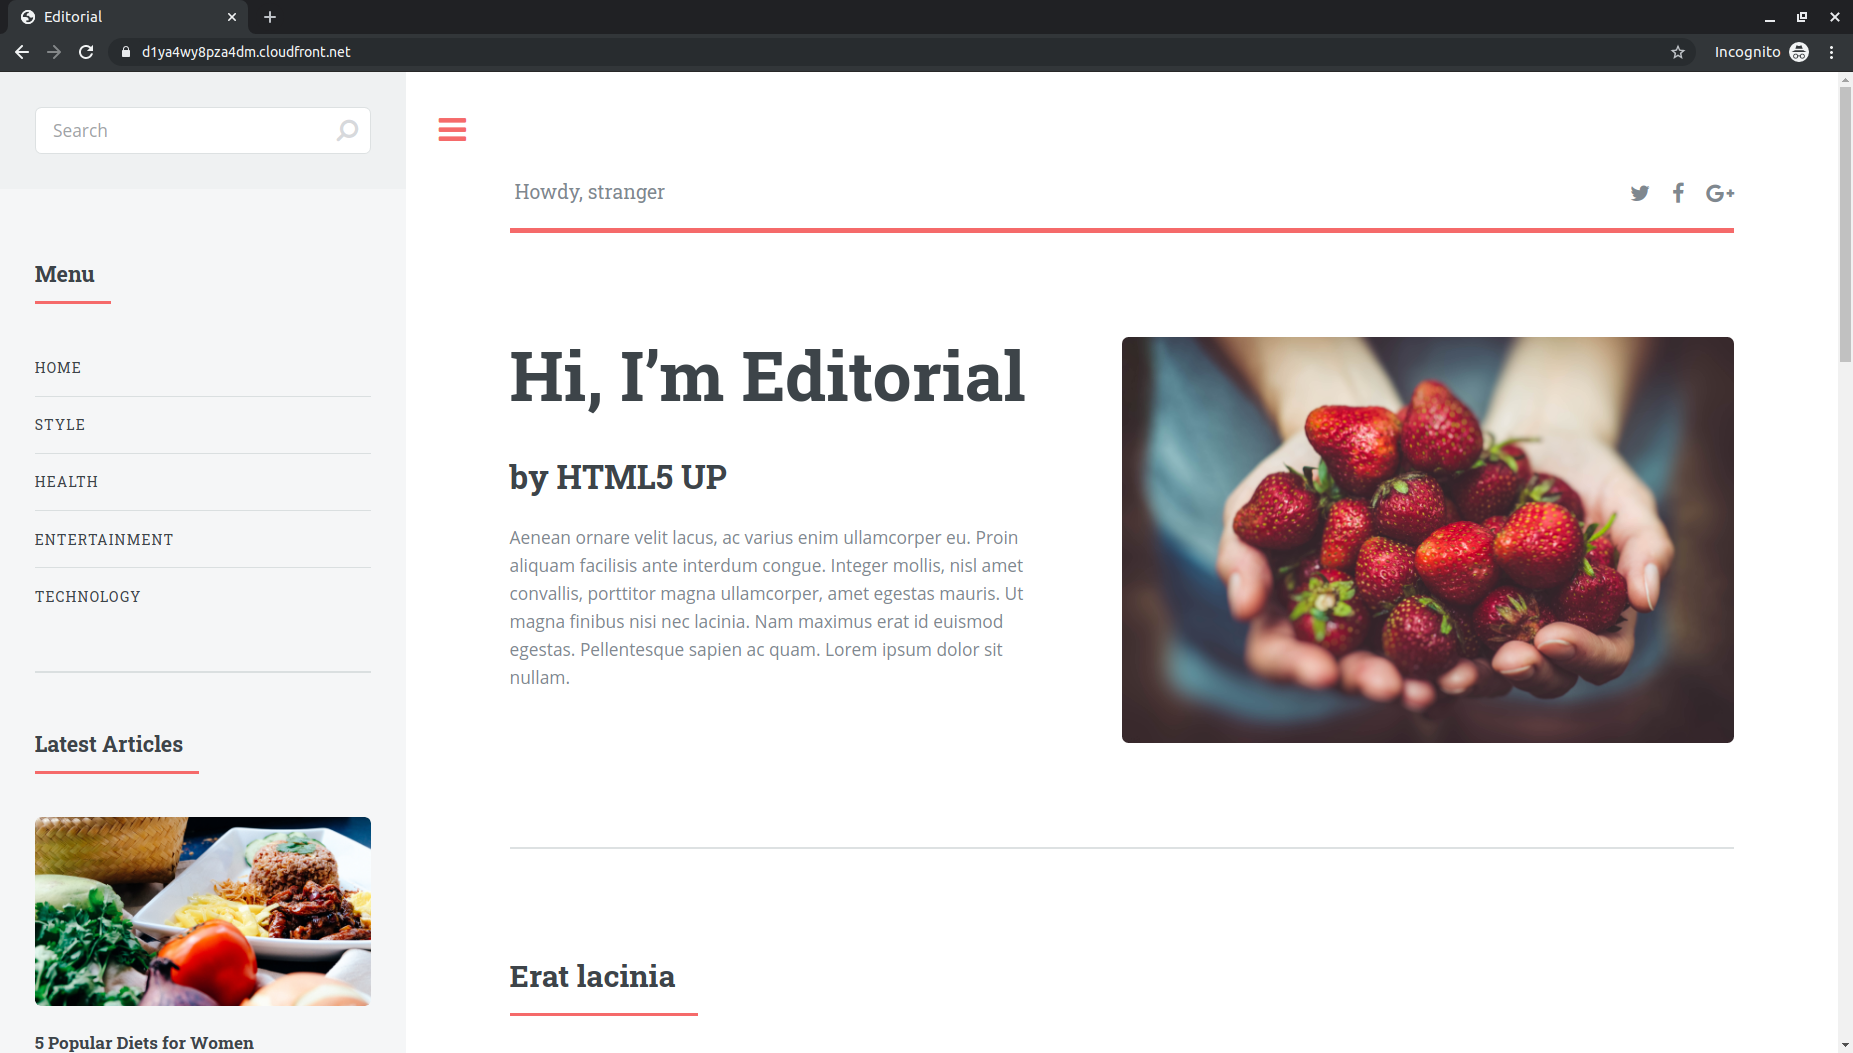
Open a browser and go to https://DOMAIN_OF_YOUR_CLOUDFRONT. You should be able to see your Editorial site!

Note
The following error appears in the deployer logs (CRAFTER_HOME/logs/deployer/crafter-deployer.out) when a site hasn’t been published:
2020-07-07 15:33:00.004 ERROR 22576 --- [deployment-9] l.processors.AbstractDeploymentProcessor : Processor 'gitDiffProcessor' for target 'ed-serverless-delivery' failed
org.craftercms.deployer.api.exceptions.DeployerException: Failed to open Git repository at /home/ubuntu/craftercms/crafter-authoring/data/repos/sites/ed/published;
Once the site has been published, the error above will go away.
