Configure SSL/TLS
To configure SSL/TLS for CrafterCMS authoring and delivery, do the following:
Step 1: Create a keystore file
$JAVA_HOME/bin/keytool -genkey -alias tomcat -keyalg RSA
Step 2: Edit the tomcat file to use the keystore file by uncommenting or adding the “SSL HTTP/1.1 Connector” entry
Step 3: Test your setup
From tomcat.apache.org :
Transport Layer Security (TLS) and its predecessor, Secure Sockets Layer (SSL), are technologies which allow web browsers and web servers to communicate over a secured connection. This means that the data being sent is encrypted by one side, transmitted, then decrypted by the other side before processing. This is a two-way process, meaning that both the server AND the browser encrypt all traffic before sending out data.*
CrafterCMS employs two deployment methods, traditional deployment and serverless deployment. Let’s take a look at an example of how to configure SSL/TLS in a traditional deployment and serverless (docker container) deployment:
Configuring SSL/TLS for CrafterCMS Authoring and Delivery in a Traditional Deployment
Step 1: Create a keystore file
Java’s keytool file allows the user to create self signed certificates. For this example, we will be using a self signed certificate. Please remember that self signed certificates are not suitable for production use.
$JAVA_HOME/bin/keytool -genkey -alias tomcat -keyalg RSA

Enter keystore password:  password (it will be invisible)
Re-enter new password: password
What is your first and last name?
  [Unknown]:  {FIRST_LAST_NAME}
What is the name of your organizational unit?
  [Unknown]:  {ORGANIZATIONAL_UNIT}
What is the name of your organization?
  [Unknown]:  {ORGANIZATION_NAME}
What is the name of your City or Locality?
  [Unknown]:  {CITY}
What is the name of your State or Province?
  [Unknown]:  {STATE_PROVINCE}
What is the two-letter country code for this unit?
  [Unknown]:  {COUNTRY_CODE}
Is CN={FIRST_LAST_NAME}, OU={ORGANIZATIONAL_UNIT}, O={ORGANIZATION_NAME}, L={CITY}, ST={STATE_PROVINCE}, C={COUNTRY_CODE} correct?
  [no]:  yes

Enter key password for
    (RETURN if same as keystore password):  password
Re-enter new password: password
The command above will generate a file named .keystore in the users home directory. Take note of the location as it will be used in the next step.
Step 2: Configure tomcat to use the keystore file
The next step is to configure SSL/TLS Connector in the authoring/delivery tomcat file by uncommenting/adding the following:
 1<Connector port="8443"
 2  SSLEnabled="true"
 3  clientAuth="false"
 4  maxThreads="150"
 5  protocol="org.apache.coyote.http11.Http11NioProtocol"
 6  keystoreFile="/path/to/your/keystore"
 7  keystorePass="yourKeystorePassword"
 8  scheme="https"
 9  secure="true"
10  sslProtocol="TLS"
11/>
where:
port : port number to be secured by your new keystore file
keystoreFile : path to your keystore file created from the previous step
keystorePass : password used when keystore file was created from the previous step
We’ll use the above values for our CrafterCMS authoring example. Save the changes and restart CrafterCMS authoring/delivery.
For more information on configuring SSL/TLS on Tomcat, see https://tomcat.apache.org/tomcat-8.5-doc/ssl-howto.html
Step 3: Test your setup
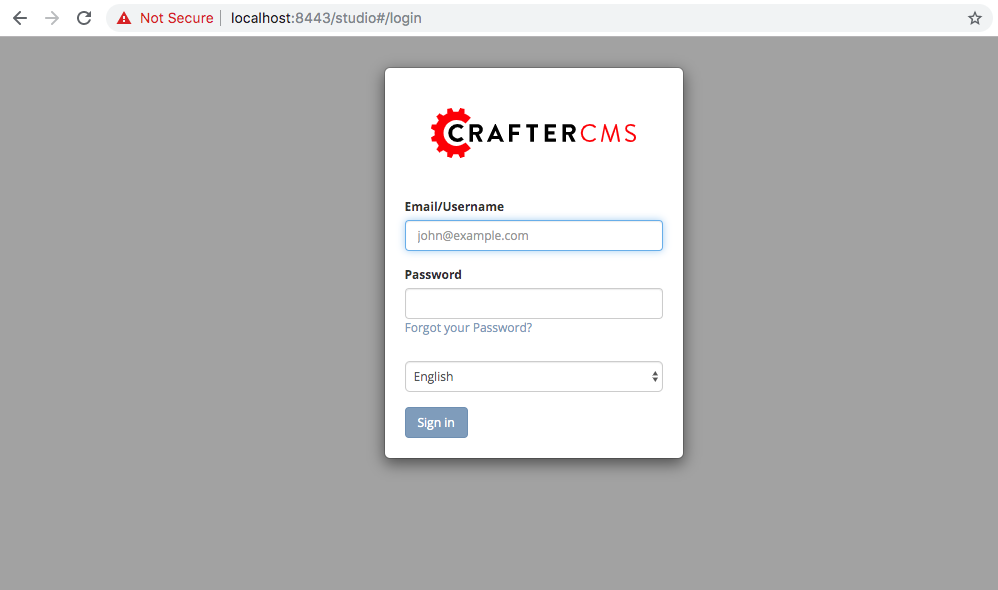
To test your CrafterCMS authoring, open your browser and type in:
localhost:8443/studio
Since we are using a self-signed certificate, you’ll get a message similar to this depending on your browser:
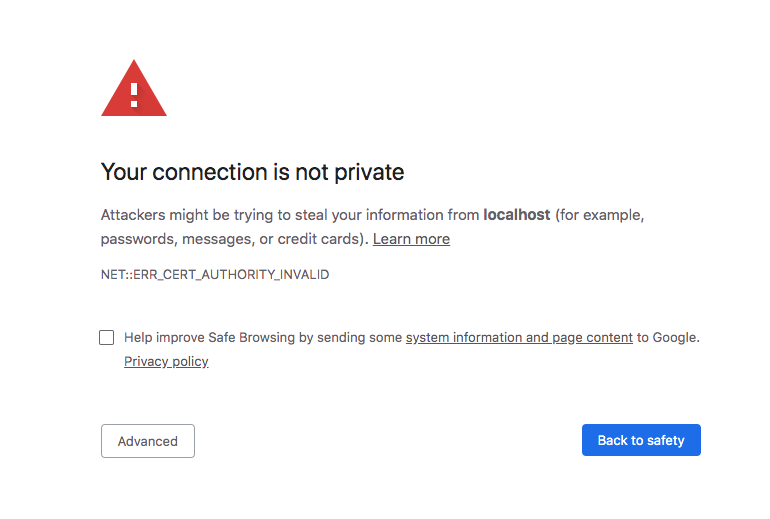
From the above screen, just click on Advanced, then allow it to proceed to localhost::8443, and you will then be taken to the login screen of Crafter Studio