Configuring Crafter on Docker for Local Development Tools
Sometimes you’ll need to have the Authoring site repositories in your docker container available in the host filesystem, specially if you want to update the files from your IDE. To support access to your sites via a local IDE, we need to mount the Authoring site repositories directory to a host directory.
Note
Performance may be slow when using WSL2 (Windows Subsystem for Linux 2) and a mounted Authoring site repositories directory to a host directory
Here are the steps:
Note
This will only work on an Authoring install with no existing data. To clear the current data, run the same command you’ve been using to start up the environment, but replace the
uppart fordown -v, e.g.docker-compose down -v
Check the site directory is a shared drive
Make sure the drive with the directory that will contain the sites is a shared drive by clicking on Docker Desktop
Preferences->Resources->File Sharing)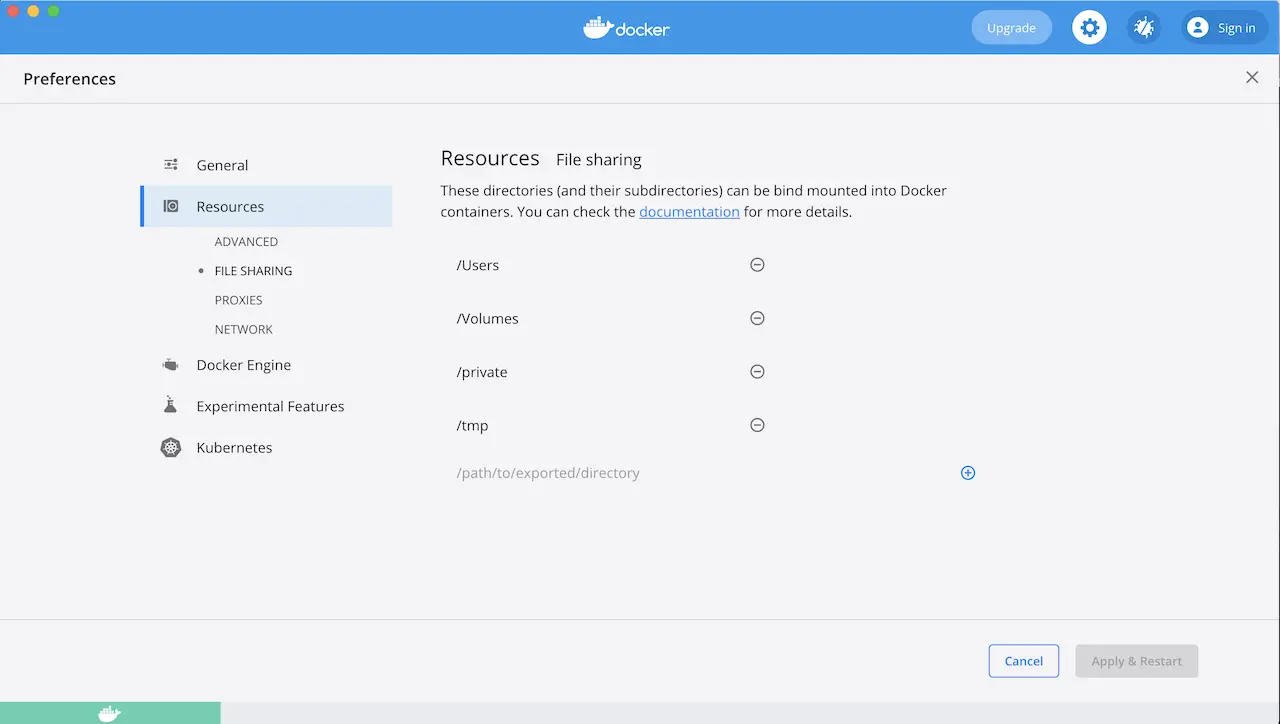
Edit the
docker-compose.ymlfileNavigate to the
authoringdirectory and open thedocker-compose.ymlfile in an editor and edit thecrafter_datavolume like in the highlighted section below (assume C is the shared drive, and replace the/host/path/to/sitesfor the actual host path):authoring/docker-compose.yml... tomcat: image: craftercms/authoring_tomcat:3.1.17 # craftercms version flag depends_on: - elasticsearch - deployer ports: - 8080:8080 ... deployer: image: craftercms/deployer:3.1.17 # craftercms version flag depends_on: - elasticsearch ports: - 9191:9191 ... volumes: elasticsearch_data: name: crafter_authoring_data_elasticsearch elasticsearch_logs: name: crafter_authoring_logs_elasticsearch crafter_data: driver: local driver_opts: o: bind type: none device: C:/host/path/to/sites name: crafter_authoring_data crafter_logs: name: crafter_authoring_logs crafter_temp: name: crafter_authoring_temp
Start Authoring.
Go to the Authoring browser URL and create a site. In the image below, site
mysitewas created using the website editorial blueprint: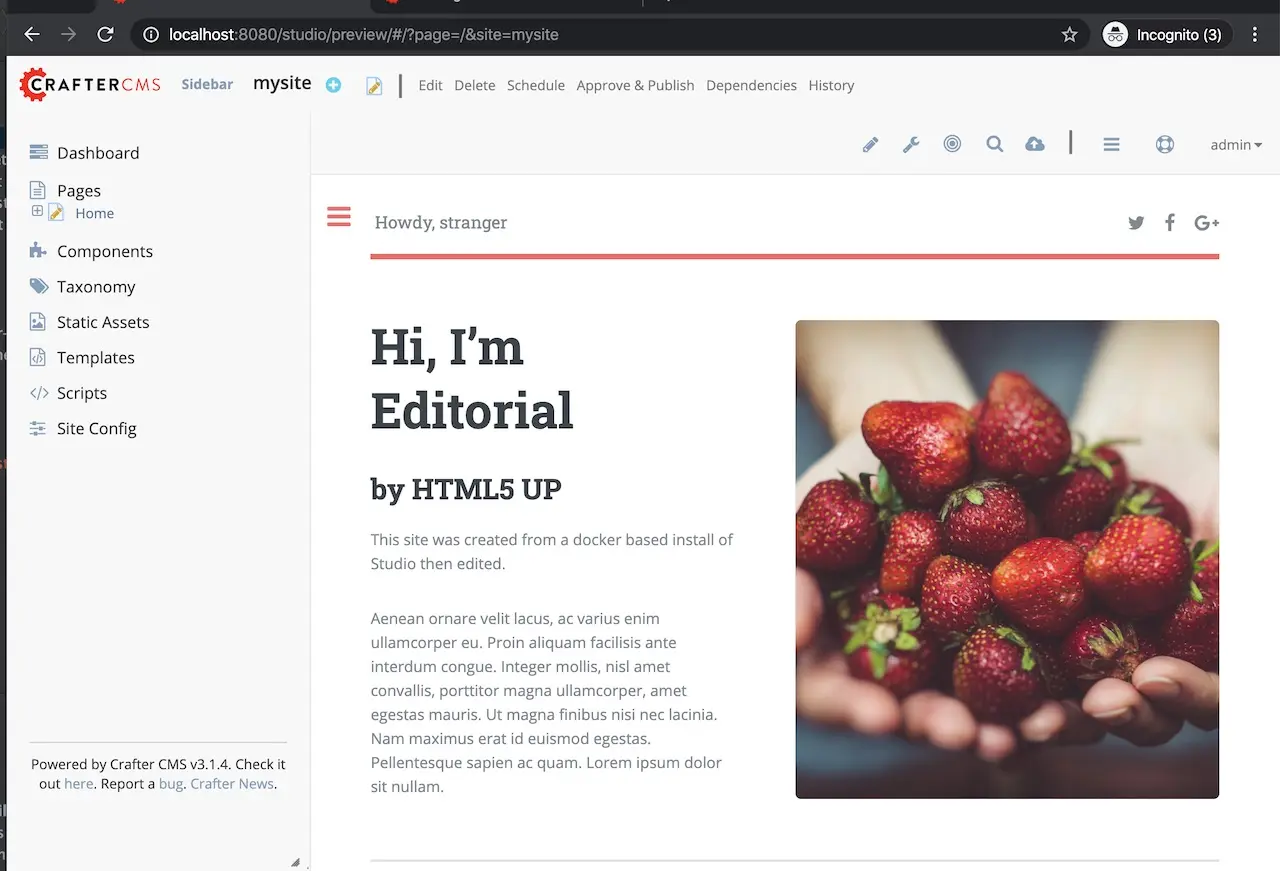
Access your site files from your host directory
You should now be able to see the files in your host directory and use any IDE for editing the files in the site.
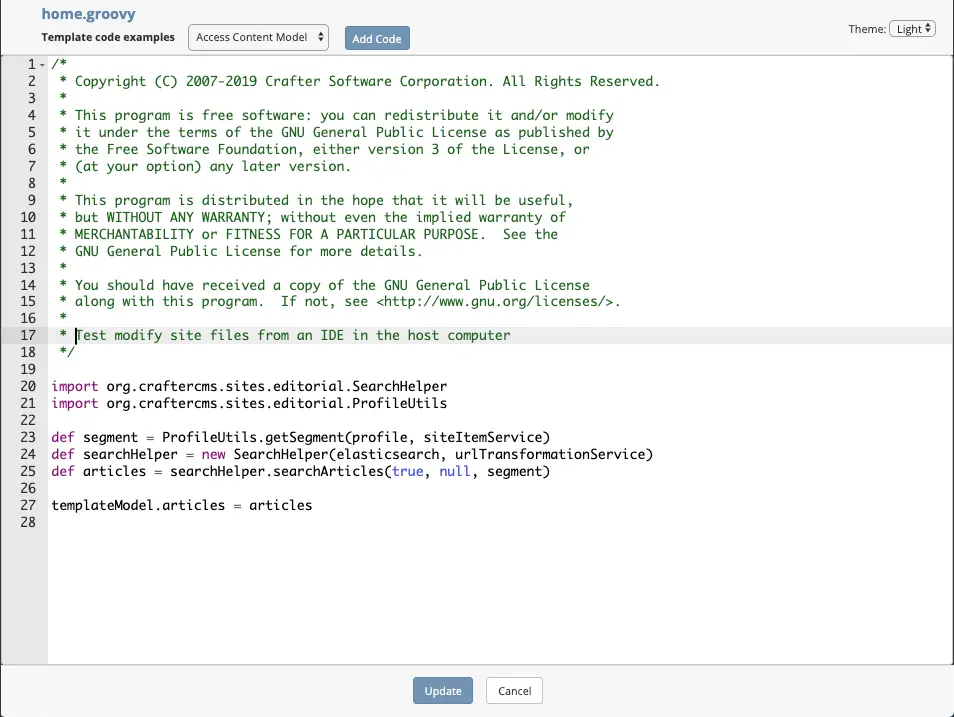
Let’s take a look at an example of modifying a file in your host directory then verifying that the changes are reflected in your site. In your browser, open the
Sidebar, then navigate toscripts->pagesthen right click onhome.groovyand selectedit.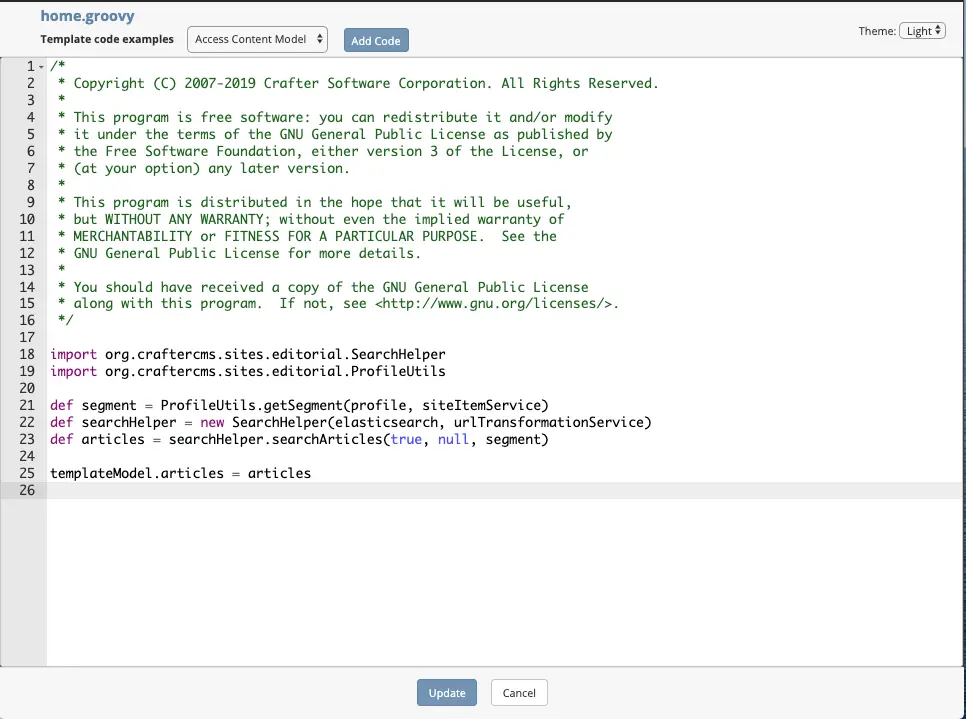
We’ll now edit the same
home.groovyfile from the host directory using any of your favorite IDE. For our example, the files in the site were put in a project in IntelliJ IDEA, and some text was added to the comments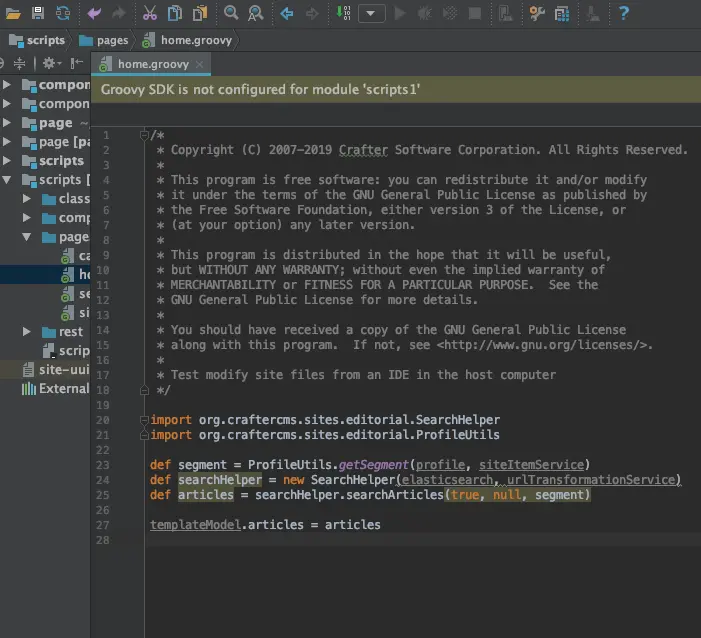
After making your edits, remember to commit your changes by using git so Studio is aware of the changes made.
To commit your changes , head to
/host/path/to/sites/mysite/sandboxand git add your edited file like thisgit add scripts/pages/home.groovy
And once you are done, commit them with the following command:
git commit -m "<the commit’s description>"
You can also use any Git client. Now, it will be available in your site in the Docker container. Remember that whenever you edit directly in the filesystem instead of through Studio, you need to commit your changes to ensure they are properly reflected.
Finally, let’s check the
home.groovyfile from Studio to verify that changes we made from the host are reflected on Studio, by opening the file in Studio again: