
Working with Crafter Studio’s APIs
In this section, we’ll show the basics of interacting with Crafter Studio APIs by performing the following:
Authentication
Get a list of projects under management
Write content to a project
We’ll use CURL, a ubiquitous Linux command tool as our client.
You can find the full Crafter Studio API for CrafterCMS here
Let’s begin:
Authentication
There are two authentication methods that can be used: JWT and HTTP Basic
JWT Authentication
Since 4.0.0JWT is a widely adopted standard for secure authentication and is the preferred way. HTTP Basic is simple but not as secure as JWT and for that reason it is disabled by default. However, it can be very useful for local development environments.
In both authentication methods you need to know the credentials of a user with the right permissions depending on the operations that you need to execute. For this example we will generate a token for the
adminuser but in a real scenario you should create a user with the least amount of permissions possible.Note
Not all users have the required permission
manage_access_tokento create access tokens. If theToken Managementtool is not shown in the global menu you will need to request the permission or an access token from a system administrator.If you already have an access token you can skip to step 5, otherwise follow all steps to create a new token:
Login to Crafter Studio
Open the
Token Managementtool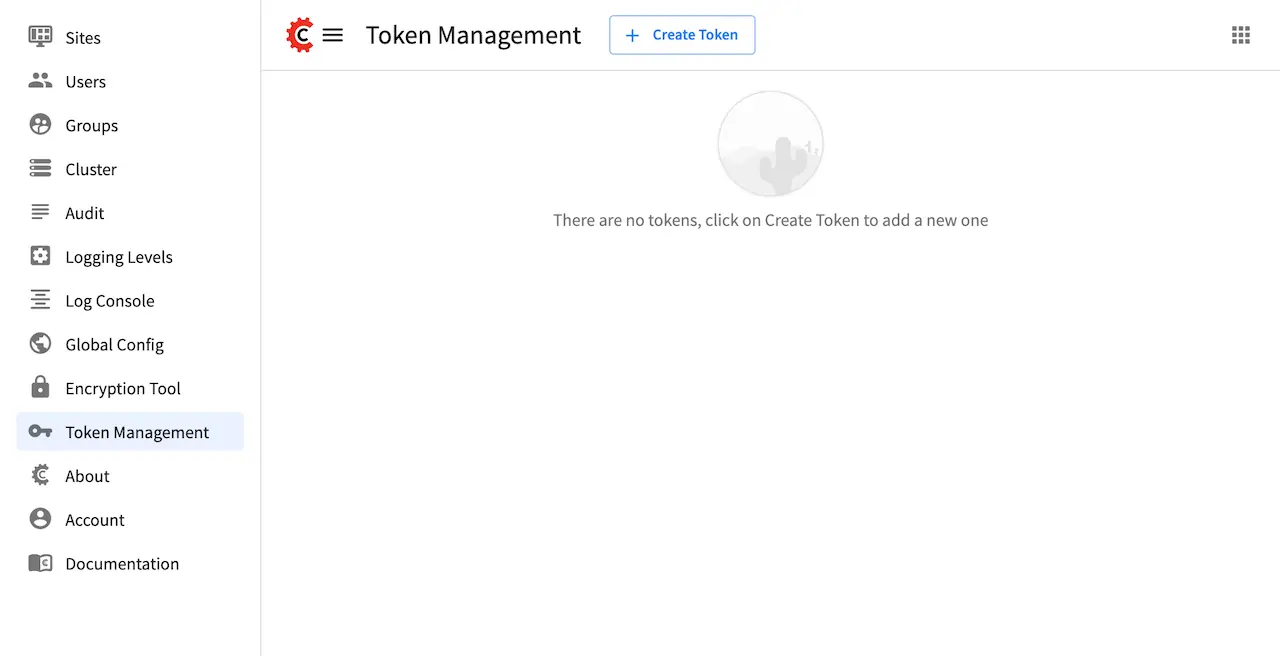
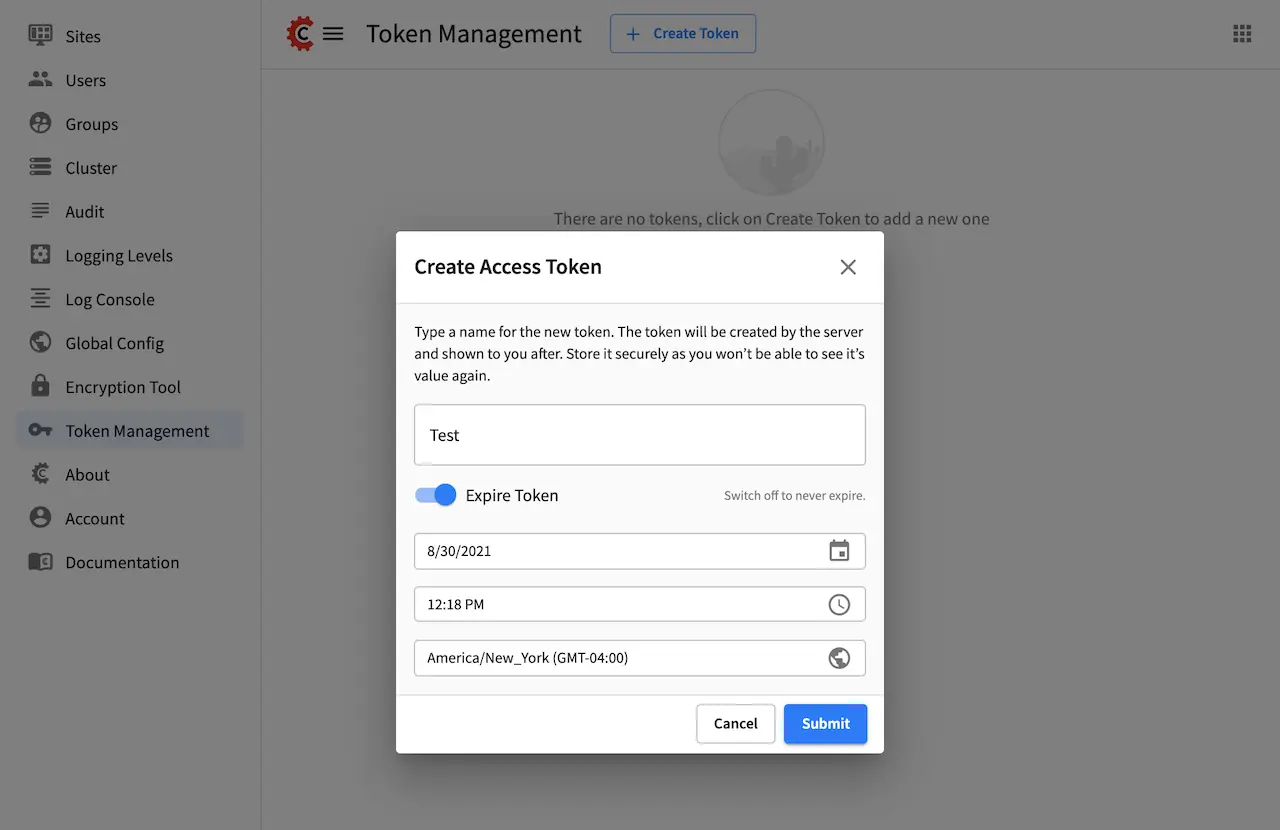
Create a new access token
The only required field for the access token is the label to identify it, however, it is also recommended to set an expiration date to minimize the risk of lost or stolen tokens being used without being noticed.

Once the expiration date is reached the access token will stop working automatically.
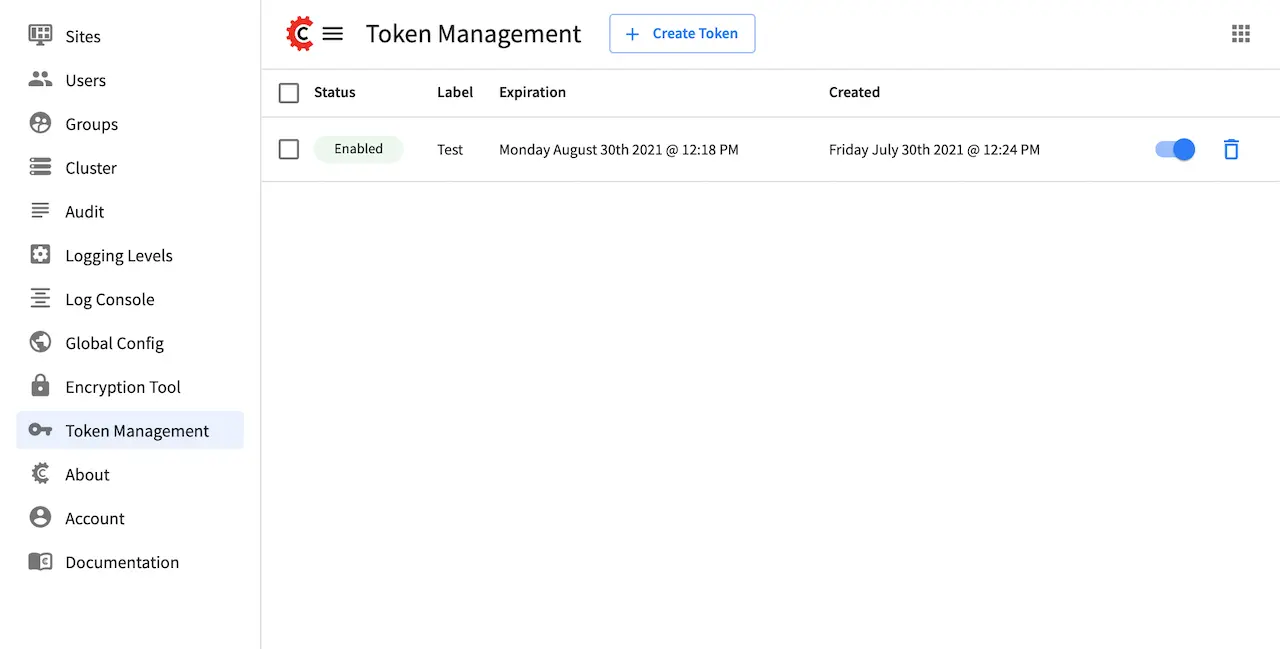
Copy the value of the access token
The value of the access token will not be stored on the server, so it needs to be stored by the user in a safe place as it is impossible to recover it after it is created.
If an access token is lost or exposed in any way it should be disabled or completely deleted to avoid any possible use.
Include the access token with all requests
Most HTTP clients provide built-in support for access token athentication, in the case of curl you will need to use the header option
--headeror-Hcurl -H 'Authorization: Bearer <access token>' ...
HTTP Basic Authentication
If HTTP Basic authentication is already enabled you can skip step 1 and start using the credentials:
Enable HTTP Basic auth and restart Crafter Studio
Update the Crafter Studio configuration override: from Crafter Studio
Global Menu > Global Configor directly from the global repository$CRAFTER_HOME/data/repos/global/configuration/studio-config-override.yamlAdding the following property:
# Indicates if HTTP Basic auth should be enabled for the API
studio.security.http.basic.enabled: true
Include the credentials with all requests
Most HTTP clients provide an easy way to use HTTP Basic, in the case of curl you can use the user options
--useror-ucurl -u <username>:<password> ...
Get a list of projects under management
We’ll get a list of sites the user is authorized to work with Get Sites per User
curl <authentication option> -X GET http://localhost:8080/studio/api/1/services/api/1/site/get-per-user.json?username=admin
After issuing the CURL command you will get a response that contains sites your user has access to:
{"sites":[{"id":9,"siteId":"ar","name":"ar","description":"","status":null,"liveUrl":null,"lastCommitId":"951004363449cc83209f307b1e9f110dab37fed7","publishingEnabled":1,"publishingStatusMessage":"idle|Idle","lastVerifiedGitlogCommitId":null},{"id":5,"siteId":"diiot","name":"diiot","description":"","status":null,"liveUrl":null,"lastCommitId":"92d543eaa164b1ebfbdd6ce538ae028d4d6421b7","publishingEnabled":0,"publishingStatusMessage":"idle|Idle","lastVerifiedGitlogCommitId":"92d543eaa164b1ebfbdd6ce538ae028d4d6421b7"},{"id":10,"siteId":"editorialcom","name":"editorialcom","description":"","status":null,"liveUrl":null,"lastCommitId":"503d922f226e8ab821073e23ef5a229f907212a0","publishingEnabled":1,"publishingStatusMessage":"","lastVerifiedGitlogCommitId":"503d922f226e8ab821073e23ef5a229f907212a0"},{"id":3,"siteId":"flow","name":"flow","description":"","status":null,"liveUrl":null,"lastCommitId":"21923775c3a1fc778a364d47884b9ee2bb4928a5","publishingEnabled":1,"publishingStatusMessage":"idle|Idle","lastVerifiedGitlogCommitId":"21923775c3a1fc778a364d47884b9ee2bb4928a5"},{"id":8,"siteId":"vr","name":"vr","description":"","status":null,"liveUrl":null,"lastCommitId":"c67fd9dd25d1aa59ff13e3fda2a4387be50dfc69","publishingEnabled":1,"publishingStatusMessage":"idle|Idle","lastVerifiedGitlogCommitId":null}],"total":6}
The response above contains a number of projects. In the next call we will write a content object to one of the projects (editorialcom.) To do this we need the site ID. We get this from the response above: editorialcom
Write content to a project
We’ll now write content to the Editorial com Project Write Content
curl <authentication option> -d "<page><content-type>/page/category-landing</content-type><display-template>/templates/web/pages/category-landing.ftl</display-template><merge-strategy>inherit-levels</merge-strategy><file-name>index.xml</file-name><folder-name>test3</folder-name><internal-name>test3</internal-name><disabled >false</disabled></page>" -X POST "http://localhost:8080/studio/api/1/services/api/1/content/write-content.json?site=editorialcom&phase=onSave&path=/site/website/test3/index.xml&fileName=index.xml&user=admin&contentType=/page/category-landing&unlock=true"
In the call above note:
We are passing in content as the POST body. The content is in XML format. In CrafterCMS, content objects are stored as simple XML documents. We are passing a number of parameters that tell CrafterCMS where and how to store the content in the repository
Using the above examples as a guide, we can now interact with any Crafter Studio API found here