Working with Assets
Assets are binary files, typically images, videos, etc. which can be uploaded directly by Authors from the site navigation tree to CrafterCMS.
Note
CrafterCMS supports the following characters in file and folder names:
Alphanumeric, ,_,-,(,)
as a regex:
[a-zA-Z0-9-_ ()]+
It’s important to point out that Crafter Studio enforces this regex in its UI. However, if you’re working outside of Studio (in your IDE, for example) and you violate these rules, problems may arise downstream, so it’s best to stick the allowed characters.
Adding Assets
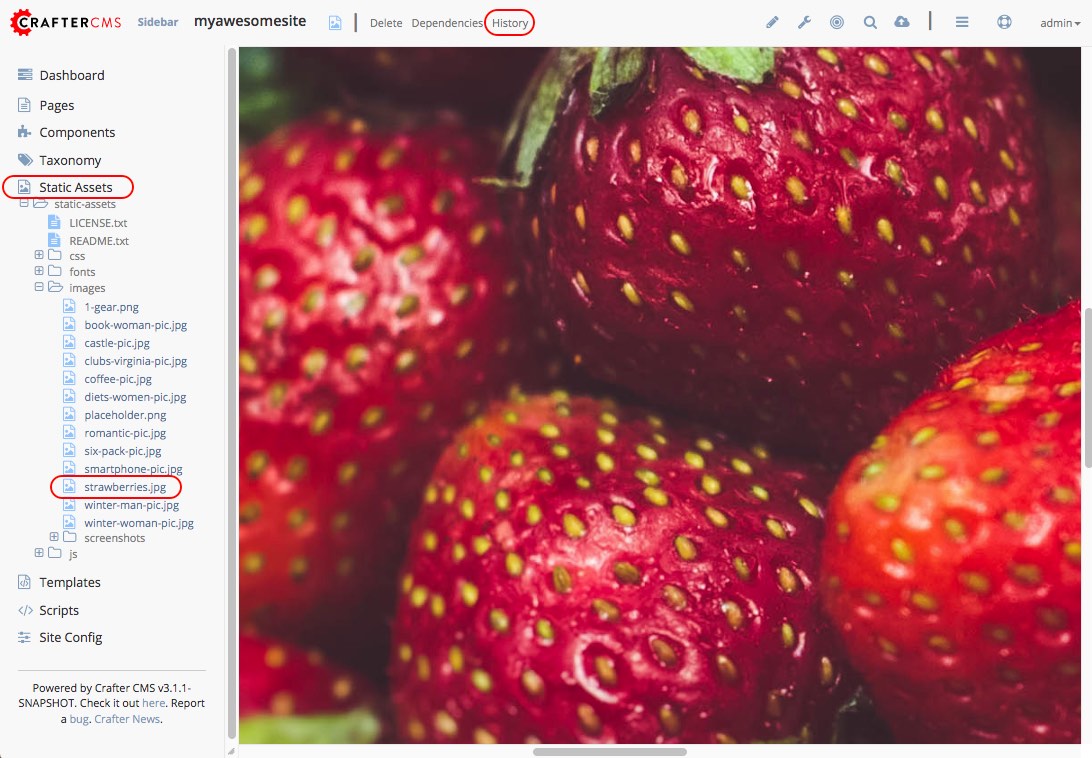
To upload a file (images, videos, etc.), in the Site Content Panel click on Static Assets, then click again on the folder named static-assets. This will show you a list of folders containing assets already uploaded, such as images, fonts, etc.
Creating a folder
If the file you are uploading does not belong in any of the existing folders, you can just create another folder to upload your file to by doing the following:
Right click on the folder static-assets, then select Create Folder
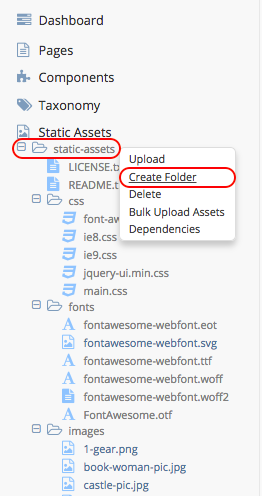
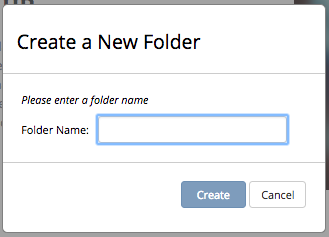
Enter a name for the new folder then click on the Create button.
Adding a file
To add a file, from the folder static-assets, navigate to the folder you want to add the files to, then right click on the folder and select Upload
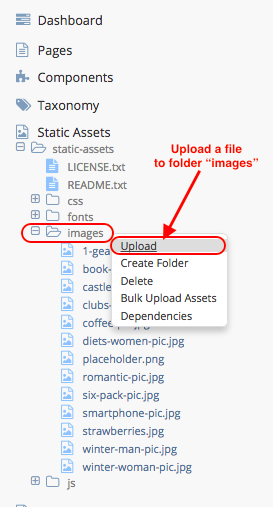
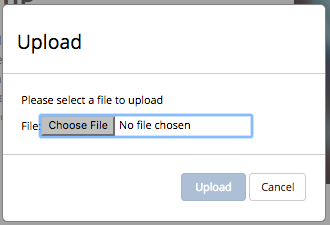
Choose the file you want to upload, then click on the Upload button
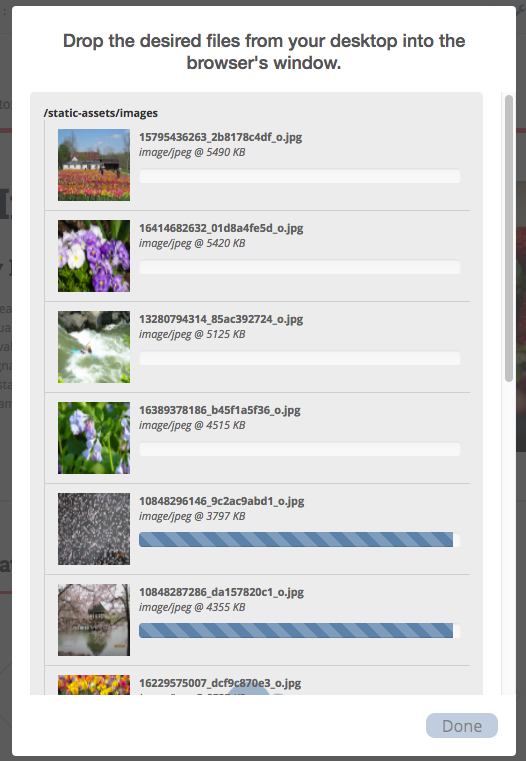
If you have multiple files to upload, you can click on Bulk Upload Assets, it will then prompt you to drag and drop files that you want to upload. After dragging the files, click on Done
Removing Assets
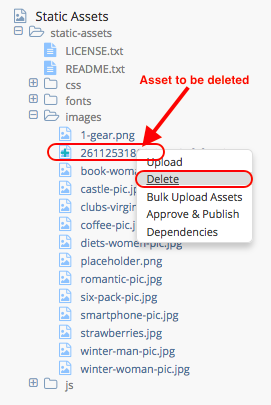
To delete an asset, navigate to the asset you want to delete in the site navigation tree. Right click on the asset, then select Delete
After clicking on delete, it will prompt you if you want to delete the listed files. Click on the Delete button if you want to delete the listed files, or click on Cancel if you don’t want to delete the asset.

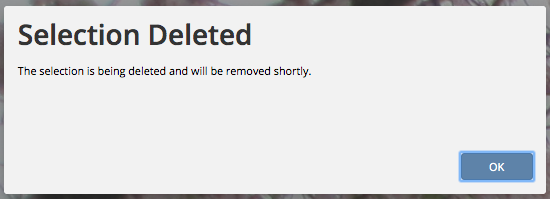
After clicking on the Delete button, another form will appear to inform you that the item/asset has been pushed for delete.
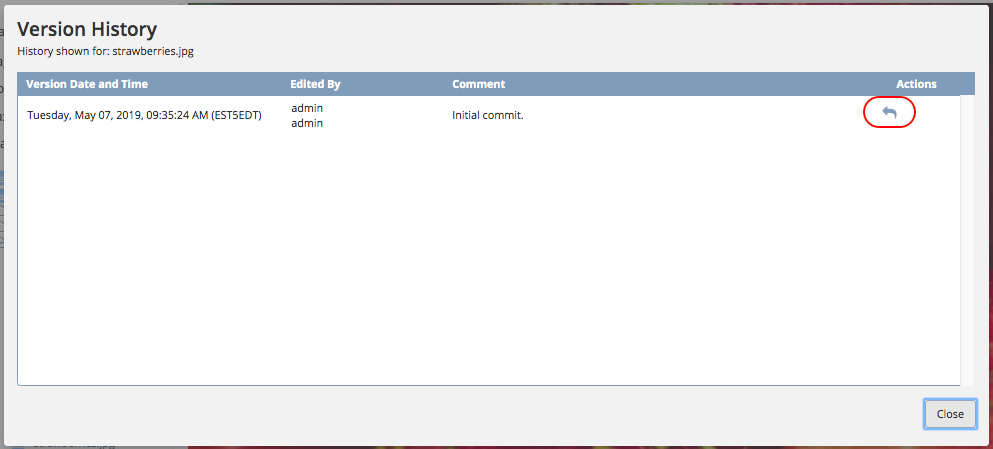
Asset Versioning
All changes to static assets are tracked and can be reverted to an older version. For static assets, like images, videos, etc., to access the History dialog, select the static asset that you want to view the history of from the site navigation tree, under the folder Static Assets, then click on the History menu of the context navigation menu at the top of your browser.
Notice that for assets, you can only revert to the version selected.