
Targeting
Targeting allows an author to see what the website would look like if it were being browsed by a user with a given set of attributes. It also allows an author to tag the content being authored to the configured attributes on the site.
Tagging Pages
When creating a page in the Website_editorial blueprint, content can be targeted to the page visitor’s segment. This is done by tagging which segment the page is targeted for.
To tag a page, in the Sidebar panel, click on the Pages folder. Navigate to the level and location within the site navigation tree where you want to tag the content, then right click and select Edit. Depending on how tagging was named/setup, go to the section for tagging content and check the box next to the attribute the page is targeted for.
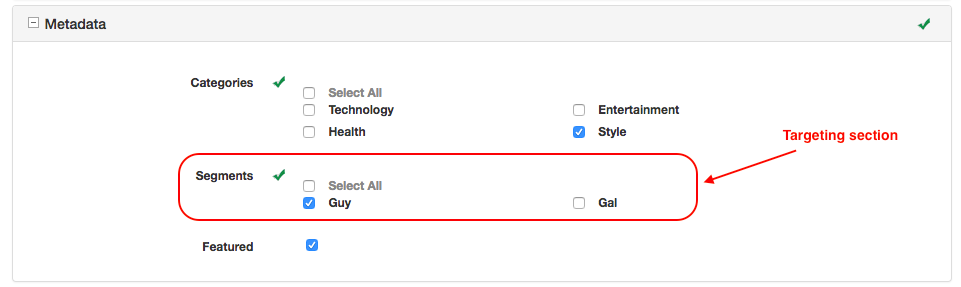
In the example below, targeting is in the Metadata section, under Segments, where the available segments are Anonymous, Guy and Gal, and the page is currently tagged for the segment Guy.
Viewing the site with different segments
The authoring environment can be configured with any number of predefined attributes for targeting. A set of attributes is like a profile, in fact it behaves exactly the same way but instead of setting up and signing in as specific users to test different scenarios authors can simply switch back and forth between the available configured attributes.
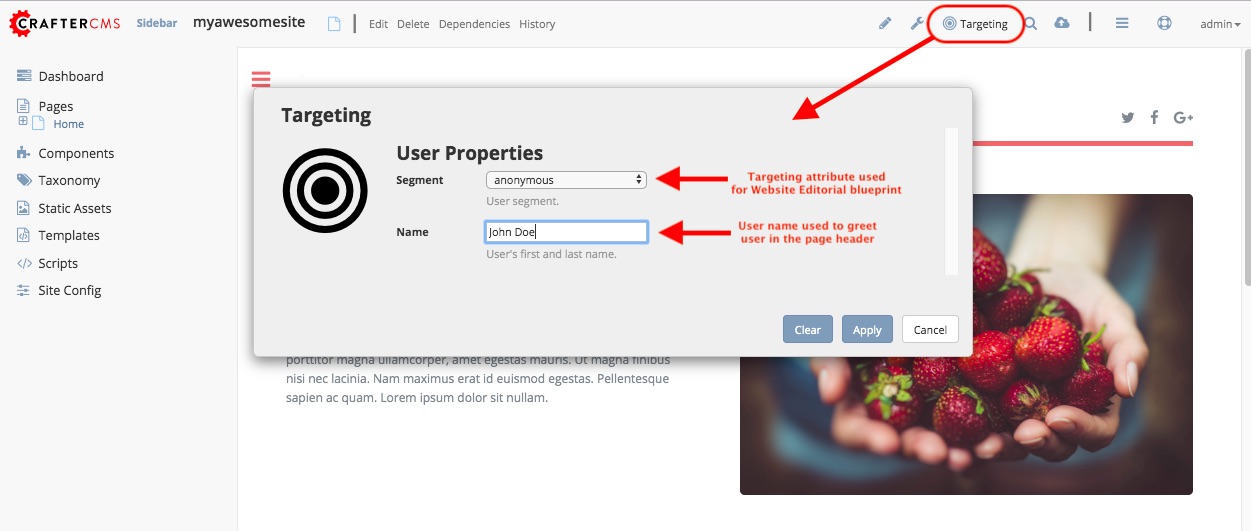
To find out the current active targeting attributes, hover on the targeting image (bulls eye) ![]() displayed to the right of the context nav (on the upper right hand side of Studio) then click, and a dialog containing the current attribute values will appear. You can have as many attributes as you need for your site. To add other attributes, please see the section Content Targeting in the developer’s section of the documentation. In the Website_editorial blueprint that we are using, the targeting attribute used is segments.
displayed to the right of the context nav (on the upper right hand side of Studio) then click, and a dialog containing the current attribute values will appear. You can have as many attributes as you need for your site. To add other attributes, please see the section Content Targeting in the developer’s section of the documentation. In the Website_editorial blueprint that we are using, the targeting attribute used is segments.
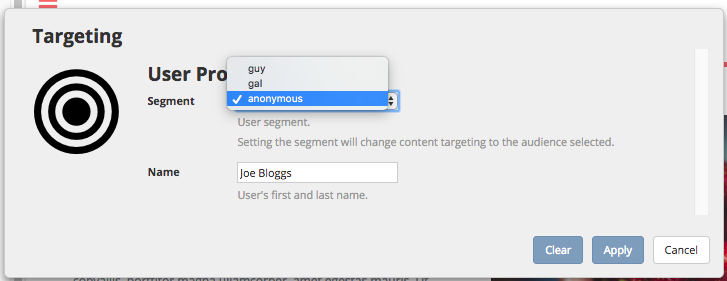
To view what the site would look like if it were being browsed by a certain segment, open the targeting dialog by clicking on the bulls eye ![]() on the upper right hand of Studio, and select the segment you would like to see the site with.
on the upper right hand of Studio, and select the segment you would like to see the site with.
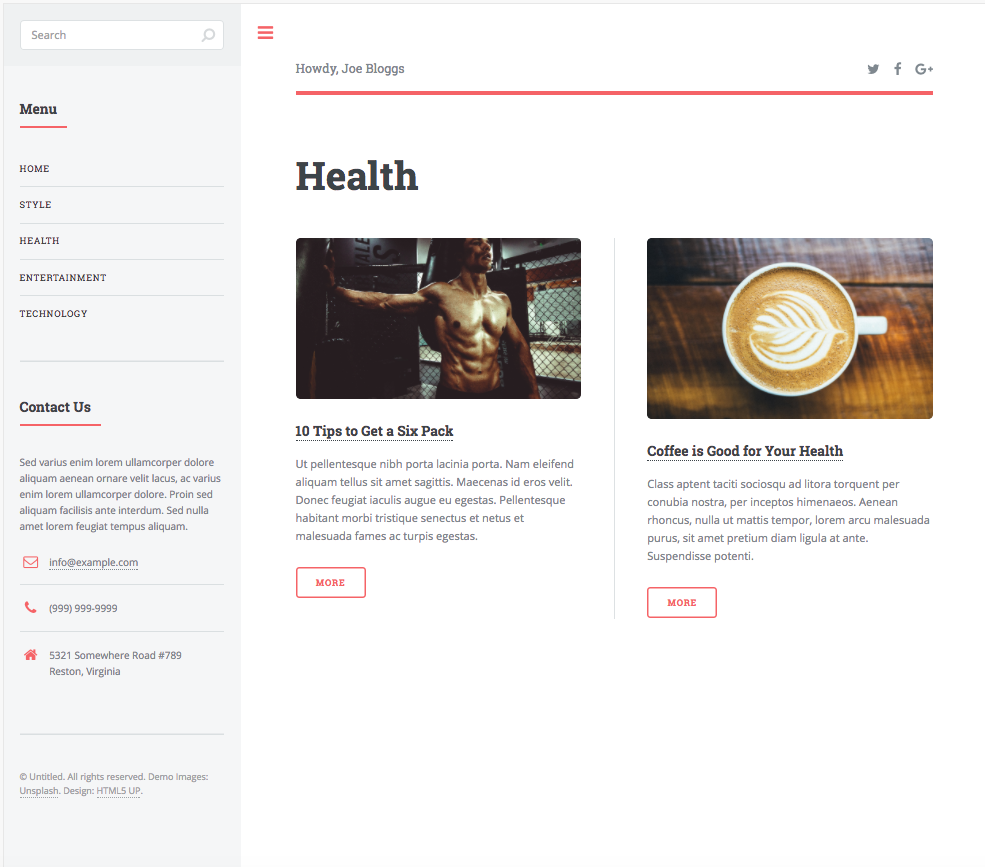
Below is a page with the segment set to Anonymous. Notice the articles available on the page.
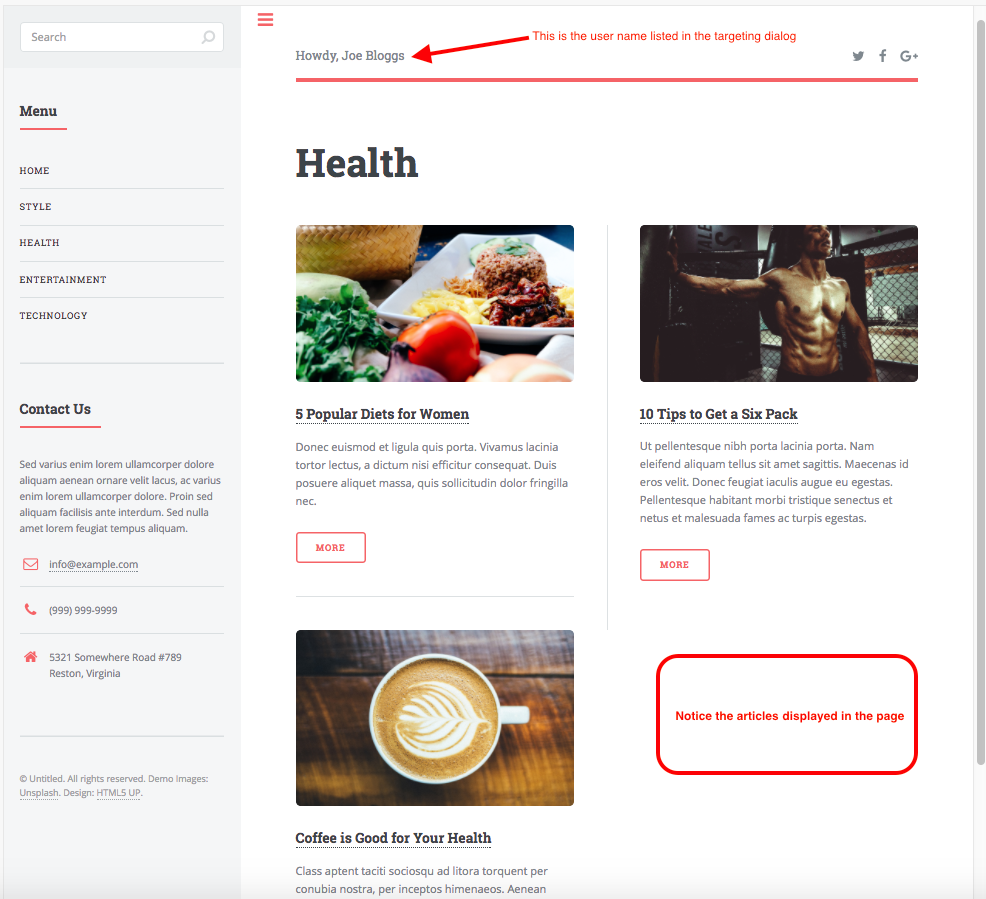
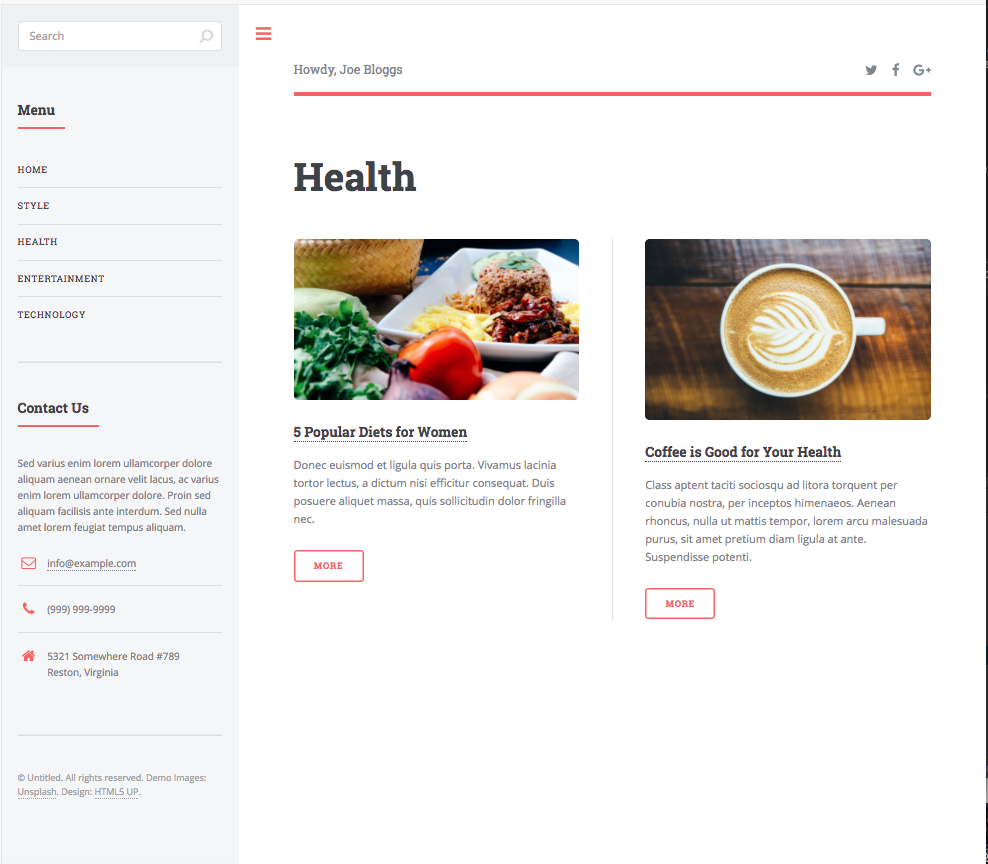
Selecting a different segment than the currently selected one, will cause the preview for all channels to immediately respond with content for a user with the attributes selected. Below, the segment Guy is selected. Notice the articles available on the page has changed to display only articles targeted to segment Guy
Here, the segment Gal is selected. Again, notice the articles available on the page.
As mentioned above, you can setup/configure as many attributes as needed to target your content and for more information. Please see the sections on targeting, Content Targeting in the developers section of the documentation and Targeting Configuration and Content Targeting Guide in the site administrators section of the documentation for more information.