Component Content Type
Component content type templates are very similar to page content type templates, as mentioned in Content Modeling, the only difference between components and pages is that components cannot render by itself, it needs a container to render into. In this section, we will look at the component content type, Component - Articles Widget found in the Website_Editorial blueprint that shows you how to create a component content type that can be rendered in the sidebar.
To create a new component content type, click on ![]() in the Sidebar. Click on Content Types, then select Create New Type. Enter a Display Label and content type name for your new template, then select Component as Type and then click on the Create button.
in the Sidebar. Click on Content Types, then select Create New Type. Enter a Display Label and content type name for your new template, then select Component as Type and then click on the Create button.
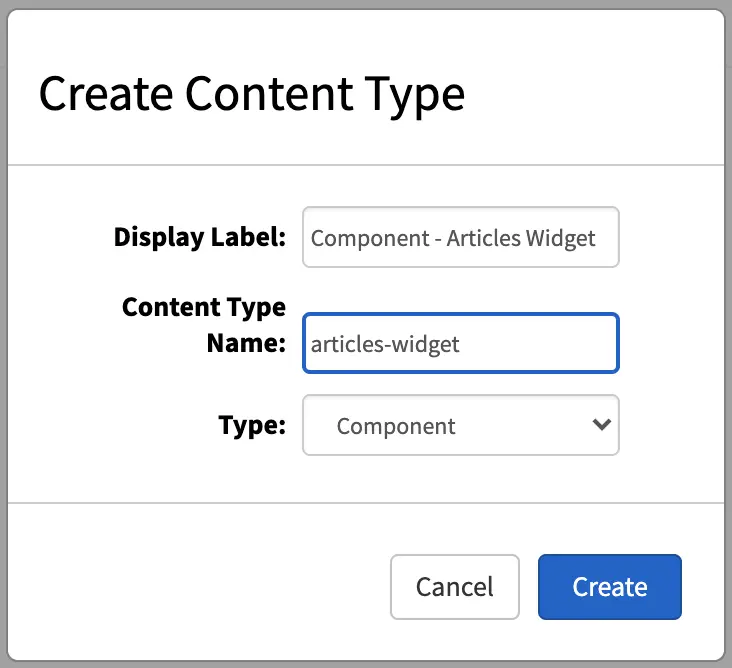
We’ll now show you how to construct the layout of our component. Just like a Page content type, a Component content type has three ingredients: the model, the view and the controller.
Model
The dialog that opens after clicking on the Create button is the form that is presented to authors to enter content into. The controls available are on the right side of the dialog, in the Controls section. Simply drag the desired control to the form section to add.
Let’s take a look at the model for the articles-widget component content type. The default dialog after clicking on the Create button contains only the Component ID and Internal Name field. From the image below, we have a few input controls added, one for the Title, one for Max Articles, a check box for Disable Component and an item selector for Controllers.
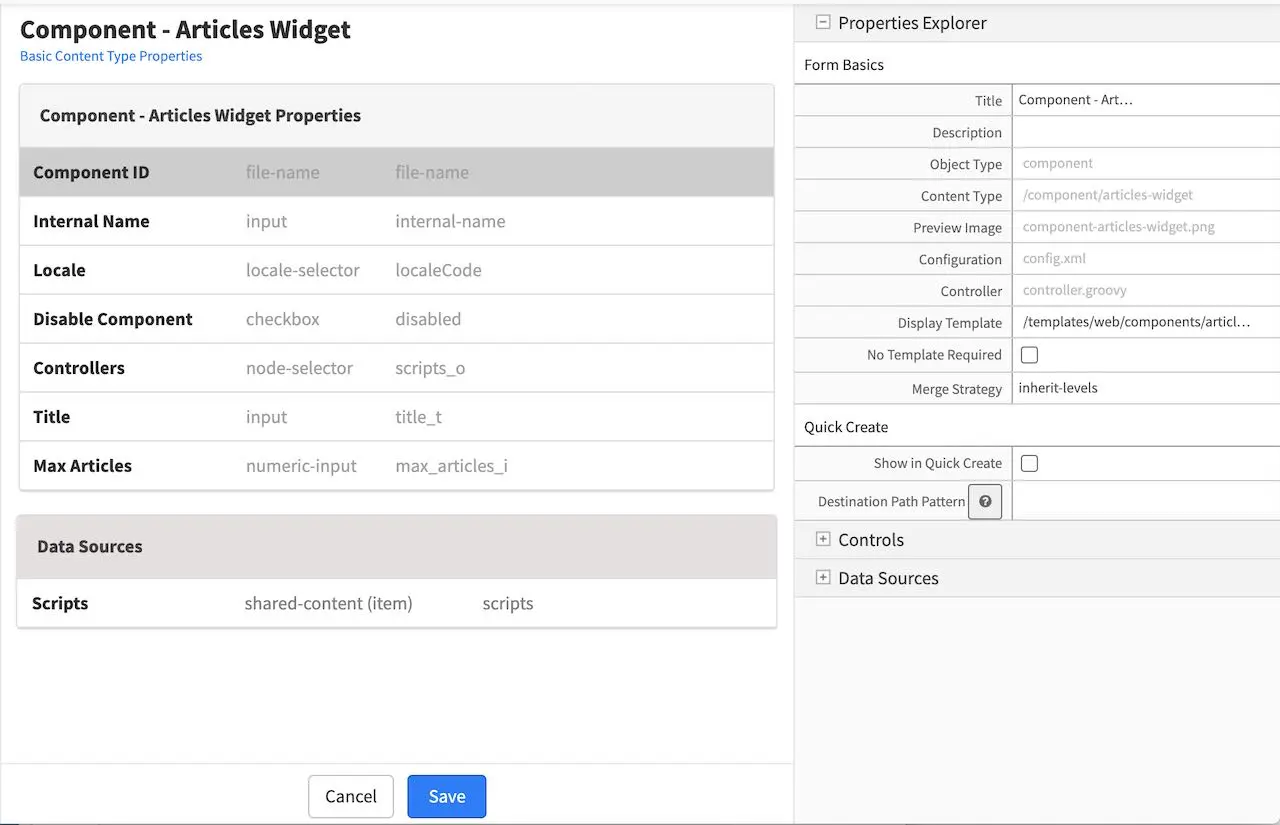
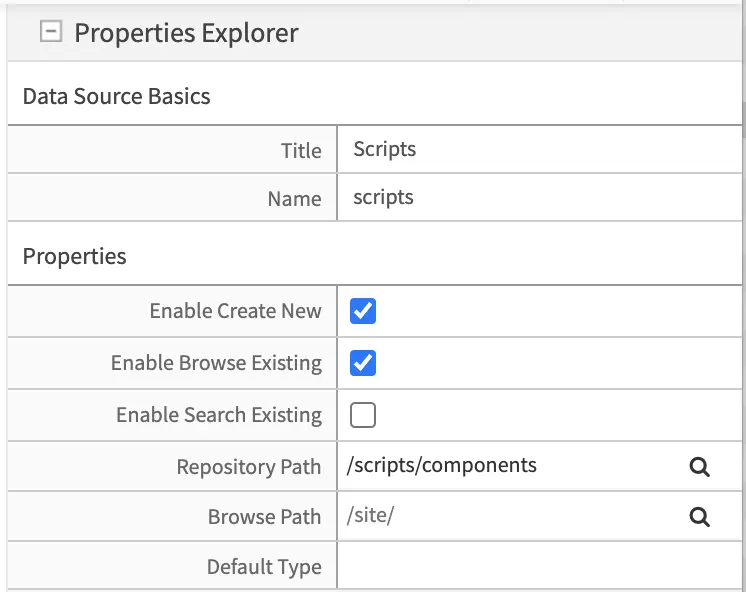
In the Data Sources section of the form, we see a shared content for Scripts, with the Repository Path property set to /scripts/components
We’ll take a look at the property Controllers and notice that the data source Scripts is bound to the item selector Controllers by a check mark to Scripts for the Item Manager under the Properties Explorer of the Controller item selector control
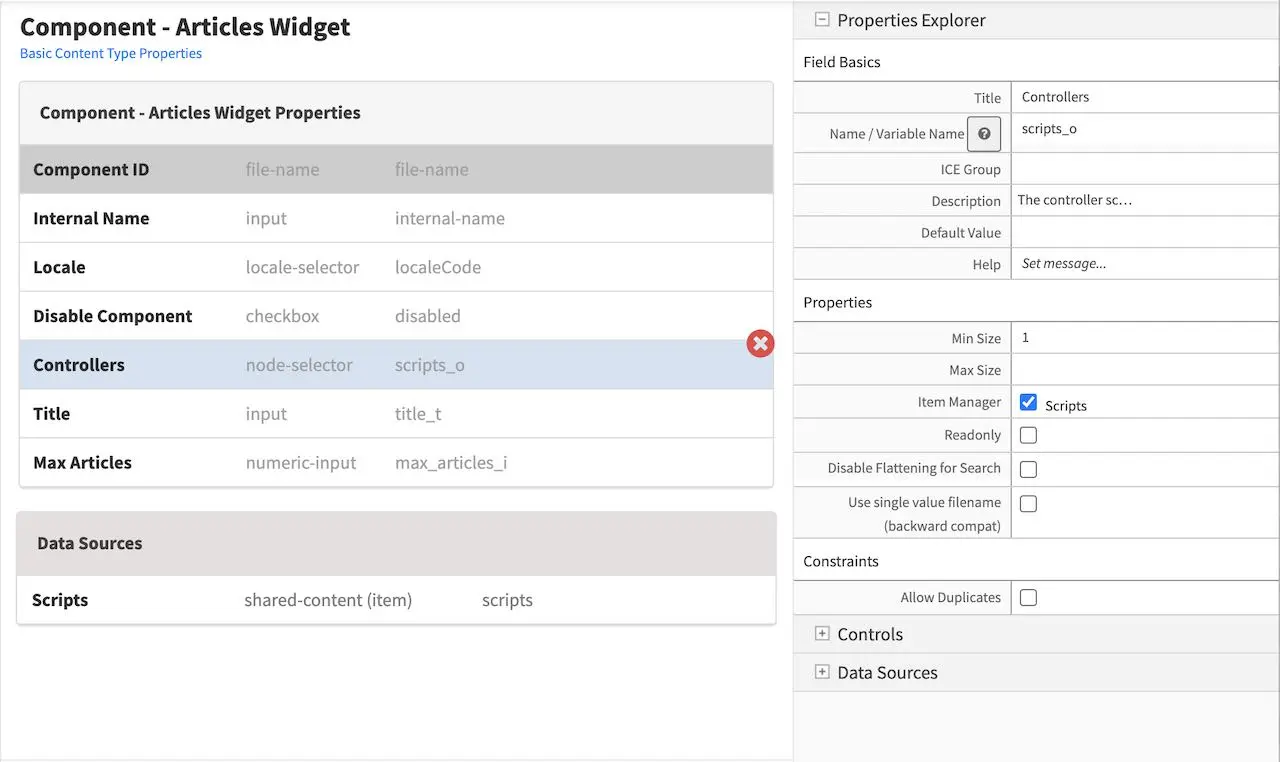
That’s the model for the component content type Articles - Widget. Remember that you can add some other controls by dragging and dropping controls from the Controls section to the form. To learn more about all the controls available, please see Form Controls. To learn more about the data sources available, please see Data Sources.
View
We’ll now look at the view for our template, which is the freemarker template file that renders the content, typically to HTML markup. There are two ways to create the freemarker template file for our template. One way is to open the Sidebar menu in Studio, then navigate to the Templates folder, depending on how your site is setup, you may want to navigate to the subfolder in your Templates folder where you want to create the freemarker template file. Once you are in the desired subfolder, right click on that folder then select Create Template. In our example here, we navigated to Templates->templates->components, then right click on the components folder then select Create Template
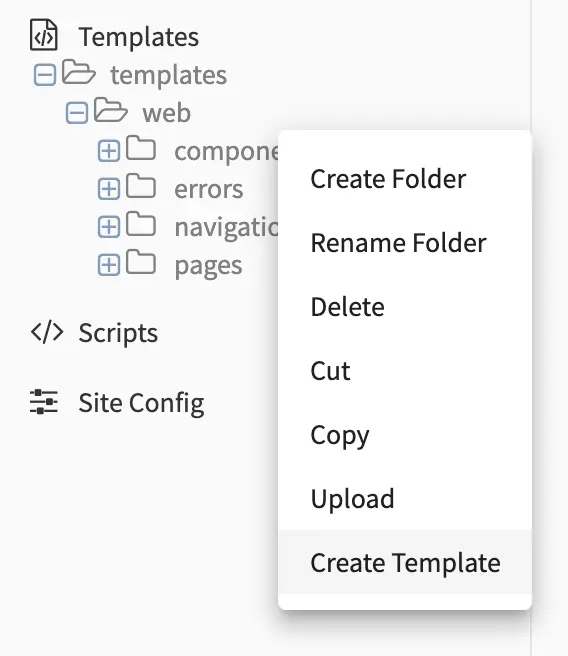
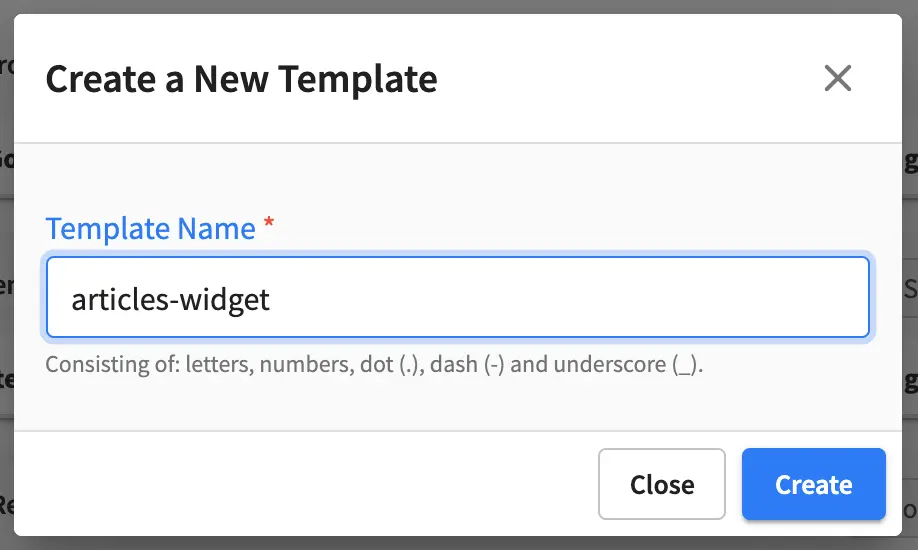
You’ll then be shown a dialog where you can give the view template a name, then click on Create and a dialog will open where you can enter how you want to display the content.
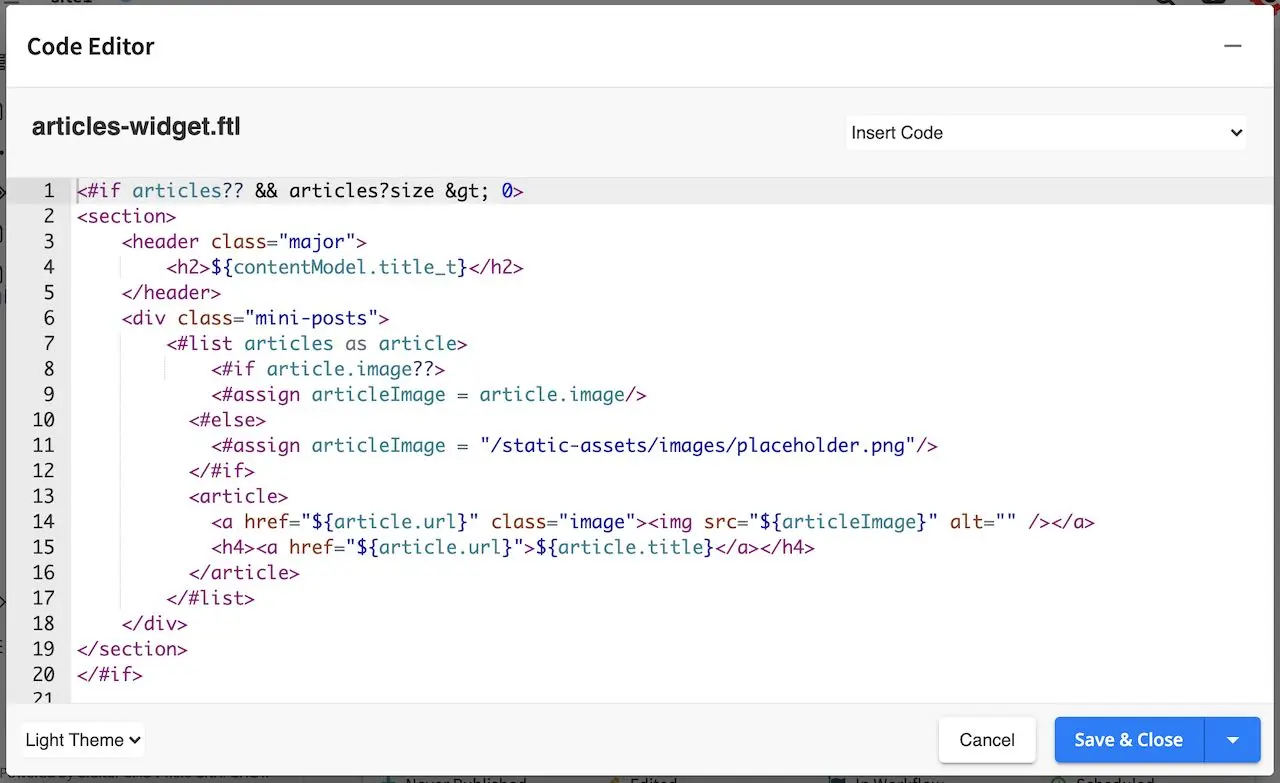
Here we’ll take a look at the view template for the component content type named articles-widget.ftl
Let’s take a look on how to bind the view template to the model described earlier by clicking on the Display Template under the Properties Explorer in your model.
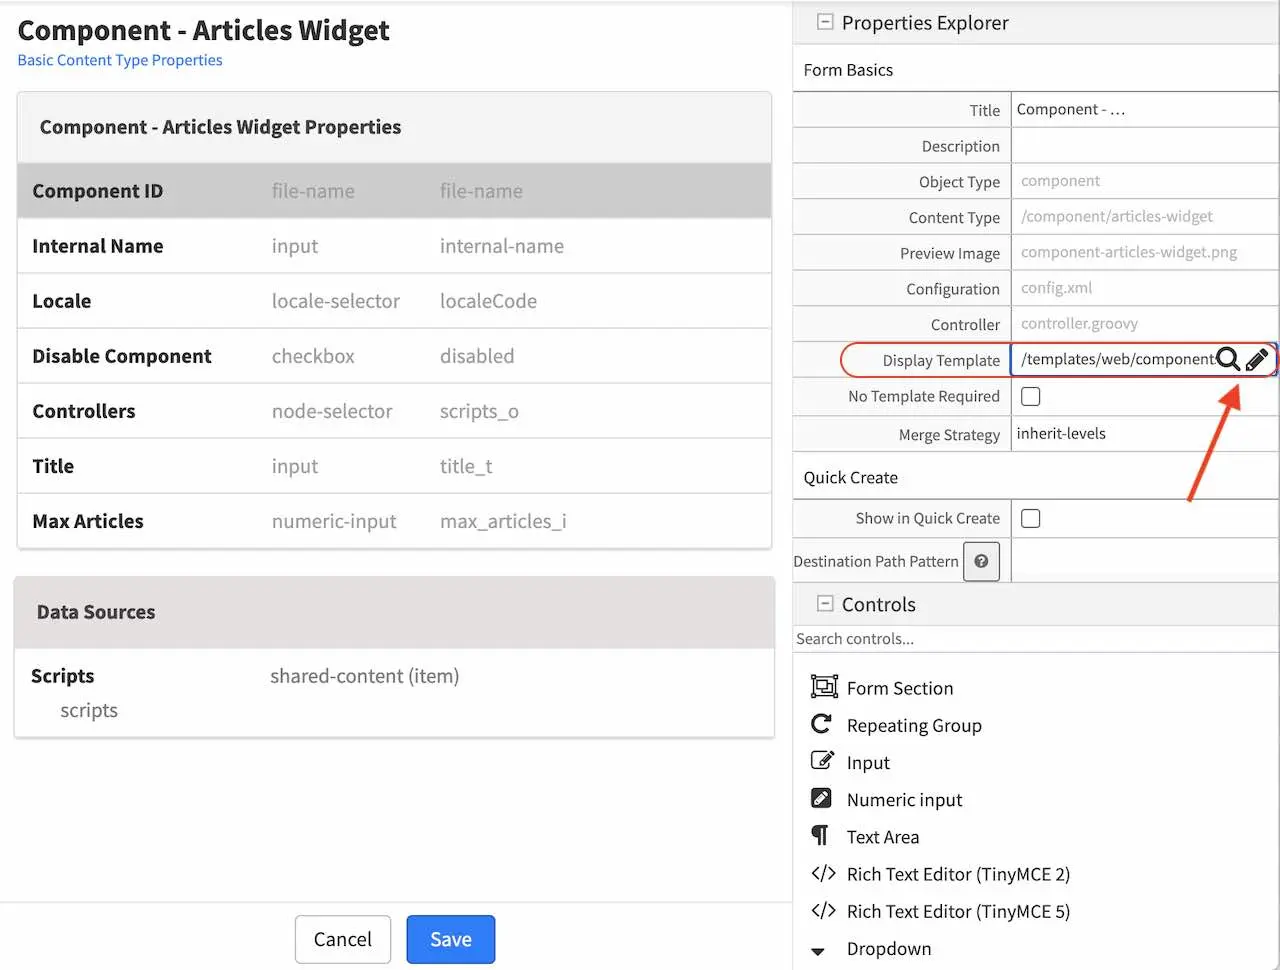
We will now select the view template we just created by clicking on the magnifying glass and selecting your desired template from the list. For our example, we would select articles-widget.ftl from the list.
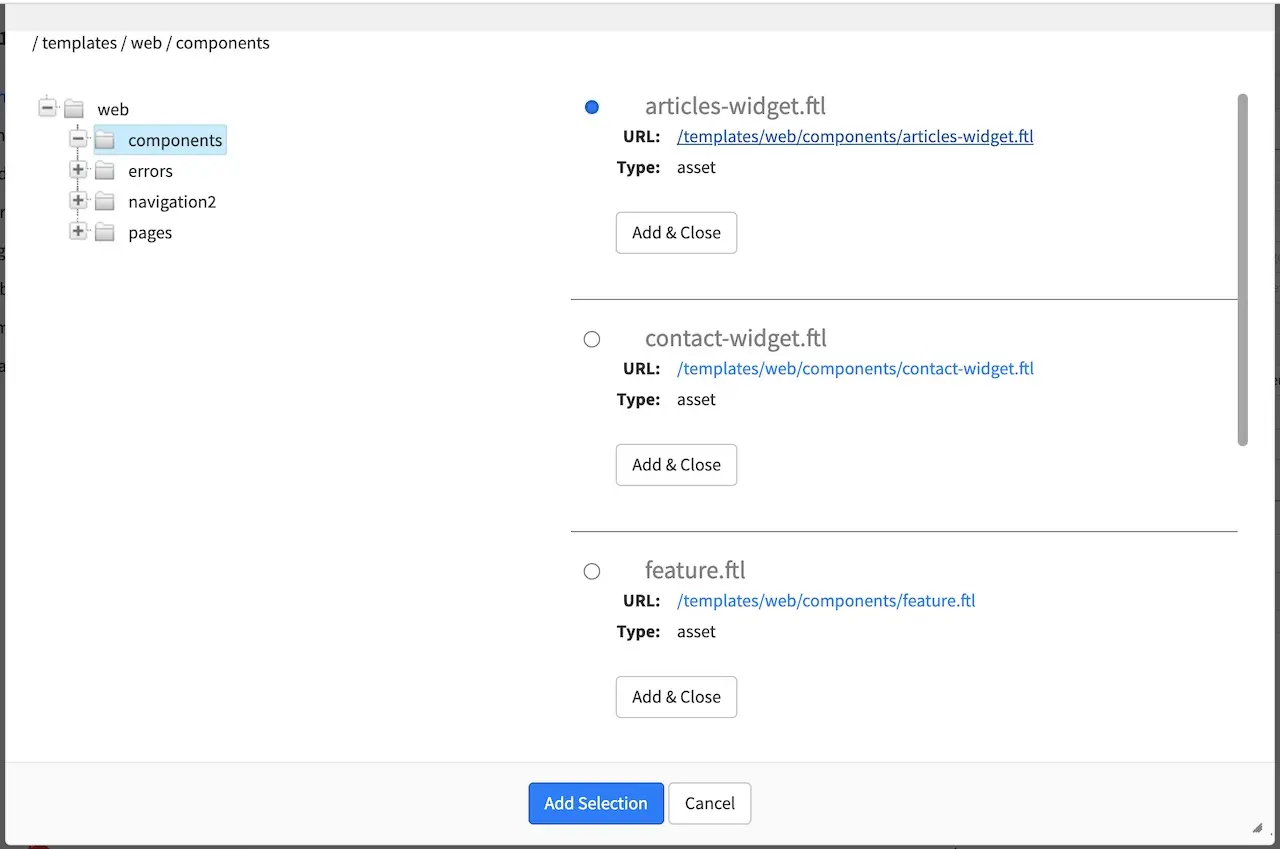
Our view template is now done. Next we’ll see how to create a controller for our component and bind it to the articles-widget component content type template.
Controller
We will look at a controller that allows us to display the latest article entries in the sidebar of our site.
There are two ways to bind a script/controller to a page/component. The first way, as we have seen in the previous section Page Content Type is to put the script under Scripts->Pages or Scripts->Components, and name the script after the page or component type. We’ll show the other way how to bind a script to a page/component in this section, by adding an item selector to the model with a corresponding data source Shared Content named scripts. When we were looking at the model for our content type template (articles-widget), you may have noticed that there is an item selector named Controllers with a corresponding data source shared content named Scripts, we are now going to look at a script that can be used by the item selector of our content type.
To create a new controller, open the Sidebar menu and navigate to the Scripts folder. Click on the Scripts folder then scripts. Right click on the folder components, then select Create Controller
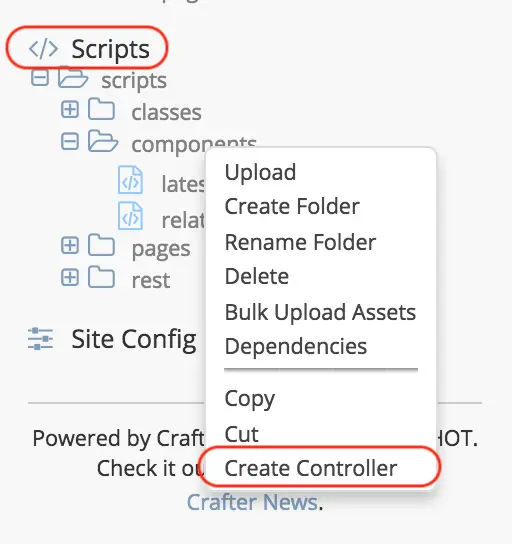
Enter a name for the controller, then click on the Create button. For our latest articles example, this is how it would look like when giving your controller a name:
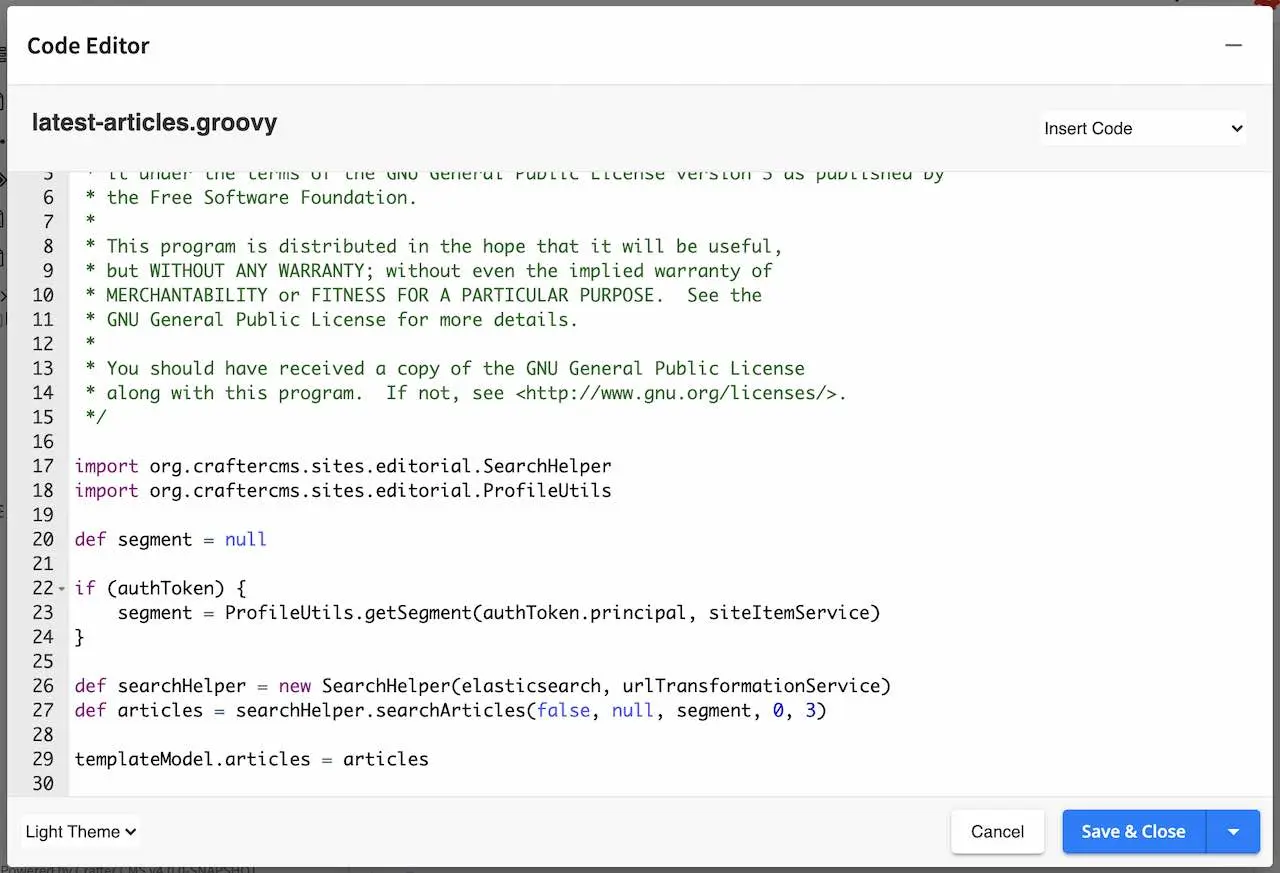
A dialog will then open where you can start entering your script. Let’s take a look at the script to get a list of the latest articles
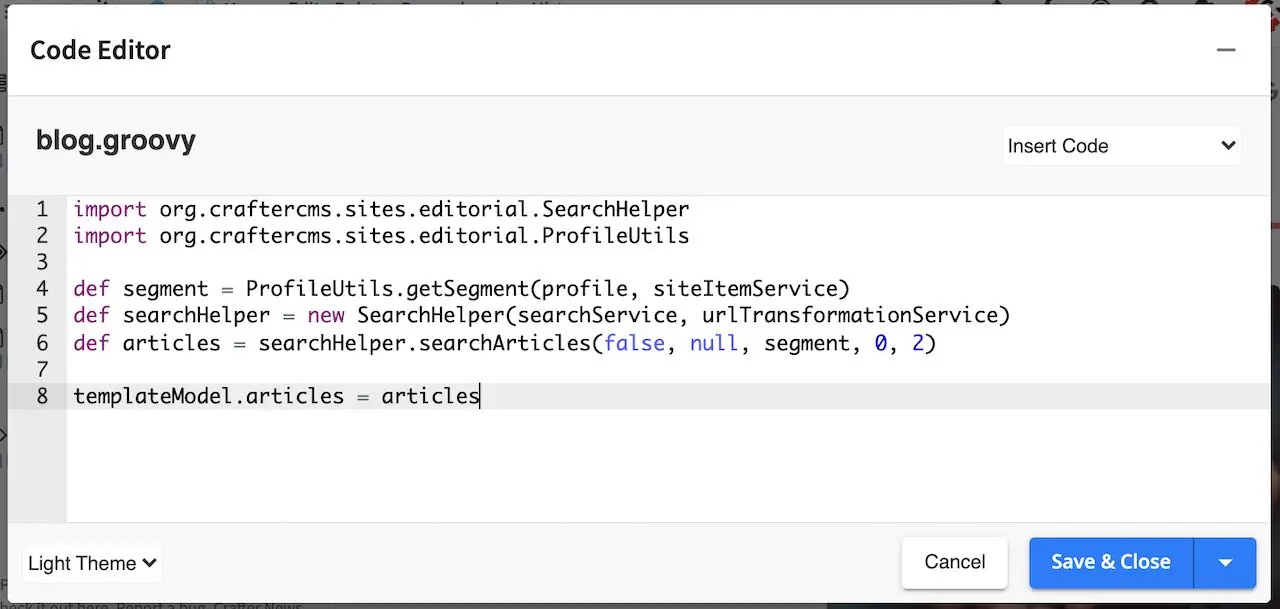
1import org.craftercms.sites.editorial.SearchHelper
2import org.craftercms.sites.editorial.ProfileUtils
3
4def segment = ProfileUtils.getSegment(profile, siteItemService)
5def searchHelper = new SearchHelper(searchService, urlTransformationService)
6def articles = searchHelper.searchArticles(false, null, segment, 0, 2)
7
8templateModel.articles = articles
After creating your controller, you would then need to create a component that will use the script just created. Let’s take a look at the component named Latest Articles Widget under the Components folder in the Sidebar which uses the script we looked at earlier. Preview your site or click on the Dashboard. Click on the Sidebar and navigate to Components -> components -> articles-widget. To create a new component, right click on the folder, then select New Content, which will open the form containing the model we looked at earlier for articles-widget:
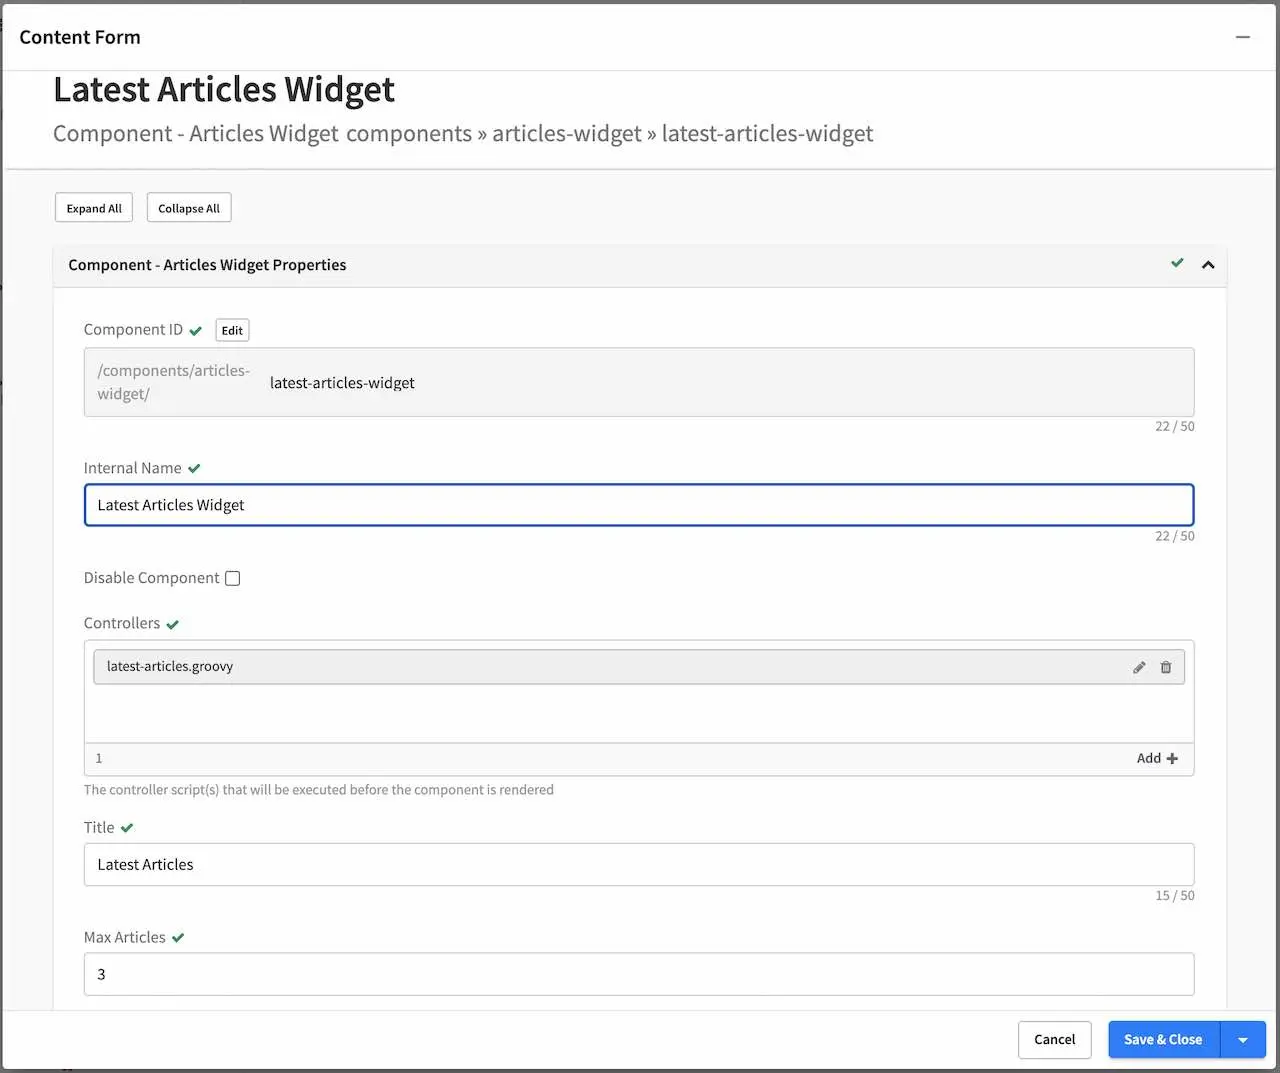
As we can see from the figure above, the script we created is bound to the new articles-widget component we created. To bind a script to your component, in the Controllers field, click on the Add button, then select Browse for Existing - Scripts, which would then give you a list of existing scripts:

The component is now ready to be used in the Sidebar.