
Upload and Transcode Video using AWS Elemental MediaConvert
Crafter Studio allows users to upload and transcode videos using AWS MediaConvert using a data source in the content type. The following guide explains how to:
Configure Studio to use AWS MediaConvert and S3 for uploading and transcoding video.
Upload video to AWS using the transcoded video picker control and AWS data sources in Studio that then triggers a transcoding job.
Generate public links that users can use to display the transcoded videos.
Prerequisites
Create an AWS S3 bucket for uploading the transcoded videos.
Create an AWS Elemental MediaConvert Job template.
For development purposes, the following permissions work but you may want to use less in your production setting:
MediaConvert IAM role withAmazonS3FullAccessandAmazonAPIGatewayInvokeFullAccessFor more information on available permissions for AWS Elemental MediaConvert, see https://aws.permissions.cloud/iam/mediaconvert
Create a site based on the Website Editorial blueprint.
Step 1: Add the S3 and MediaConvert configuration in Studio
Go to ![]() >
> Configuration and in the dropdown select AWS Profiles. If you click on
View Sample, you’ll see the available configuration profiles.
In particular, the configuration for the AWS MediaConvert profile is the following:
 1    <mediaConvert>
 2         <profile>
 3             <id>mediaconvert-default</id>
 4             <credentials>
 5                 <accessKey>xxxxxxxxx</accessKey>
 6                 <secretKey>xxxxxxxxx</secretKey>
 7             </credentials>
 8             <region>us-west-1</region>
 9             <endpoint>https://XXXXXXXX.mediaconvert.us-east-1.amazonaws.com</endpoint>
10             <role>arn:aws:iam::XXXXXXXXXXXX:role/...</role>
11             <queue>arn:aws:mediaconvert:us-east-1:XXXXXXXXXXXX:queues/...</queue>
12             <inputPath>example-bucket/folder/videos</inputPath>
13             <template>Example Template</template>
14         </profile>
15     </mediaConvert>
Where:
profile.id: the ID that AWS data sources will use to refer to this profile.
credentials: the AWS credentials (access key and secret key) use to access the S3 bucket.
region: the AWS region where the bucket resides.
endpoint: URL specific for the account, can be found in the AWS MediaConvert dashboard
role: ARN of the role used to create transcoding jobs found in the AWS MediaConvert dashboard
queue: ARN of the queue used to create transcoding jobs found in the AWS MediaConvert dashboard
inputPath: Name of the S3 bucket and optional path to upload files
template: Name of the Job Template used to create transcoding jobs found in the AWS MediaConvert dashboard
We also need an S3 profile where the transcoded videos will be uploaded. See Use S3 to store assets on how to configure the profile for AWS S3.
For this guide, the AWS Profiles should look like this (replace the X's for actual AWS credentials,
mybucket for the actual bucket where you’re storing the transcoded videos, mybucket/folder/videos for the actual folder setup in AWS where the transcoded videos will be stored, Example Template for the actual AWS MediaConvert job template name):
 1    <?xml version="1.0" encoding="UTF-8"?>
 2    <aws>
 3      <s3>
 4        <profile>
 5          <id>s3-default</id>
 6          <credentials>
 7            <accessKey>XXXXXXXXXX</accessKey>
 8            <secretKey>XXXXXXXXXXXXXXXXXXXX</secretKey>
 9          </credentials>
10          <region>us-east-1</region>
11          <bucketName>mybucket</bucketName>
12        </profile>
13      </s3>
14
15      <mediaConvert>
16        <profile>
17          <id>mediaconvert-default</id>
18          <credentials>
19            <accessKey>xxxxxxxxx</accessKey>
20            <secretKey>xxxxxxxxx</secretKey>
21          </credentials>
22          <region>us-east-1</region>
23          <endpoint>https://XXXXXXXX.mediaconvert.us-east-1.amazonaws.com</endpoint>
24          <role>arn:aws:iam::XXXXXXXXXXXX:role/...</role>
25          <queue>arn:aws:mediaconvert:us-east-1:XXXXXXXXXXXX:queues/...</queue>
26          <inputPath>mybucket/folder/videos</inputPath>
27          <template>Example Template</template>
28        </profile>
29      </mediaConvert>
30    </aws>
Step 2: Add the control and data source for uploading video to AWS for transcoding, to the content type
For our example, we’ll add the Video Transcoding from S3 datasource and a Transcoded Video picker control to the Page - Article content type. To do this:
Go to
 -> Content Types and open the
 Page - Articlecontent type definition.We’ll add a data source where to upload a video that will be transcoded. At the end of the Data Sources section, add a
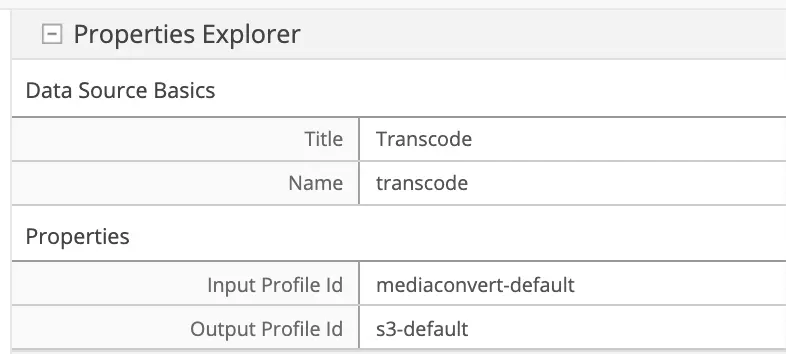
Video Transcoding from S3data source with Title Transcode and Name transcode. In the Input Profile Id property, enter the MediaConvertprofile.idconfigured in step 1, used for uploading and triggering the transcode job (mediaconvert-defaultfrom the example in step 1). In the Output Profile Id property, enlnoter the S3profile.idconfigured in step 1, used to access the files generated by the transcode job (s3-defaultfrom the example in step 1).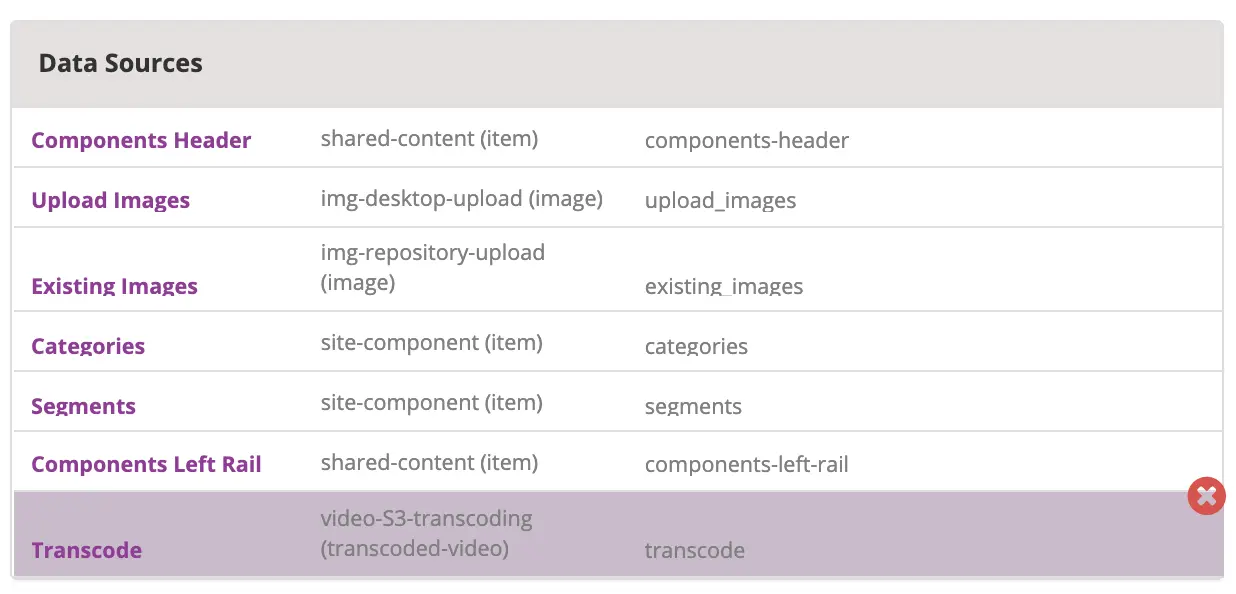
At the end of the Content section, add a
Transcoded Videocontrol with Title Transcoded Video and Name transcodedVideo_o.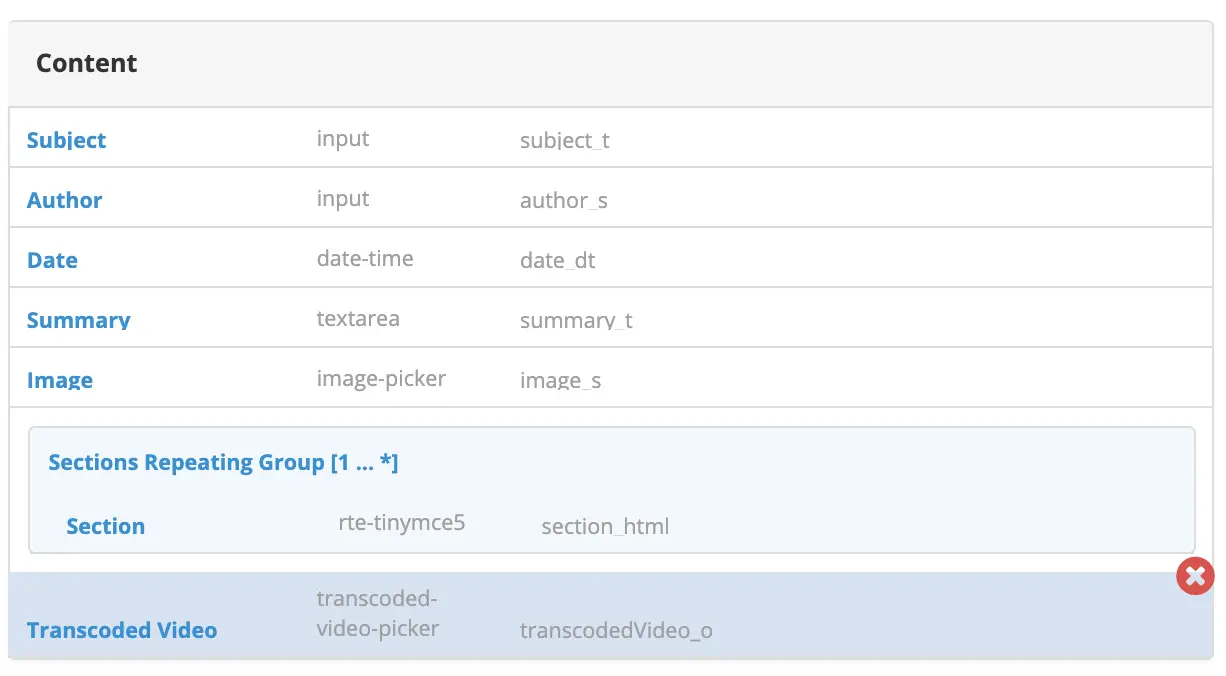
Note
If you’re using Freemarker as your view layer, follow the steps below after adding the data source and control for uploading video to AWS for transcoding, to the content type:
We need to add the Freemarker code that will render the URLs. In the example below, we will display one of the transcoded videos.
In the
Templates>web>pages>article.ftl, add the following lines after the<section><header class="main" <@studio.iceAttr iceGroup="subject"/>>...</#section>lines:1<!-- AWSVideoTranscoding --> 2<section id="transcodedVideos"> 3 <h2>Videos</h2> 4 <video width="400" controls> 5 <source src="${ contentModel.transcodedVideo_o.item[0].url }" type="video/mp4"> 6 Your browser does not support HTML5 video. 7 </video> 8</section>
Step 3: Upload a video and test the changes
If all the previous steps have been done correctly, you should be able to add a video that will be transcoded into the formats specified in your job template, and in the case of our example, one of the videos will be available for viewing when the page is rendered.
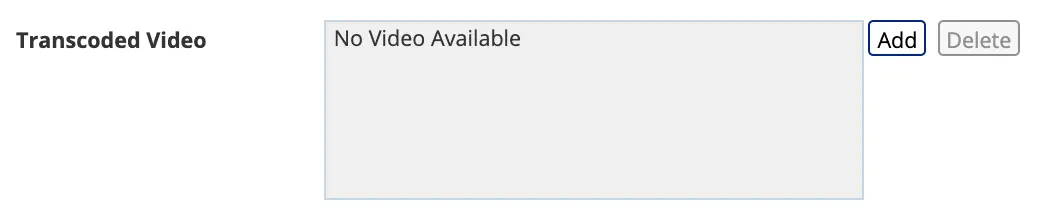
To upload a video, click on the Add button. We will be uploading the video remoteRepos.mp4:
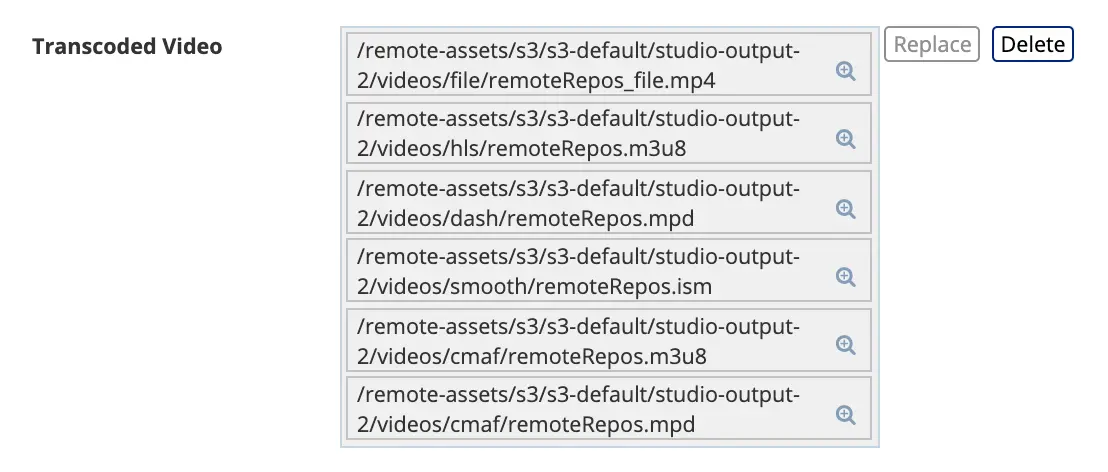
Here’s how it will look like in the form edit after uploading a video and the transcoding job is finished. Notice that in the job template, the uploaded video will be transcoded into 5 formats:
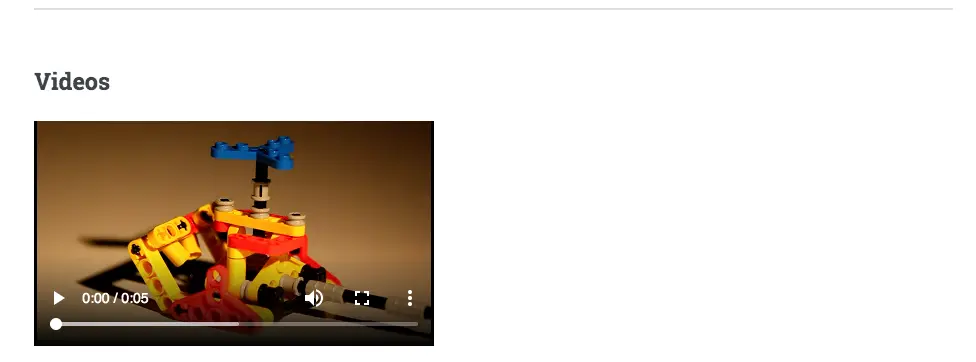
Here’s how it will look like when we preview the page where we added the video:
Step 4: Publish the changes
The next step is to publish the changes. Remember to publish not just the page where we added the AWS MediaConvert data source,
but also the article.ftl and the aws.xml files too.
