
Use S3 to store assets
AWS S3 is recommended when you need to store media and documents that are quite large. The following guide explains how to:
Configure Studio to use an S3 bucket.
Upload documents to the S3 bucket using the AWS data sources and item selector control in Studio.
Generate public links that users can use to access these documents.
Note
The preferred way to store S3 files is to use the Blob Store since it can handle multiple buckets and is completely integrated in Crafter Studio, allowing you to upload and publish files in S3 as if they were in the local repo.
For more information on Blob Store, see Blob Stores Configuration
For an example of setting up a blob store, see here
Prerequisites
Create an AWS S3 bucket to upload the assets.
Create a site based on the Editorial blueprint.
Step 1: Add the S3 configuration in Studio
Go to ![]() >
> Configurations and in the dropdown select AWS Profiles. If you click on
View Sample, you’ll see the available configuration profiles. In particular, the configuration for an S3
profile is the following:
1<profile>
2 <id/>
3 <credentials>
4   <accessKey/>
5   <secretKey/>
6 </credentials>
7 <region/>
8 <bucketName/>
9</profile>
Where:
profile.id: the ID that AWS data sources will use to refer to this profile.
credentials: the AWS credentials (access key and secret key) use to access the S3 bucket.
region: the AWS region where the bucket resides.
bucketName: the name of the bucket where the assets will be put.
For this guide, the AWS Profiles should look like this (replace the X's for actual AWS credentials and
bucket name for the actual bucket where you’re storing the documents):
 1<?xml version="1.0" encoding="UTF-8"?>
 2<aws>
 3  <version>2</version>
 4  <s3>
 5    <profile>
 6      <id>s3-default</id>
 7      <credentials>
 8        <accessKey>XXXXXXXXXX</accessKey>
 9        <secretKey>XXXXXXXXXXXXXXXXXXXX</secretKey>
10      </credentials>
11      <region>us-east-1</region>
12      <bucketName>mybucket</bucketName>
13    </profile>
14  </s3>
15</aws>
Step 2: Add the controls and data source for uploading files to your S3 bucket to the content type
For our example, we’ll add an Attachment field, which is of type node-selector that is bound to an AWS file upload
data source, to the Page - Article content type. To do this:
Go to
 and open the
 Page - Articlecontent type definition.We’ll add a data source where to upload our files. At the end of the Data Sources section, add a
File Uploaded to S3 Repositorydata source with Title S3 Upload and Name s3Upload. In the Profile Id property, enter the name ofprofile.idconfigured in step 1.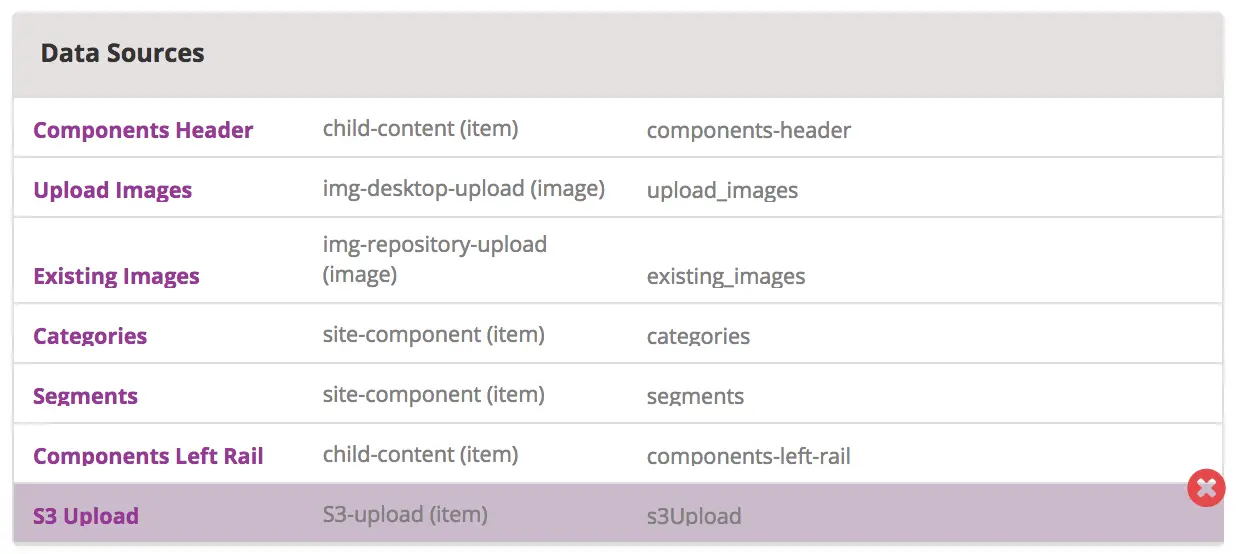
At the end of the Content section, add a
Repeating Groupcontrol with Title Attachments and Name attachments.Add an
Inputcontrol inside the repeating group with Title Attachment Name and Name attachmentName.Add an
Item Selectorcontrol with Title Attachment and Name attachment. We will bind the data source we added above to theItem Selectorcontrol by opening the Properties, then scroll toItem Managerand check the box next to the data source we added earlier, S3 Upload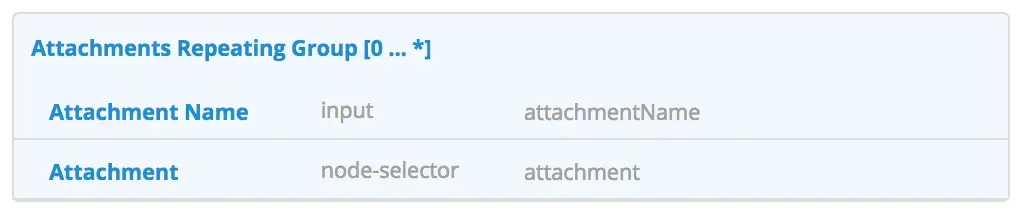
Note
If you’re using Freemarker as your view layer, follow the steps below after adding the data source and controls for uploading files to your S3 bucket to the content type:
We need to add the Freemarker code that will render the URLs. In
the Templates > web > pages > article.ftl, add the following lines after the
<#list contentModel.sections.item as item>...</#list> lines:
1<#if contentModel.attachments??>
2  <h2>Attachments</h2>
3  <ul>
4    <#list contentModel.attachments.item as a>
5      <li><a href="${a.attachment.item.key}">${a.attachmentName}</a></li>
6    </#list>
7  </ul>
8</#if>
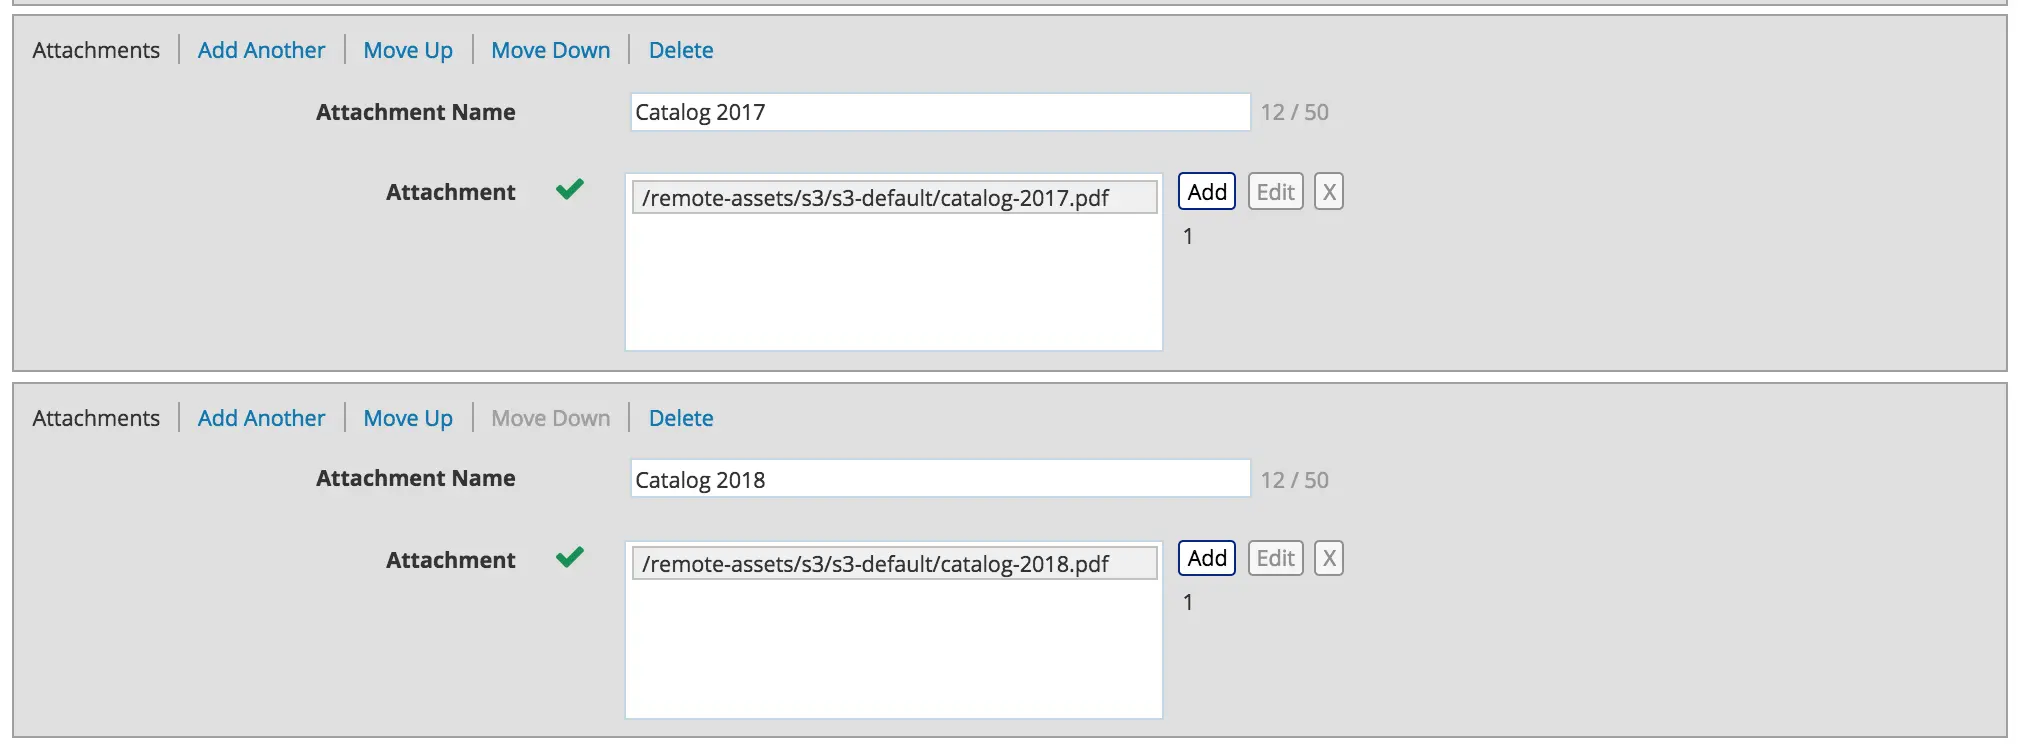
Step 3: Add some attachments and test the changes
If all the previous steps have been done correctly, you should be able to add any number of attachments and they should appear underneath the last content sections when the page is rendered. For example, after adding a couple of PDF catalogs in the Men Styles For Winter article:
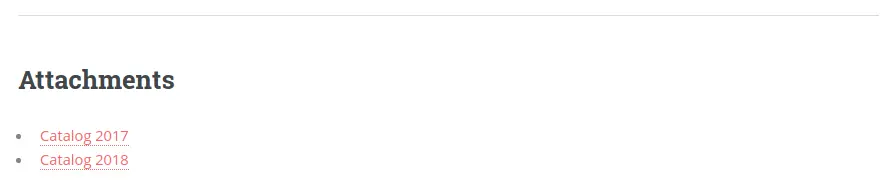
The bottom of the page looks like this when you preview your page:
Step 4: Publish the changes
The next step is to publish the changes. Remember to publish not just the page where we added the S3 assets,
but also the article.ftl and the aws.xml files too.
