
Simple Delivery Kubernetes Deployment
CrafterCMS has an example Kubernetes deployment for a Delivery with a single instance, which you can get from https://github.com/craftercms/kubernetes-deployments/tree/master/delivery/cluster. This guide covers how to install this example in a Kubernetes cluster.
Important
This guide assumes you have a working understanding of Kubernetes
Requirements
You need to have a Kubernetes cluster, and the kubectl command-line tool must be configured to communicate with your cluster. If you do not already have a cluster, you can create one by using Minikube: https://github.com/kubernetes/minikube.
The nodes in your cluster should at least have 4 CPUs and 16 GB of space, to avoid performance issues and out of memory errors. In Minikube, to start a node with this characteristics, you can run a command similar to the following:
minikube start --cpus 4 --memory 16384.
In addition to that, you need an Authoring pod with a project published to live to pull site content from.
Important
If you need to setup an Authoring environment, refer to Simple Authoring With a Single Instance Kubernetes Deployment. DO NOT use Setup Studio Clustering with Kubernetes Deployment , which is not compatible with this guide.
Setup Kubernetes Secrets
The deployment files cloned from https://github.com/craftercms/kubernetes-deployments/ have a folder set aside for placing confidential information, kubernetes-deployments/delivery/simple/resources/secrets.
If you previously setup Authoring with Git SSH access:
Copy the
id_rsaandid_rsa.pubfiles fromkubernetes-deployments/authoring/simple/resources/secrets/git-ssh-servertokubernetes-deployments/delivery/simple/resources/secrets/git-ssh-server
If you previously setup Authoring with Git HTTPS access:
Copy the
server.crtfile fromkubernetes-deployments/authoring/simple/resources/secrets/git-https-servertokubernetes-deployments/delivery/simple/resources/secrets/git-https-server
Please also make sure that you uncomment the Kubernetes configuration lines under kubernetes-deployments/delivery/simple that start with Uncomment if using the Git (HTTPS|SSH) server (comment the configuration related to the other protocol).
Start the Deployment
Create the craftercms namespace if it doesn’t exist yet.
➜  kubectl create namespace craftercms
namespace/craftercms created
If using minikube, pre-pull the Authoring and Elasticsearch images to avoid context deadline exceeded errors (change CRAFTERCMS_VERSION for the actual Crafter version, e.g. 4.0.2).
➜  minikube image pull craftercms/delivery_tomcat:4.0.2
➜  minikube image pull docker.elastic.co/elasticsearch/elasticsearch:7.17.1
Go to kubernetes-deployments/delivery/simple then run kubectl apply -k .
➜  kubectl apply -k .
kubectl apply -k .
secret/ssh-keys-h5244t449m created
service/delivery-svc-headless created
statefulset.apps/delivery created
Check the status of the Delivery StatefulSet by running kubectl get -n craftercms deployments, and the status of the Pods by running kubectl get -n craftercms pods.
➜  kubectl get -n craftercms statefulsets
NAME        READY   AGE
authoring   1/1     20m
delivery    1/1     2m10s
➜ kubectl get -n craftercms pods NAME READY STATUS RESTARTS AGE authoring-0 4/4 Running 0 21m delivery-0 3/3 Running 0 3m25s
Once it comes up, you will see the new pod in RUNNING status, with 3 containers READY.
You can tail the logs of the tomcat and deployer containers, with the kubectl command:
kubectl logs -n craftercms -f -c CONTAINER_NAME POD_NAME
For example: kubectl logs -n craftercms -f -c tomcat authoring-0
Bootstrap the Site in Delivery
You will need to run the init-site.sh in order to setup the project in Delivery. Either of the following commands will create the Deployer site target and create the index in Elasticsearch.
If Authoring is running with the Git SSH server container:
Run
kubectl exec -n craftercms -it delivery-0 --container deployer -- gosu crafter ./bin/init-site.sh -k /opt/crafter/data/ssh/id_rsa SITE_NAME ssh://authoring-svc-headless/opt/crafter/data/repos/sites/SITE_NAME/published➜ kubectl exec -n craftercms -it delivery-0 --container deployer -- gosu crafter ./bin/init-site.sh -k /opt/crafter/data/ssh/id_rsa mysite ssh://authoring-svc-headless/opt/crafter/data/repos/sites/mysite/published Creating Deployer Target... SLF4J: Failed to load class "org.slf4j.impl.StaticLoggerBinder". SLF4J: Defaulting to no-operation (NOP) logger implementation SLF4J: See http://www.slf4j.org/codes.html#StaticLoggerBinder for further details. Target created successfully
Note
Remember that when using private key SSH authentication, the private key path must be set explicitly using the
-koption. Here’s an example:init-site -k ~/.ssh/jdoe_key myeditorial ssh://myserver/opt/crater/sites/myeditorial
If Authoring is running with the Git HTTPS server container:
Run
kubectl exec -n craftercms -it delivery-0 --container deployer -- gosu crafter ./bin/init-site.sh -u crafter -p crafter SITE_NAME https://authoring-svc-headless/repos/sites/SITE_NAME/published➜ kubectl exec -n craftercms -it delivery-0 --container deployer -- gosu crafter ./bin/init-site.sh -u crafter -p crafter mysite https://authoring-svc-headless/repos/sites/mysite/published Creating Deployer Target... SLF4J: Failed to load class "org.slf4j.impl.StaticLoggerBinder". SLF4J: Defaulting to no-operation (NOP) logger implementation SLF4J: See http://www.slf4j.org/codes.html#StaticLoggerBinder for further details. Target created successfully
Important
The example configuration files include the Git HTTPS credentials in plain text, for simplicity. If setting up Delivery in production, make sure to properly create the credentials as Secrets.
After a minute or two, the Deployer should have pulled the project content from Authoring (you can check it by getting the Delivery Deployer log: kubectl logs -n craftercms -c deployer delivery-0).
You can now access the project in Delivery, by forwarding a local port to port 8080 of the pod, with the kubectl port-forward command:
kubectl port-forward -n craftercms pods/POD_NAME LOCAL_PORT:POD_PORT
Here’s an example of forwarding local port 9080 to the 8080 port of the delivery-0 pod:
➜  kubectl port-forward -n craftercms pods/delivery-0 9080:8080
Forwarding from 127.0.0.1:9080 -> 8080
Forwarding from [::1]:9080 -> 8080
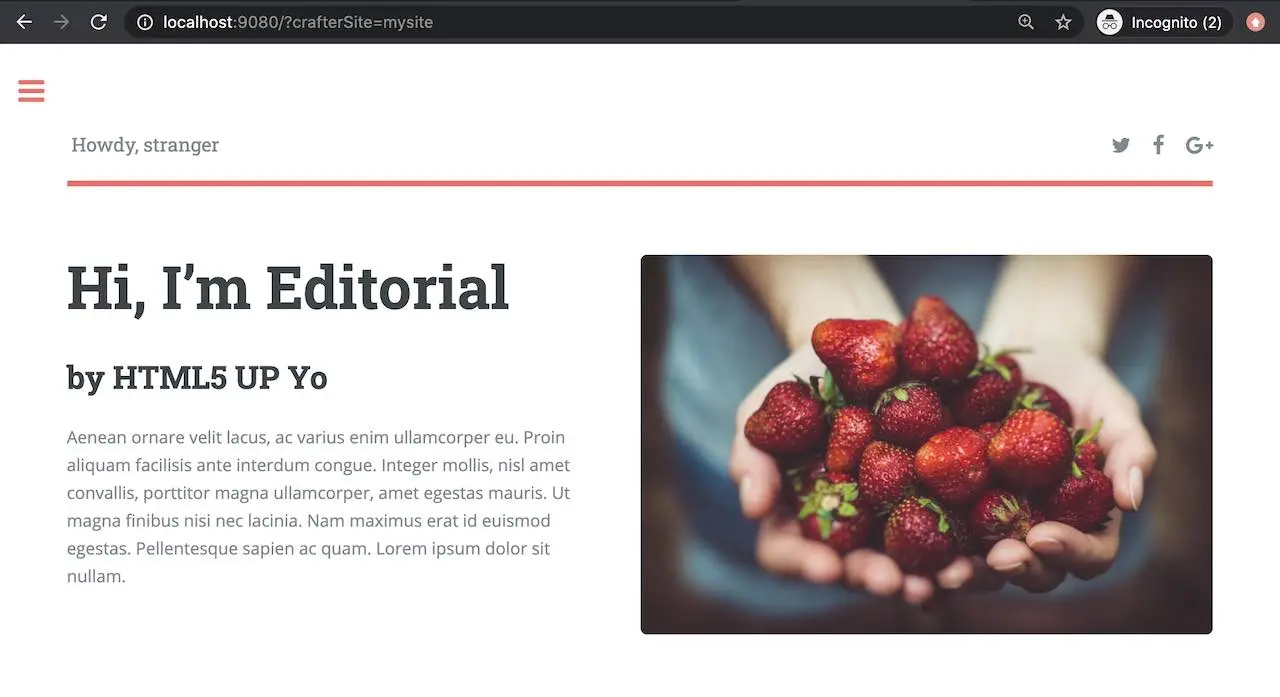
We can now view the project in Delivery from the pod by entering localhost:9080?crafterSite=mysite in your browser.
Also, now when making a change in Authoring and publishing it, the change will be reflected in Delivery after a minute.