Upgrading to RTE TinyMCE 5
When upgrading to CrafterCMS 3.1 you can choose to keep your existing sites without changes to the RTEs (RTE TinyMCE 2) in use or upgrade the RTE to RTE TinyMCE 5. For new sites created using the default blueprints, the default RTE in use is the RTE TinyMCE 5.
Updating to TinyMCE 5
The first thing to do is figure out which content types has an RTE that you’d like to upgrade to TinyMCE 5.
Let’s take a look at an example on how to upgrade to TinyMCE 5 RTE. In our example, we have a site created using the Website Editorial bp where we want to upgrade the articles pages to use TinyMCE 5 RTE.
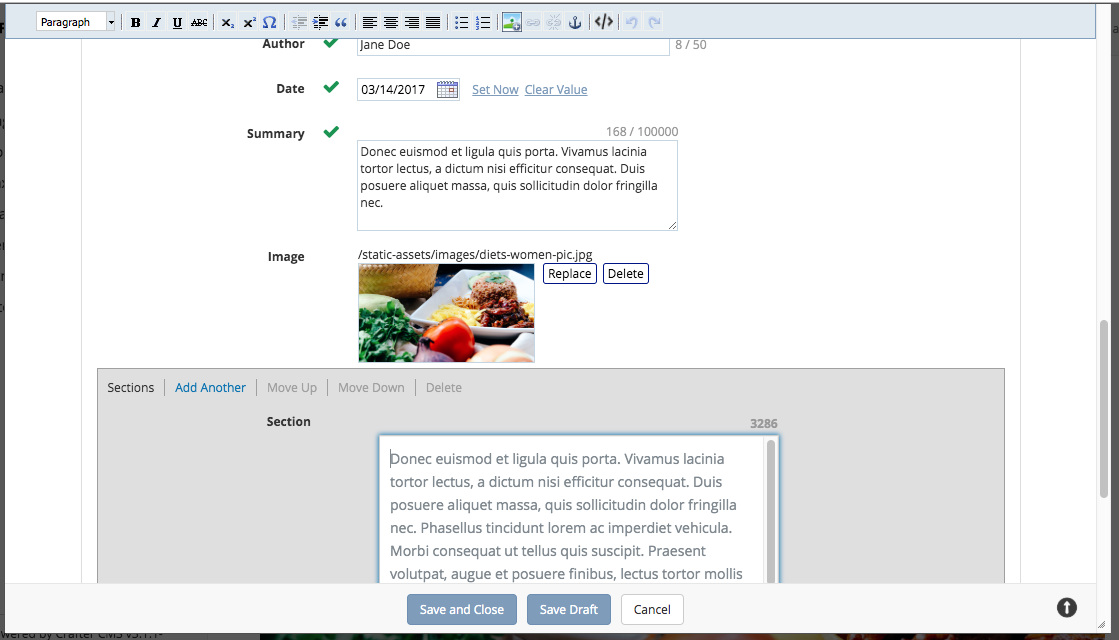
Let’s begin upgrading the RTE. We’ll open up the Page - Article content type, by opening the Sidebar, then clicking on ![]() . Click on Content Types next, then click on Open Existing Type. Click on Page - Article. Once the form opens, scroll to the
. Click on Content Types next, then click on Open Existing Type. Click on Page - Article. Once the form opens, scroll to the Content section.
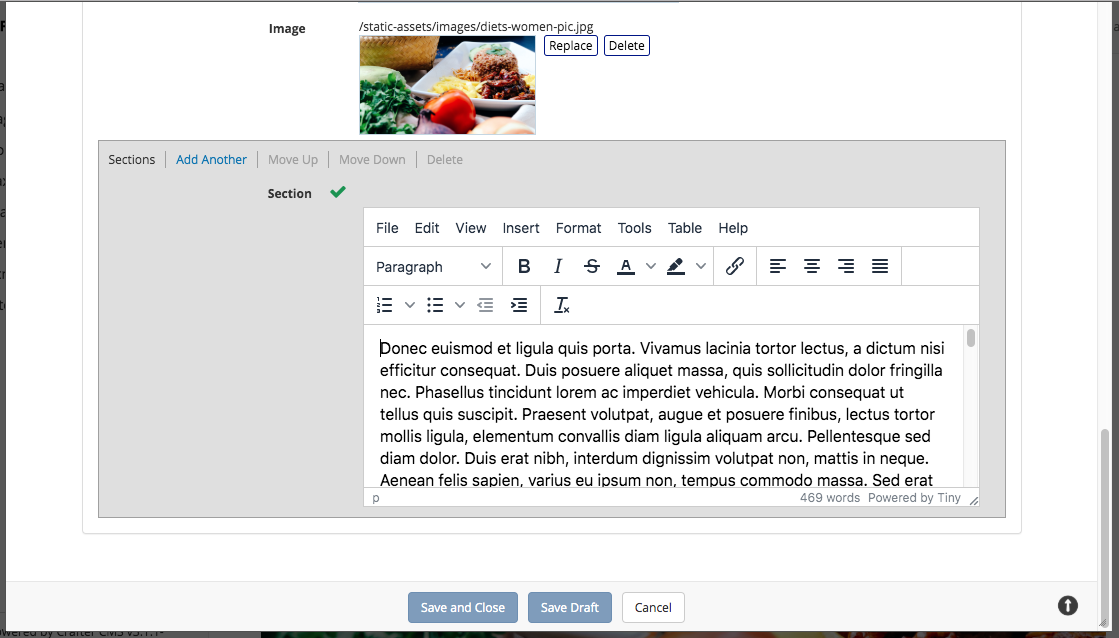
The RTE that we want to upgrade is inside the Sections Repeating Group, in the field named Section. Note down the values for the RTE properties in the Properties Explorer.
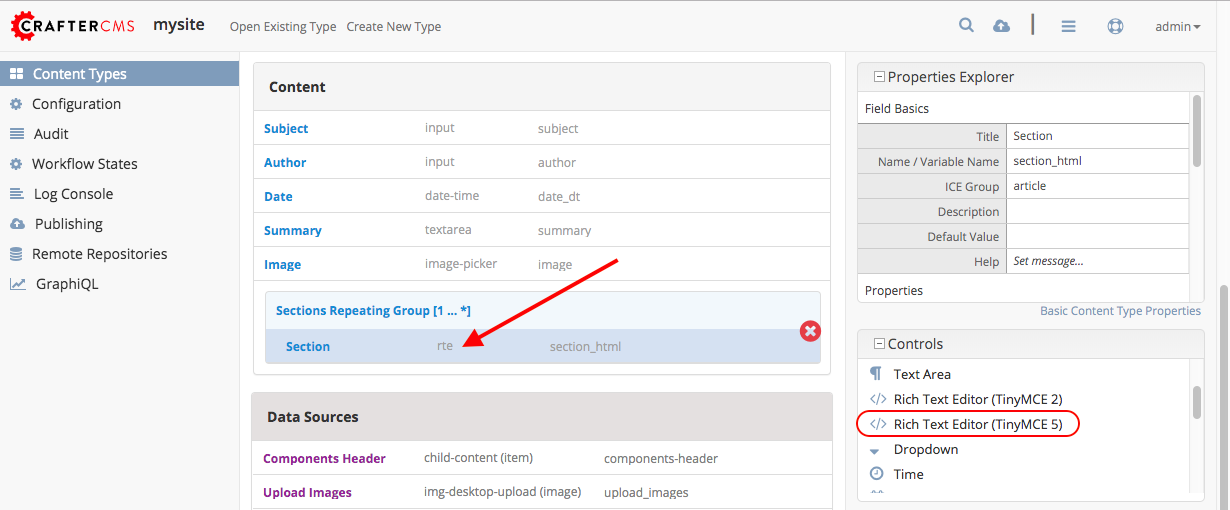
Drag the Rich Text Editor (TinyMCE 5) control from the Controls section on the right hand side, to the Sections Repeating Group. Copy over the property values you noted down earlier in the TinyMCE 5 RTE.
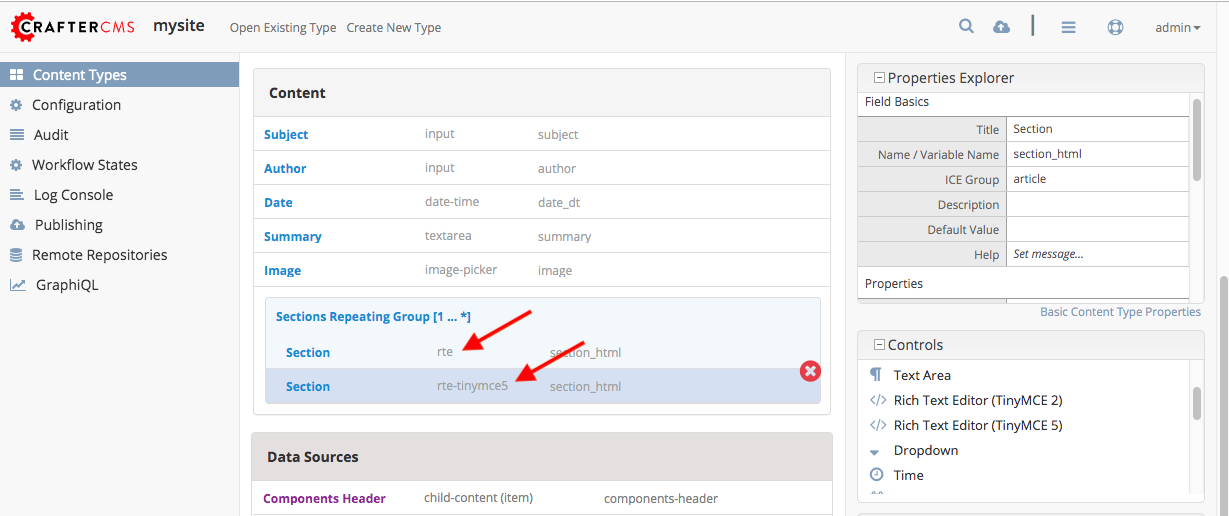
After copying over the property values, we can now delete the old RTE by selecting the old RTE, then clicking on the the red X button. Save your changes. Your RTE has now been upgraded.