
Simple Delivery Kubernetes Deployment
A Kubernetes deployment describes an applications life cycle, e.g. images to be used, the number of pods, etc. It creates pods based on a specified template. CrafterCMS has an example Kubernetes deployment for a simple delivery. In this section, we’ll take a look at this example Kubernetes deployment.
Requirements
You need to have a Kubernetes cluster, and the kubectl command-line tool must be configured to communicate with your
cluster. If you do not already have a cluster, you can create one by using Minikube:
https://github.com/kubernetes/minikube.
The nodes in your cluster should at least have 4 CPUs and 8 GB of space, to avoid performance issues and out of memory
errors. In Minikube, to start a node with this characteristics, you can run a command similar to the following:
minikube start --cpus 4 --memory 8192.
In addition to that, we need the following:
k9s for viewing the status of the pods, the logs, etc
An Authoring pod with a site published to
liveto pull site content from. To setup an authoring pod, you can follow Simple Authoring with a Single Instance Kubernetes Deployment or Setup Studio Clustering with Kubernetes Deployment . Take note of the keys used in your Authoring setup. We will be using the same ssh keys for our simple delivery setup. For this guide, we will use a simple Authoring with a single instance Kubernetes deployment to pull site content from.Kubernetes deployment files for CrafterCMS Simple Delivery, found here: https://github.com/craftercms/kubernetes-deployments/
➜ git clone https://github.com/craftercms/kubernetes-deployments.git
The deployment files that we need for our example is under the
kubernetes-deployments/delivery/simplefolder:kubernetes-deployments/delivery/simple resources/ config/ studio/ studio-config-override.yaml secrets/ .ssh/ config authoring-deployment.yaml kustomization.yaml
Setup Kubernetes Secrets
From https://kubernetes.io/docs/concepts/configuration/secret/
"Kubernetes Secrets let you store and manage sensitive information, such as passwords, OAuth tokens, and ssh keys."
The deployment files cloned from https://github.com/craftercms/kubernetes-deployments/ has a folder set aside for placing confidential information, kubernetes-deployments/delivery/simple/resources/secrets
We’ll need SSH access to the Authoring pod/s to pull site content. We’ll be copying over the contents of the .ssh folder of your Authoring setup.
The guides Simple Authoring with a Single Instance Kubernetes Deployment and Setup Studio Clustering with Kubernetes Deployment have details on how to setup an Authoring pod, where an SSH public/private key pair for authentication is generated and provided as a Kubernetes secret to the pods.
First, we’ll go to the .ssh folder of our simple delivery deployment, then copy over the contents of the .ssh folder in the Authoring setup.
➜ cd kubernetes-deployments/delivery/simple/resources/secrets/.ssh
➜ cp kubernetes-deployments/authoring/simple/resources/secrets/.ssh/* .
Start the Deployment
Go to kubernetes-deployments/delivery/simple then run kubectl apply -k .
➜  kubectl apply -k .
secret/delivery-ssh-keys-868d5g494k created
service/delivery-service-headless created
statefulset.apps/delivery created
Check the status of the deployments by running kubectl get deployments, and the status of the Pods by running kubectl get pods. Here’s a sample output when running kubectl get pods:
➜  simple git:(support/3.1.x) kubectl get pods
NAME          READY   STATUS    RESTARTS   AGE
authoring-0   4/4     Running   0          116m
delivery-0    3/3     Running   0          8m55s
delivery-1    3/3     Running   0          6m13s
Note that for the sample simple delivery Kubernetes deployment, two delivery pods are setup and for the simple authoring deployment, only one authoring pod is setup.
Another way of checking the status of the deployments/pods/etc. is by running k9s on the command line, which will open up a text-based user interface:
➜ k9s
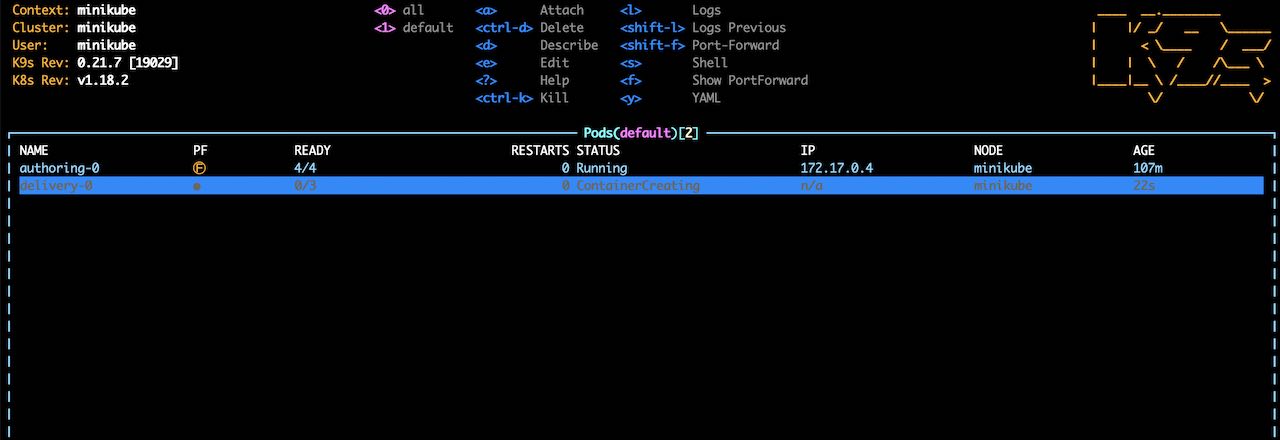
Once it comes up, you will see the new pod created.
You can tail the logs of the tomcat and deployer containers, with the kubectl command:
kubectl logs -f -c CONTAINER_NAME POD_NAME
For example: kubectl logs -f -c tomcat delivery-0
To view the logs in a pod using k9s, from the Pods view, select the pod you would like to view the logs of using your keyboard arrow keys, then hit enter to view the containers in the pod.
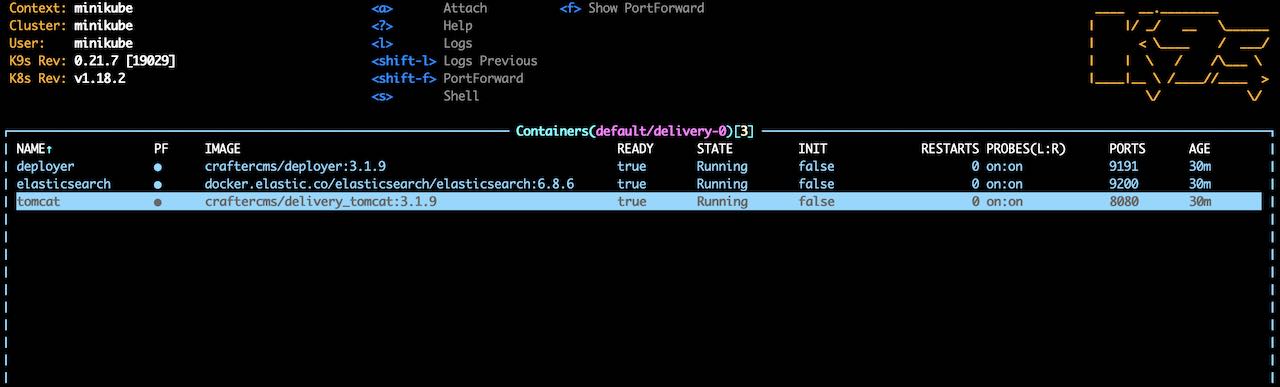
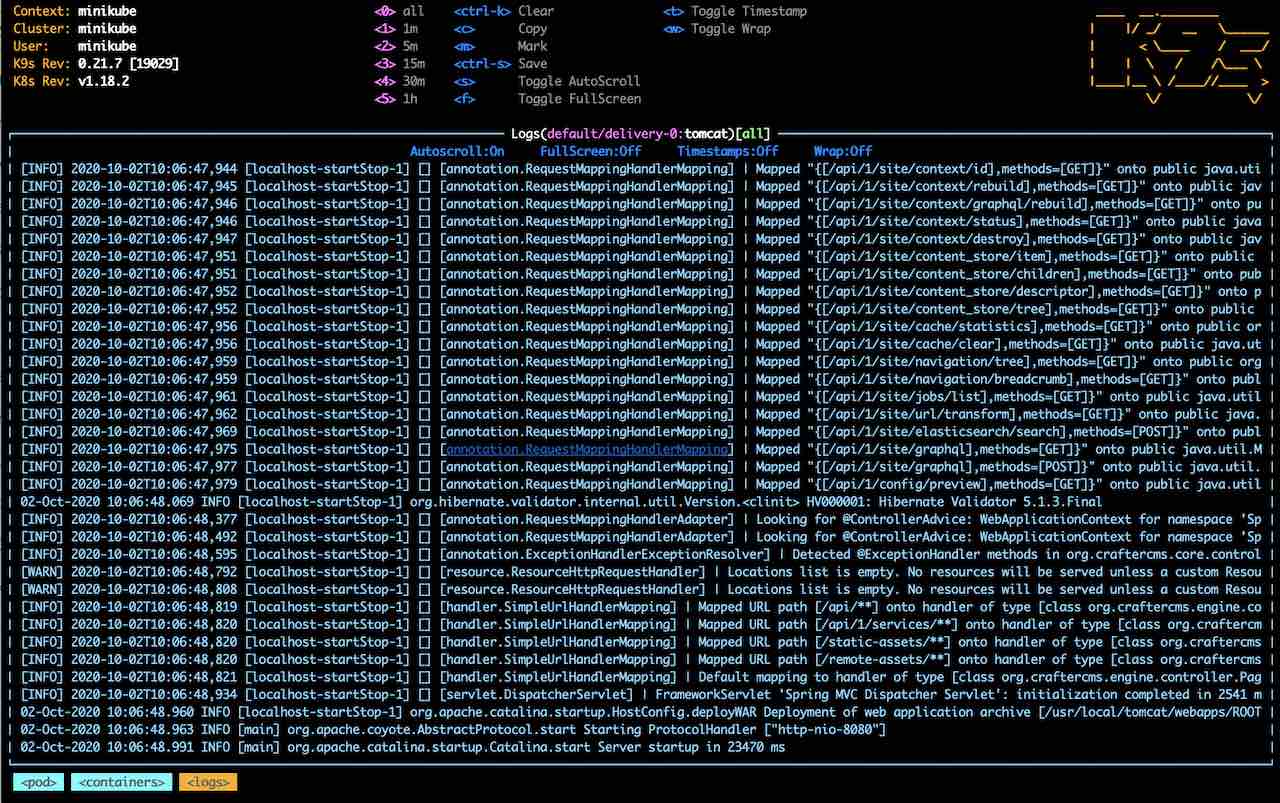
We’ll take a look at the tomcat logs, so, we’ll move the cursor to the tomcat container, then press the letter l.
Bootstrap the Site in Delivery
Now you need to setup the site in Delivery. If you don’t know the name of the Delivery Pod yet, run kubectl get pods and check for the one that has a name like delivery-XX. Then, run the following command (remember to replace the pod name and the site name with the actual values):
➜ kubectl exec -it DELIVERY_POD_NAME --container deployer -- gosu crafter ./bin/init-site.sh SITE_NAME ssh://authoring-service/opt/crafter/data/repos/sites/SITE_NAME/published
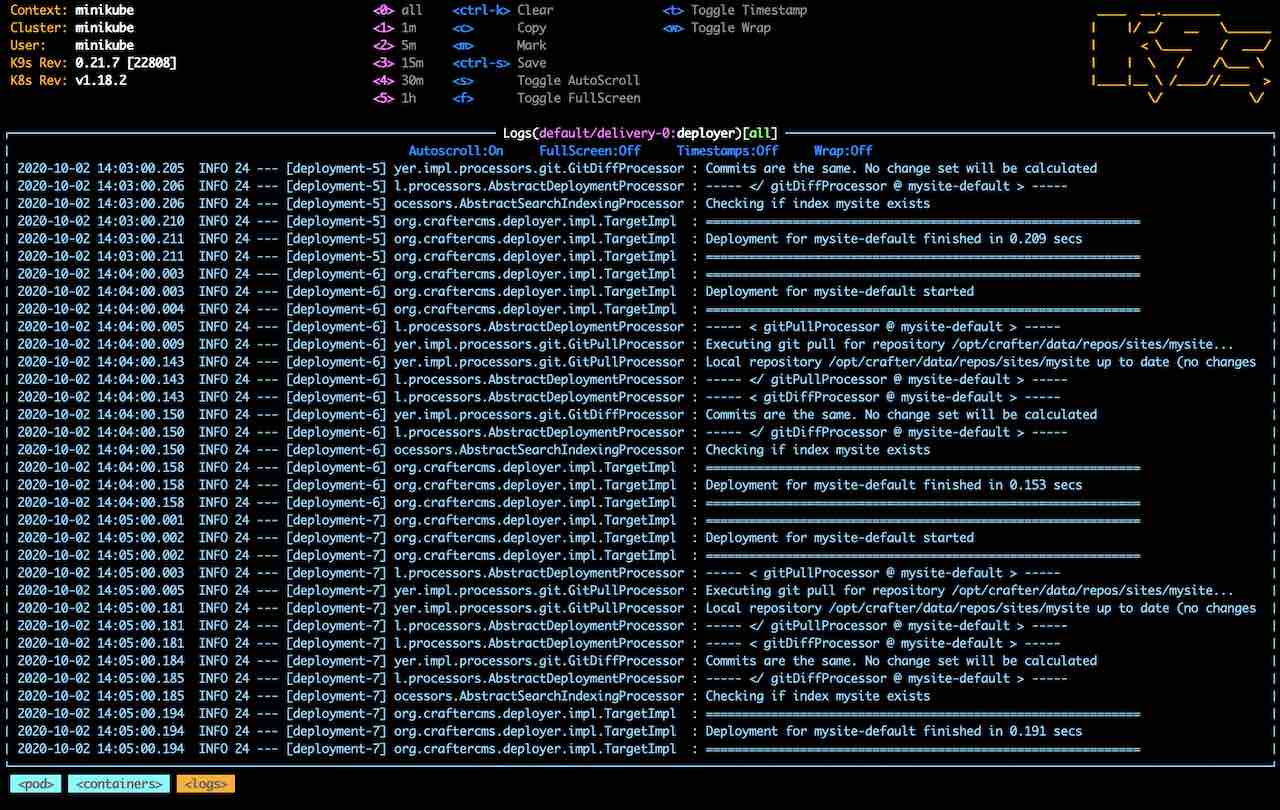
This command will create the Deployer site target and create the index in Elasticsearch. After a minute or two, the Deployer should have pulled the site content from Authoring (you can check it by gettting the Delivery Deployer log: kubectl logs -c deployer DELIVERY_POD_NAME).
Here’s the output when we setup the site in the delivery-1 pod:
➜  kubectl exec -it delivery-1 --container deployer -- gosu crafter ./bin/init-site.sh mysite ssh://authoring-service/opt/crafter/data/repos/sites/mysite/published

Creating Deployer Target...
Target created successfully
To setup the site in Delivery using k9s, from the Pods view, select the Delivery pod you would like to setup using your keyboard arrow keys, then hit enter to view the containers in the pod. Move the cursor to the deployer container, then press s to open a shell to the deployer.

We’ll switch to user crafter first by running the command gosu crafter bash
<<K9s-Shell>> Pod: default/delivery-0 | Container: deployer
root@delivery-0:/opt/crafter# gosu crafter bash
crafter@delivery-0:/opt/crafter$
Next, we’ll run the init-site.sh script to create the deployer target. Go to the bin folder, then run init-site.sh SITENAME ssh://authoring-service/opt/crafter/data/repos/sites/SITENAME/published
crafter@delivery-0:/opt/crafter$ cd bin
crafter@delivery-0:/opt/crafter/bin$ ./init-site.sh mysite ssh://authoring-service/opt/crafter/data/repos/sites/mysite/published
Creating Deployer Target...
Target created successfully
You can check the deployer logs to verify that the target has been created. From the Pods view, select the Delivery pod you’re working on, then hit enter to view the containers in the pod. Move the cursor to the deployer container, then press l to open the deployer logs.
We can now access the site in Delivery.
To be able to access applications in Kubernetes, we need to use port forwarding. To access the site in Delivery, we will forward a local port to the tomcat port in the pod. We will forward a local port to the tomcat container in the pod.
kubectl port-forward allows using resource name, such as a pod name, to select a matching pod to port forward to. To forward a local port to a port of a pod, run the following:
kubectl port-forward pods/POD_NAME LOCAL_PORT:POD_PORT
Here’s an example forwarding local port 9081 to the tomcat port in the delivery-1 pod:
➜  kubectl port-forward pods/delivery-1 9081:8080
Forwarding from 127.0.0.1:9081 -> 8080
Forwarding from [::1]:9081 -> 8080
To forward a local port to the tomcat port in a pod using k9s, from the Pods view, select the pod you would like to port forward to using your keyboard arrow keys, then hit enter to view the containers in the pod. We’ll forward the local port to the tomcat port, so, we’ll move the cursor to the tomcat container, then press <shift> + f. A dialog will then open where you can enter the desired local port and address to use for port forwarding

Change the value of Local Port to your desired value. For our example, we’re using local port 9080 for the delivery-0 pod. After making desired changes, move the cursor to Ok then hit the enter key to save your changes.
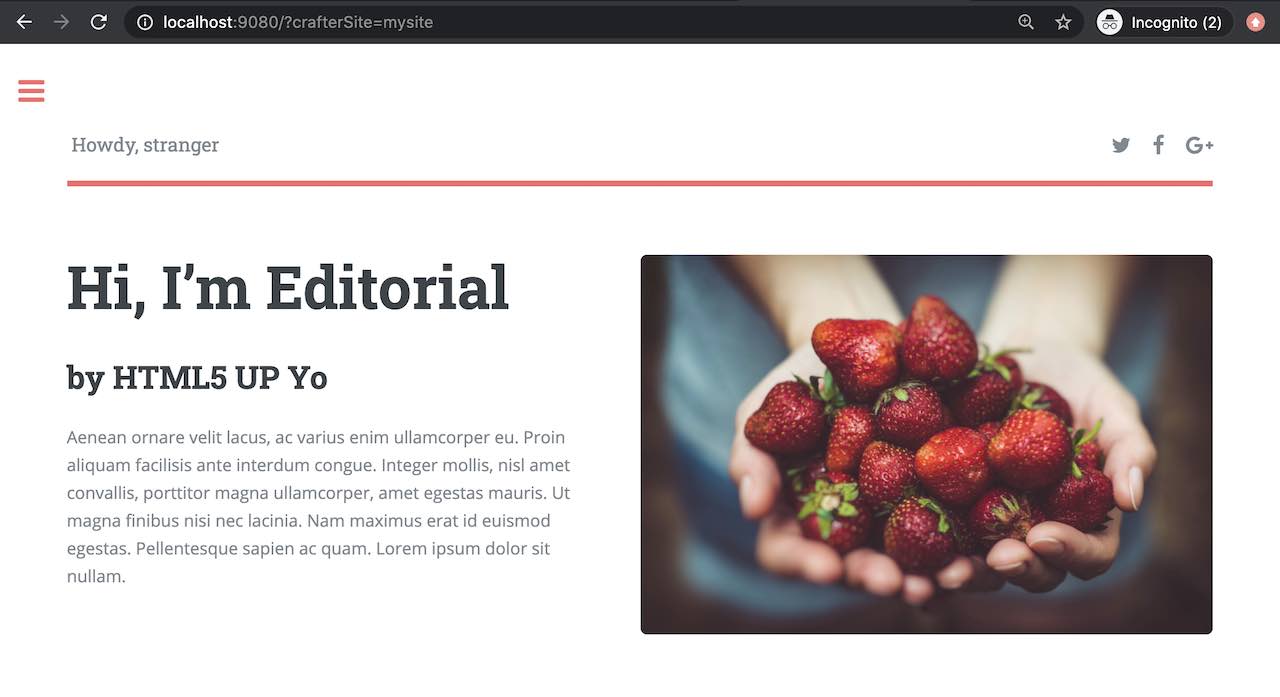
We can now view the site in Delivery from the pod by entering localhost:9080?crafterSite=mysite or localhost:9081?crafterSite=mysite in your browser.
Also, when making a change in Authoring and publishing it, the change will be reflected in Delivery after a minute.