
Configure Engine to use MongoDB
There are times when you may need access to MongoDB. This section details how you can access MongoDB by configuring Engine.
Here are the steps for configuring Engine to use mongoDB:
Configure the MongoDB URI
To define the connection between MongoDB and Engine, add the URI in the config file /config/engine/site-config.xml. (This file can be accessed easily from any project created through the out-of-the-box blueprints, by navigating from the Studio dashboard to Project Tools > Configuration, and finally picking up the Engine Project Configuration option from the dropdown).
<site>
<db>
<uri>mongodb://{host}:{port}/{database}?readPreference=primary&maxPoolSize=50&minPoolSize=5&maxIdleTimeMS=1000&waitQueueMultiple=200&waitQueueTimeoutMS=100&w=1&journal=true</uri>
</db>
</site>
- where:
{host} - required, server address to connect to
{port} - optional, with a default value of :27020 in CrafterCMS Authoring
{database} - optional, name of the database to authenticate if the connection string includes authentication credentials.
For more details on the Connection String URI format, see https://docs.mongodb.com/manual/reference/connection-string/
Create a GMongo client
To access Mongo from Groovy, we’ll use a GMongo client. We’ll need to add some beans in /config/engine/application-context.xml. (This file can be accessed easily from any project created through the out-of-the-box blueprints, by navigating from the Studio dashboard to Project Tools > Configuration, and finally picking up the Engine Site Application Context option from the dropdown).
 1<beans xmlns="http://www.springframework.org/schema/beans"
 2   xmlns:xsi="http://www.w3.org/2001/XMLSchema-instance"
 3   xsi:schemaLocation="http://www.springframework.org/schema/beans http://www.springframework.org/schema/beans/spring-beans.xsd">
 4
 5   <bean class="org.springframework.context.support.PropertySourcesPlaceholderConfigurer" parent="crafter.properties"/>
 6
 7   <bean id="mongoUri" class="com.mongodb.MongoClientURI">
 8     <constructor-arg value="${db.uri}"/>
 9   </bean>
10
11   <bean id="mongoClient" class="com.gmongo.GMongoClient">
12     <constructor-arg ref="mongoUri"/>
13   </bean>
14
15</beans>
Use the client from a Groovy script
We can now use the client from a Groovy script. Here’s a simple script that runs a query:
1def mongo = applicationContext.mongoClient
2def db = mongo.getDB("{database}")
3def result = null
4def record = db.{collection}.findOne(_id: "{some id}")
5if (record) {
6    result = record.name
7}
8return result
- where:
{database} - the name of an existing database
{collection} - collection name
{some id} - id you’re searching for depending on your database
Publish configuration to Delivery
Until this point all changes have been made from Crafter Studio so they will only affect immediately the authoring environment, for a delivery environment you will need to publish the changed files.
This can be done from the Studio project dashboard with the following steps:
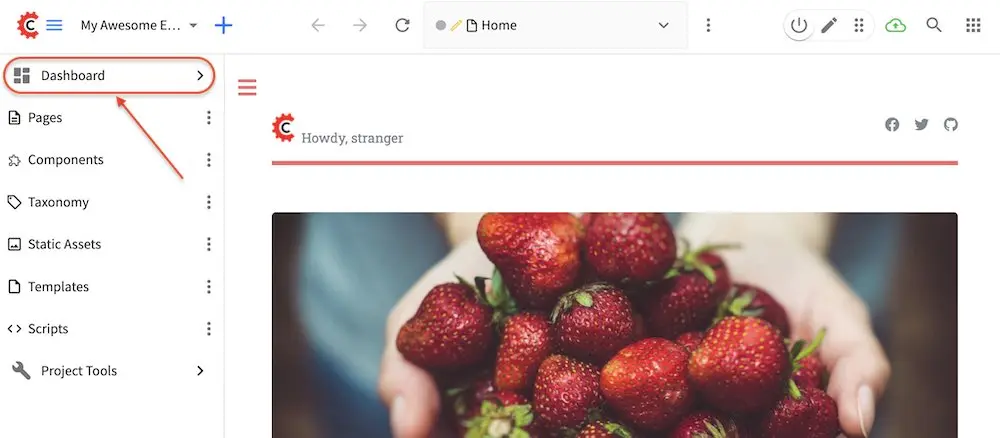
Go to Studio’s project dashboard via the Navigation Menu on the top right or via the Sidebar
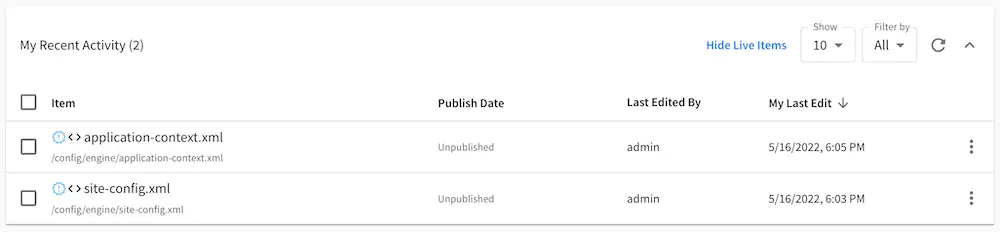
2. Locate the My Recent Activity dashlet and change the filter to All to display the
configuration files

Select all configuration files updated in the previous sections
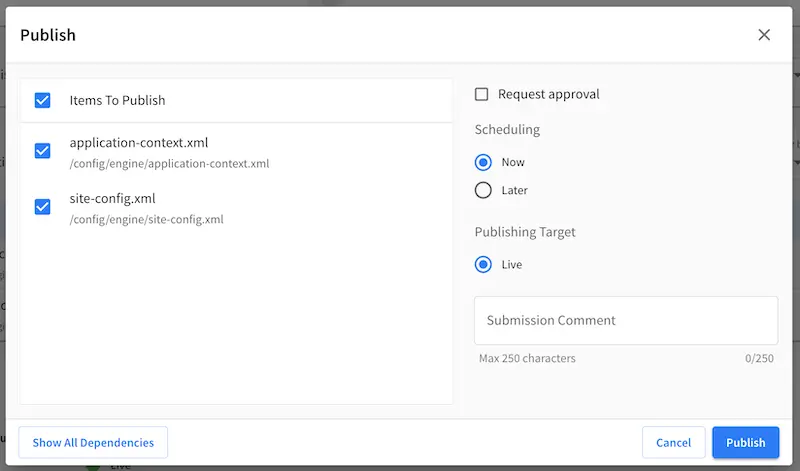
Click
Publishfrom the contextual menu

Click
Publishto close the publish dialog
Once the files are deployed to the delivery node and the project context is reloaded the new Configuration will take effect.
Delivery specific configurations
If you need to manage different values for the configuration files depending on the environment you can find more detailed information in the Environment Specific Configurations cook book.