
Engine Multi-Target Configuration
There are some cases where the Engine configuration files need to have different values per publishing target. Say for a production environment where you have staging to test out your project and live , the project to be used by end users, you may need different SAML authentication mechanics or different URL rewrites.
The Engine Multi-Environment Configuration section detailed how to setup Engine configuration files per environment. CrafterCMS supports overriding Engine configuration files, not just per environment, but also per publishing target. It supports a base configuration per environment with the ability to override per publishing target.
The following engine configuration files can be setup for different publishing targets:
site-config.xml
application-context.xml
urlrewrite.xml
Here are the available publishing targets for the configuration files listed above:
preview
staging
live
Overriding Engine Configuration Files per Publishing Target
To override a configuration file in any of the publishing targets
Add the new configuration file/s for overriding to Configurations under
 -> Configuration
The overriding configuration file should be named configuration-to-be-overridden.publishing-target.xml. Depending on the publishing target you wish the configuration file to override, the files should look like one of the following:
configuration-to-be-overridden.preview.xml
configuration-to-be-overridden.staging.xml
configuration-to-be-overridden.live.xml
Say, to add a
urlrewrite.xmlfile override for staging, add the following in the ConfigurationsConfigurations - SITENAME/config/studio/administration/config-list.xml<file> <module>engine</module> <path>urlrewrite.staging.xml</path> <title>Engine URL Rewrite (XML Style) Staging</title> <description>Engine URL Rewrite (XML Style) Staging</description> <samplePath>sample-urlrewrite.xml</samplePath> </file>
For more information on Configurations config file, see Configurations
Fill in your desired additions/modifications to the override configuration file. Refresh your browser. The configuration file you added from above should now be available from
-> Configuration. Open the new configuration file and make the necessary additions/modifications for the override file then save your changes.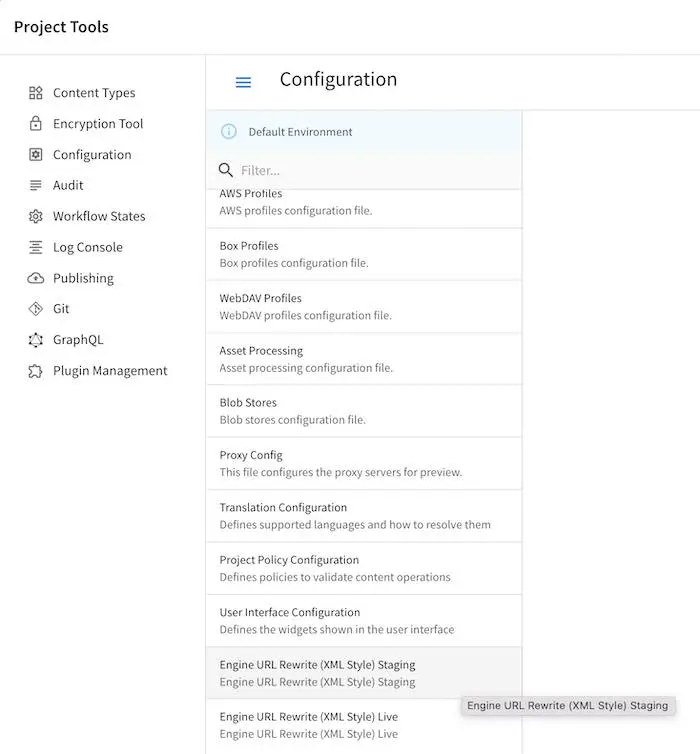
If the configuration file to be overridden is not for preview, publish the configuration file to the intended publishing target, staging or live
Example
Let’s take a look at an example of overriding the Project Configuration used by Engine site-config.xml for the staging and live publishing targets so that each target has a different SAML authentication mechanics (different identity provider in staging and live). In our example, we will use a project created using the Website Editorial blueprint named mysite
Add the new configuration file/s for overriding to Configurations under
-> Configuration. We will be overriding the site-config.xmlfile in the staging and live publishing targets, so we will add to the configuration asite-config.staging.xmlandsite-config.live.xmlfiles.Configurations - SITENAME/sandbox/config/studio/administration/config-list.xml1<file> 2 <module>engine</module> 3 <path>site-config.staging.xml</path> 4 <title>Engine Project Configuration Staging</title> 5 <description>Project Configuration used by Engine for the Staging publishing target</description> 6 <samplePath>sample-engine-site-config.xml</samplePath> 7</file> 8<file> 9 <module>engine</module> 10 <path>site-config.live.xml</path> 11 <title>Engine Project Configuration Live</title> 12 <description>Project Configuration used by Engine for the Live publishing target</description> 13 <samplePath>sample-engine-site-config.xml</samplePath> 14</file>
The configurations we added above will now be available from
-> Configuration.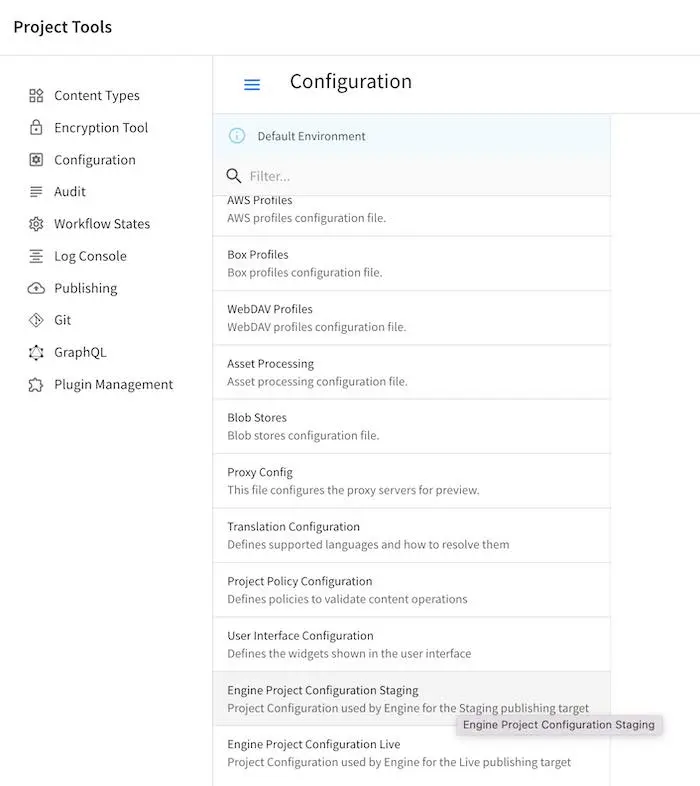
Enable SAML2 in the configuration with identity provider My IDP1 for the
site-config.staging.xmland use identity provider My IDP2 for thesite-config.live.xml.SITENAME/sandbox/config/engine/site-config.staging.xml1<site> 2 <version>4.0.1</version> 3 4 <security> 5 <saml2> 6 <enable>true</enable> 7 <attributes> 8 <mappings> 9 <mapping> 10 <name>DisplayName</name> 11 <attribute>fullName</attribute> 12 </mapping> 13 </mappings> 14 </attributes> 15 <role> 16 <mappings> 17 <mapping> 18 <name>editor</name> 19 <role>ROLE_EDITOR</role> 20 </mapping> 21 </mappings> 22 </role> 23 <keystore> 24 <defaultCredential>my-site</defaultCredential> 25 <password>superSecretPassword</password> 26 <credentials> 27 <credential> 28 <name>my-site</name> 29 <password>anotherSecretPassword</password> 30 </credential> 31 </credentials> 32 </keystore> 33 <identityProviderName>My IDP1</identityProviderName> 34 <serviceProviderName>Crafter Engine</serviceProviderName> 35 </saml2> 36 </security> 37 38</site>
For more information on SAML2 configuration, see Engine SAML2 Configuration
Publish
site-config.live.xmlto live andsite-config.staging.xmlto staging.To publish the override configuration files setup above, open the Dashboard via the Navigation Menu on the top right or via the Sidebar. Scroll to the My Recent Activity dashlet.
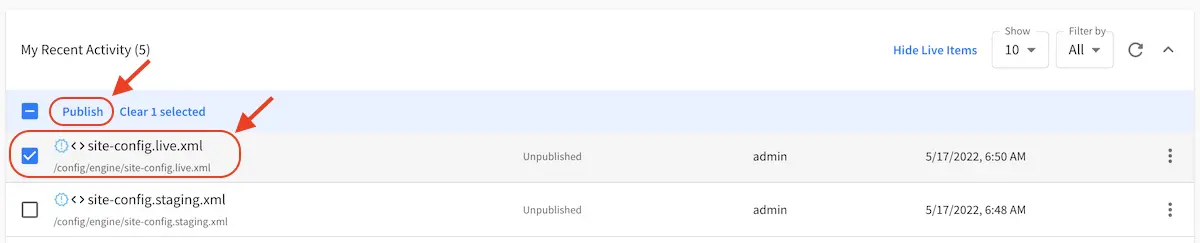
To publish the
site-config.live.xmlconfiguration file to publishing targetlive, put a check mark next to the file in the dashlet, then click onPublishfrom the context nav. Remember to set thePublishing Targetto live in thePublishdialog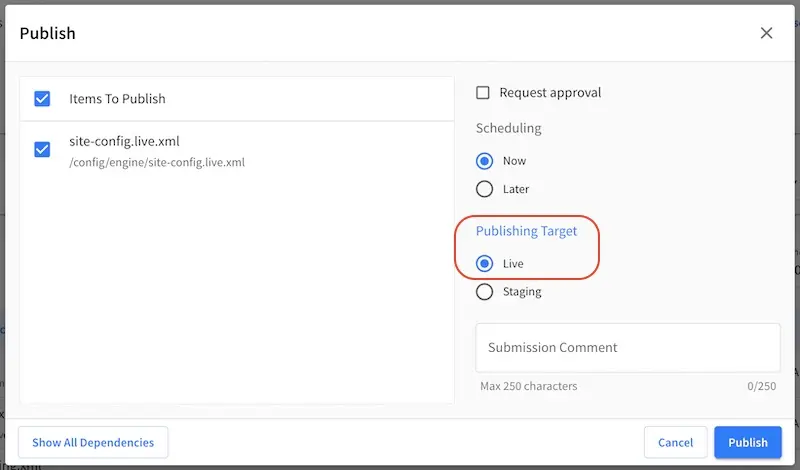
To publish the
site-config.staging.xmlfile to publishing targetstagingput a check mark next to the file in the dashlet, then click onPublishfrom the context nav. Remember to set thePublishing Targetto staging in thePublishdialog.The Engine
site-config.live.xmlconfiguration will now be loaded when viewing your project inliveand the Enginesite-config.staging.xmlconfiguration will now be loaded when viewing your project instaginginstead of the default Enginesite-config.xmlfiles