
Engine Multi-Environment Configuration
Users may want multiple environments setup with different engine configurations for each environment, e.g. QA, Prod, Dev, etc.
The following engine configuration files can be setup for different environments:
site-config.xml
application-context.xml
urlrewrite.xml
Setting up an environment
To setup an environment for engine configuration files, do the following:
Create a folder under
data/repos/sites/myproject/sandbox/config/enginecalledenvInside the folder, create a directory called
myenv(or whatever you want to call the environment)Copy the configuration file you want to override in the new environment you are setting up, inside your
myenvfolderRemember to commit the files copied so Studio will pick it up.
In the
crafter-setenv.shfile inTOMCAT/binset the following property to desired environment:bin/crafter-setenv.sh# -------------------- Configuration variables -------------------- export CRAFTER_ENVIRONMENT=${CRAFTER_ENVIRONMENT:=myenv}
Restart Crafter
Example
Let’s take a look at an example of creating a new environment, called mycustomenv with the urlrewrite.xml file overridden in the new environment for a project created using the Website Editorial blueprint:
We’ll create a folder called
envunderdata/repos/sites/my-editorial/sandbox/config/engine1data/ 2 repos/ 3 sites/ 4 my-editorial/ 5 sandbox/ 6 config/ 7 engine/ 8 env/
Inside the
envfolder, create a directory calledmycustomenvWe will now create the configuration file for the
urlrewrite.xmlthat we want to override in the new environment we are setting up, inside ourmycustomenvfolder:env/ mycustomenv/ urlrewrite.xmlWe will redirect the page to
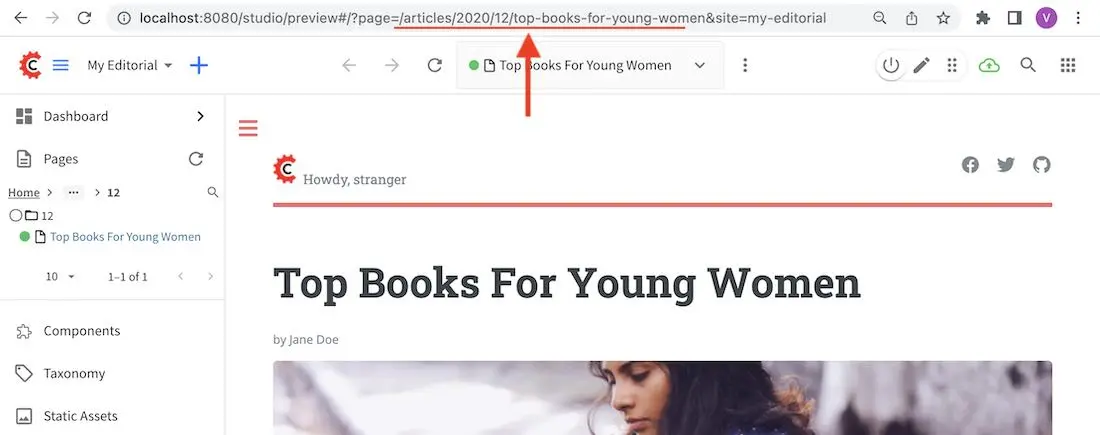
/articles/2021/12/Top Books For Young Womenwhen the page/articles/2020/12/Top Books For Young Womenis previewed. Copy the following inside theurlrewrite.xmlfile.Urlrewrite.xml file for environment mycustomenv1<?xml version="1.0" encoding="utf-8"?> 2<urlrewrite> 3 <rule> 4 <from>/articles/2020/12/(.*)$</from> 5 <to type="redirect">/articles/2021/12/$1</to> 6 </rule> 7</urlrewrite>
For our example, the folder
articles/2020/12was copied toarticles/2021with the page underarticles/2021/12, modified to display the title as a dupe. This was done so when we click on the page underarticles/2020/12, we can easily tell that it’s being redirected to the page underarticles/2021/12. Of course, you can also just look at the url of the page previewed to verify that it was redirected to the right page.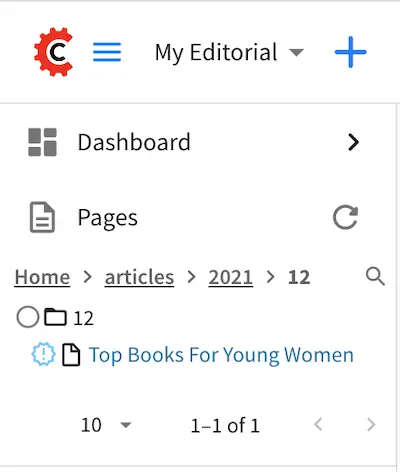
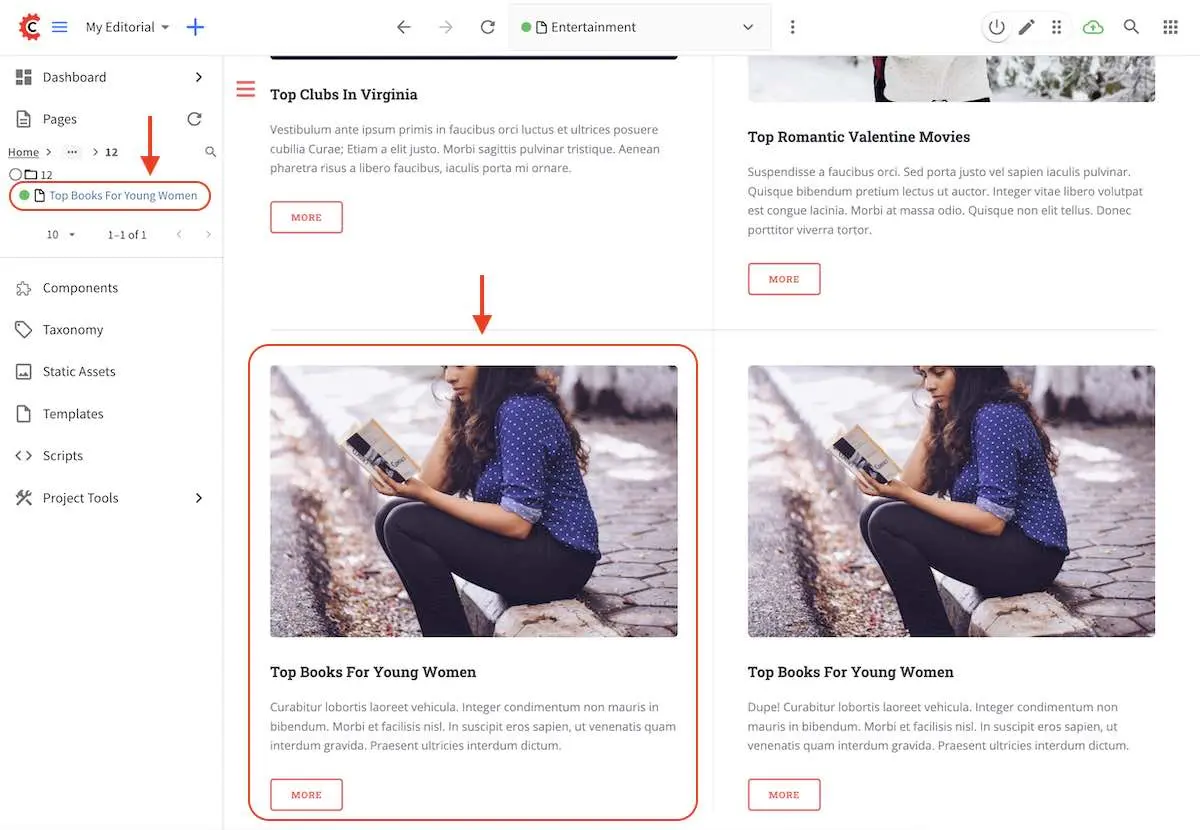
Here’s the original page:
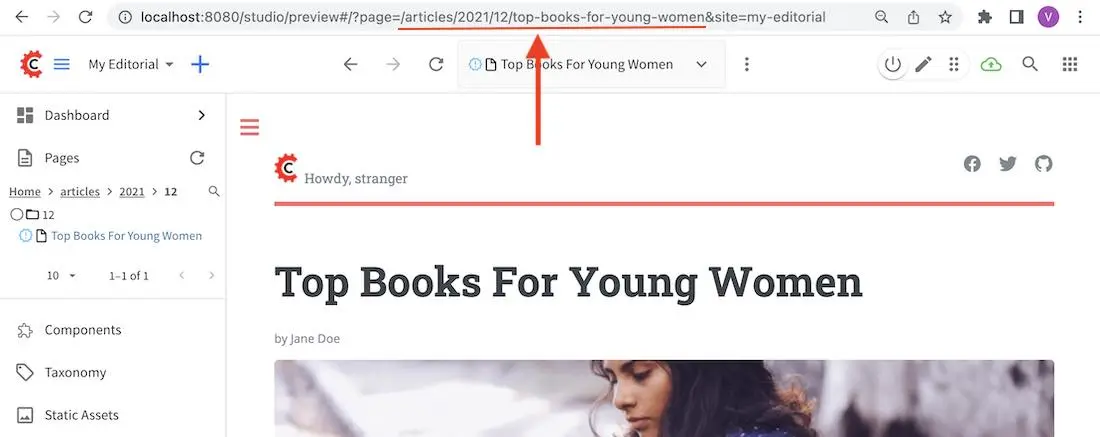
Here’s the page we want to be redirected to when previewing the page above:
Remember to commit the files copied so Studio will pick it up.
➜  sandbox git:(master) ✗ git add .
➜  sandbox git:(master) ✗ git commit -m "Add urlrewrite.xml file for mycustomenv"
Open the
crafter-setenv.shfile inTOMCAT/binand set the value ofCRAFTER_ENVIRONMENTto the environment we setup above (myenv) to make it the active environment:bin/crafter-setenv.sh# -------------------- Configuration variables -------------------- export CRAFTER_ENVIRONMENT=${CRAFTER_ENVIRONMENT:=mycustomenv}
Restart Crafter. To verify our newly setup environment, open the
Sidebarand click on , then select
 Configuration. Notice that the active environmentmycustomenvwill be displayed on top of the configurations drop-down box and when you select the Engine URL Rewrite Configuration (XML Style), it should display the file we created in one of the previous step: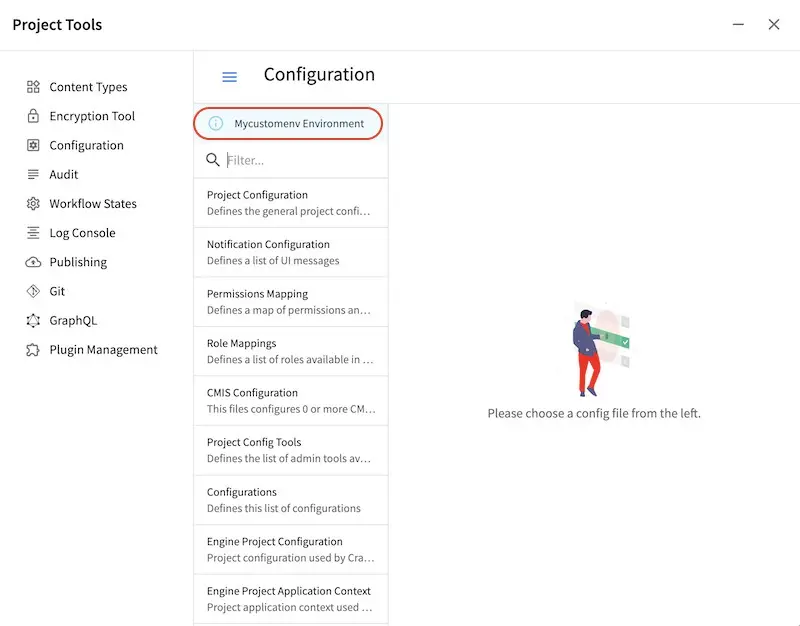
Let’s verify that our urlrewrite.xml is in effect. From the Sidebar, click on Home -> Entertainment -> Top Books For Young Women or, navigate to /articles/2020/12/ and click on Top Books For Young Women.
The preview page should take you to /articles/2021/12/Top Books For Young Women
SAML2 Multi-Environment Configuration 
When configuring SAML2 in an environment-specific project configuration file (site-config.xml), since the SAML2 configuration folder sits outside the environment folder, you can point to environment-specific SAML2 files in the SAML2 folder for the following path/file configuration of SAML2:
Property
|
Description
|
Default Value
|
|---|---|---|
|
The path of the keystore file in the repo |
|
|
The path of the identity provider metadata XML descriptor in the repo |
|
|
The path of the service provider metadata XML descriptor in the repo |
|
Use the format /config/engine/saml2/saml2-path-file-config-{myCustomEnv}.*** for naming your SAML2 environment
specific configuration files where {myCustomEnv} is the name of your environment.
Example
Say we’re setting up SAML2 files for an environment named dev. Using the format mentioned above, our environment
specific SAML2 files will be the following:
/config/engine/saml2/keystore-dev.jks/config/engine/saml2/idp-dev.xml/config/engine/saml2/sp-dev.xml
Below is the SAML2 configuration using the above files in the project configuration file:
<saml2>
  ...
  <keystore>
     <defaultCredential>abc-crafter-saml</defaultCredential>
     <path>/config/engine/saml2/keystore-dev.jks</path>
     <password encrypted="true">${enc:value}</password>
     <credentials>
       <credential>
         <name>abc-crafter-saml</name>
         <password encrypted="true">${enc:value}</password>
       </credential>
     </credentials>
   </keystore>
   <identityProviderName>http://www.okta.com/abc</identityProviderName>
   <identityProviderDescriptor>/config/engine/saml2/idp-dev.xml</identityProviderDescriptor>
   <serviceProviderName>https://intranet.abc.org/saml/SSO</serviceProviderName>
   <serviceProviderDescription>/config/engine/saml2/sp-dev.xml</serviceProviderDescription>
</saml2>
See Engine SAML2 Configuration for more information on configuring SAML2.