Crafter Studio Dashboard Plugin Example
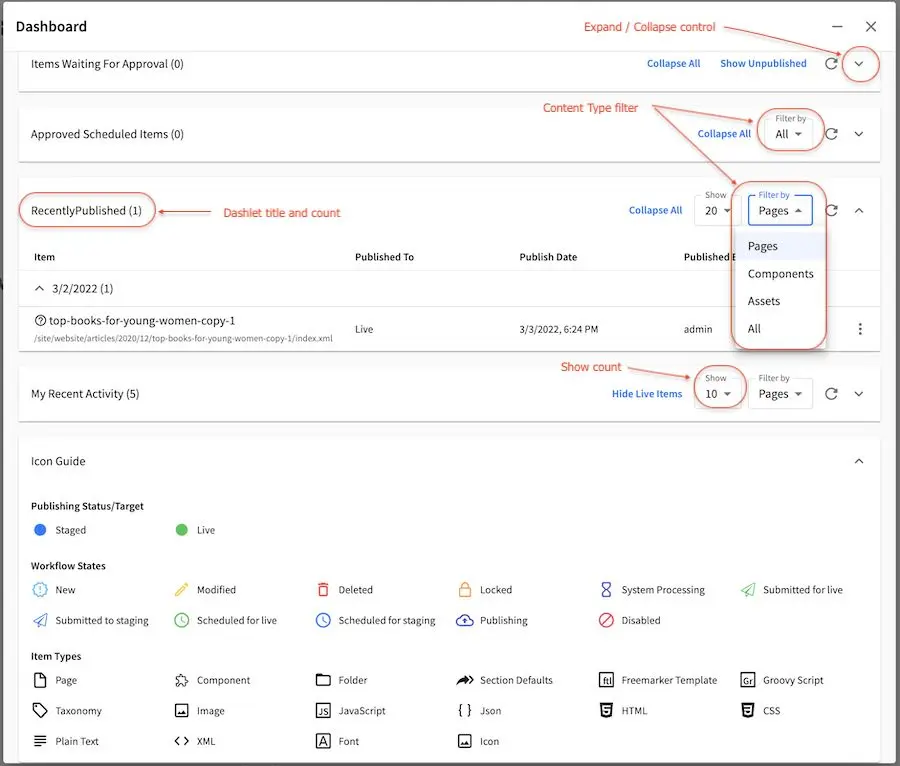
The dashboard contains different dashlets that show at a glance all items currently in workflow, all items recently modified by the current user, etc. Dashlets shown vary depending on the user’s role. For more information on the Dashboard, see here

Let’s take a look at an example of creating a Dashboard plugin in Studio using a project called My Editorial created using the Website Editorial blueprint.
The first thing we have to do is to create the folder structure where we will be placing the JS file for our dashboard plugin. We’ll follow the convention listed in UI Plugin Directory Structure. For our example, CATEGORY is
dashboardand the NAME istest-dashboardIn a local folder, create the descriptor file for your plugin
craftercms-plugin.yamlwith theplugin.idset toorg.craftercms.plugin.exampletoolbar, then create the following folder structure:Dashboard Plugin Directory Structure¶<plugin-folder>/ craftercms-plugin.yaml authoring/ static-assets/ plugins/ org/ craftercms/ plugin/ exampledashboard/ dashboard/ test-dashboard/We will be placing the JS file implementing the toolbar plugin under the
test-toolbarfolder For our example, the <plugin-folder> is located here:/users/myuser/myplugins/toolbar-pluginWe’ll create the JavaScript file for our plugin by following the instructions in the plugin example here which will generate the
index.jsfile.Inside the
test-dashboardfolder, create two empty files,index.cssandscript.js, and place theindex.jsfile in it.To setup our dashboard plugin to be automatically wired in the corresponding configuration file in Studio (which for a dashboard, is the User Interface Configuration file) during the installation, add the following to your
craftercms-plugin.yamldescriptor filecraftercms-plugin.yaml¶1installation: 2 - type: preview-app 3 parentXpath: /siteUi/widget[@id='craftercms.components.Dashboard'] 4 testXpath: //plugin[@id='org.craftercms.plugin.dashboard'] 5 element: 6 name: configuration 7 children: 8 - name: widgets 9 children: 10 - name: widget 11 attributes: 12 - name: id 13 value: org.craftercms.sampleComponentLibraryPlugin.components.reactComponent 14 children: 15 - name: plugin 16 attributes: 17 - name: id 18 value: org.craftercms.plugin.dashboard 19 - name: type 20 value: dashboard 21 - name: name 22 value: test-dashboard 23 - name: file 24 value: index.js 25 26 |
Remember to use the same value used in
plugin.id(found at the top of the descriptor file) for the installation section plugin.id which for our example isorg.craftercms.pluginAfter placing your plugin files and setting up auto-wiring, the plugin may now be installed for testing/debugging using the
crafter-clicommandcopy-plugin.
When running a
crafter-clicommand, the connection to CrafterCMS needs to be setup via the add-environment command. Once the connection has been established, we can now install the plugin to the projectmy-editorialby running the following:./crafter-cli copy-plugin -e local -s my-editorial --path /users/myuser/myplugins/dashboard-plugin
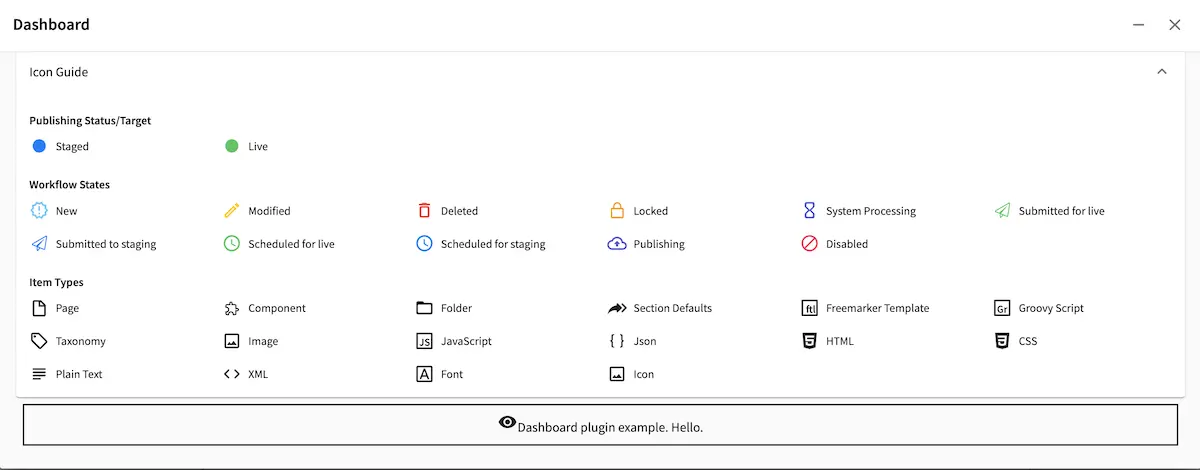
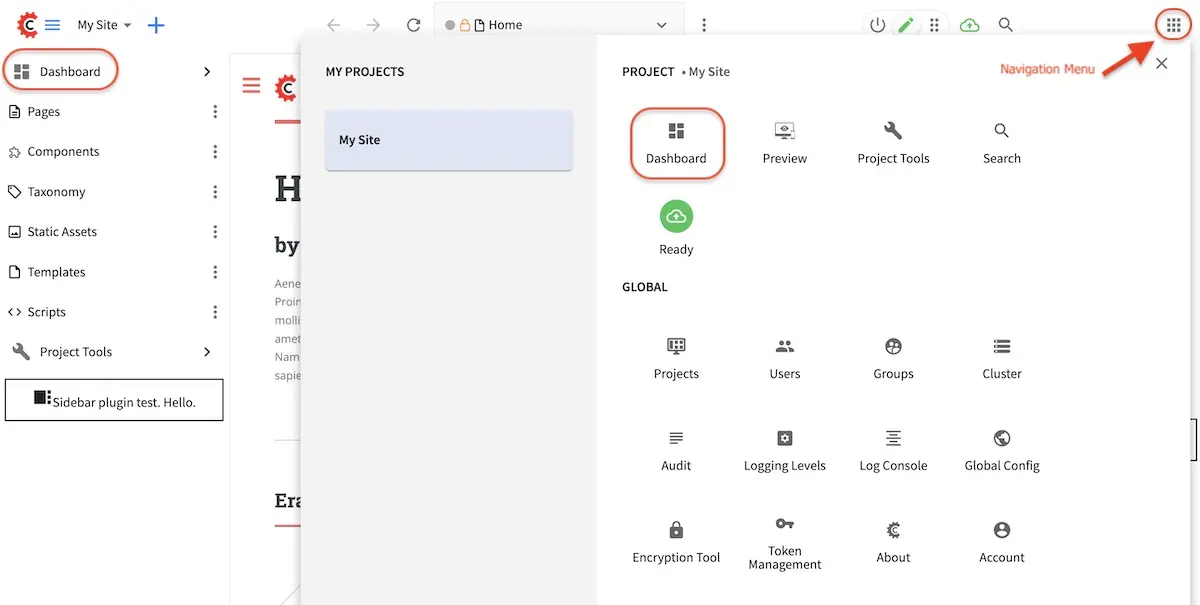
Let’s take a look at our plugin in action by clicking on the CrafterCMS logo at the top left of your browser to open the sidebar, then click on
Dashboard:
You may also open the Dashboard anywhere via the Launcher, which is opened by clicking the
appsicon on the top right:
Here’s the auto-wired section in the configuration after installing the plugin:
 1<siteUi>
 2  ...
 3  <widget id="craftercms.components.Dashboard">
 4    <configuration>
 5      <widgets>
 6        <widget id="craftercms.components.AwaitingApprovalDashlet">
 7          <permittedRoles>
 8            <role>admin</role>
 9            <role>developer</role>
10            <role>publisher</role>
11          </permittedRoles>
12        </widget>
13        ...
14        <widget id="org.craftercms.sampleComponentLibraryPlugin.components.reactComponent">
15          <plugin id="org.craftercms.plugin.dashboard"
16                  type="dashboard"
17                  name="test-dashboard"
18                  file="index.js"/>
19        </widget>
20        ...